
Create with AI
Explore AI's role in enhancing document creation, data analysis, and collaboration in WPS Office.
Maximizing WPS Office: Tailored Tips for Every User
Student Success Starts Here with WPS Office
Elevate your academic journey with WPS Office's powerful tools. From crafting essays to collaborating on group projects, WPS Office empowers students for excellence.
Teaching Made Efficient: WPS Office for Educators
Streamline teaching tasks with WPS Office's intuitive suite. Create engaging materials, manage student data, and enhance the learning experience seamlessly.
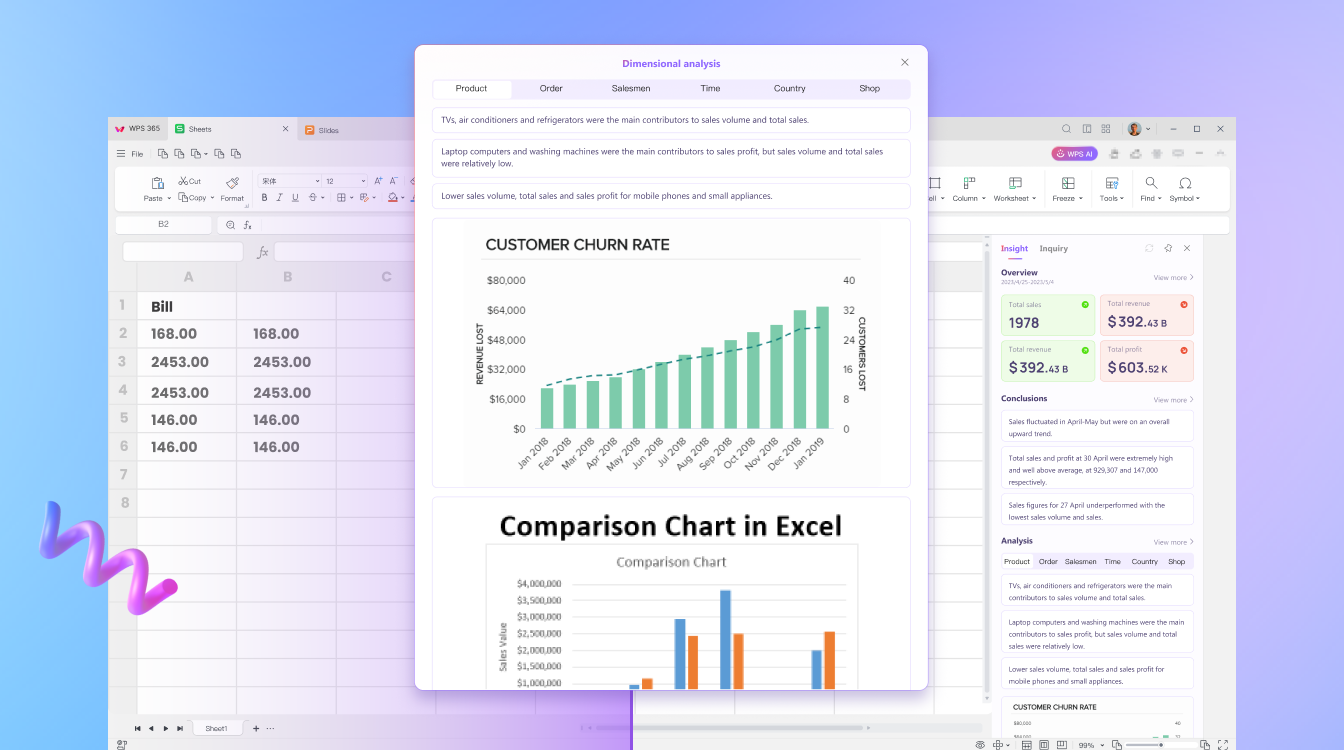
AI-Driven Productivity: WPS Office for Innovators
Unleash creativity using WPS Office's AI features. Incorporate AI insights, analyze data effortlessly, and create impactful presentations that showcase the future of productivity.