
In the ever-evolving world of technology, ensuring your computer runs smoothly is paramount. If you've ever wondered about the benefits of a clean install for Windows 10 or felt uncertain about the process, you're not alone. We're here to demystify the concept and guide you through it step by step. Whether you're a seasoned user seeking a performance boost or a novice worried about data loss, this article will address your questions and equip you with the knowledge to perform a clean install confidently. From data backup to the installation procedure, we've got you covered. Let's embark on this journey to refresh and optimize your Windows 10 experience.
Part1: What Is a Clean Install?
A clean install of Windows 10 refers to the process of completely erasing the existing operating system and all associated files from your computer's storage drive and then installing a fresh, pristine copy of Windows 10. This procedure essentially wipes your computer's slate clean, removing all installed programs, settings, and user data. It results in a computer that functions as if it were newly purchased, with the operating system in its default, factory-fresh state.
However, it's crucial to note that a clean install is a drastic step that should be approached with caution. It results in the loss of all data and applications on the computer, so proper data backup and preparation are essential before proceeding.
Part2: Why Should I Consider a Clean Install of Windows 10?
A clean install of Windows 10 is an essential procedure that offers several important benefits:
Improved Performance: Over time, a Windows 10 system can accumulate software clutter, outdated drivers, and registry errors that can degrade performance. A clean install starts your computer with a clean slate, resulting in faster and more responsive operation.
Stability and Reliability: Persistent software issues, such as crashes, errors, and random glitches, often stem from corrupted system files or conflicting software. A clean install eliminates these issues, providing a stable and reliable computing environment.
Enhanced Security: In cases of severe malware infections or security breaches, a clean install is the most effective way to ensure that no traces of malware remain on your system, making it a crucial step for cybersecurity.
Optimized Storage: A clean install allows you to reclaim valuable storage space by removing unnecessary files and programs, which is especially important on computers with limited disk space.
Preparation for Upgrades: When upgrading to a new version of Windows or migrating to a new computer, a clean install ensures a seamless transition with fewer compatibility issues.
Customization: Starting with a fresh installation allows you to configure Windows 10 exactly as you desire, setting preferences and installing only the software you need, resulting in a personalized and efficient computing experience.
In summary, a clean install of Windows 10 is a powerful tool for improving your computer's performance, stability, and security. It offers a fresh start, allowing you to enjoy the benefits of a pristine operating system while customizing it to your preferences. However, it's essential to back up your data and prepare for the process, as it involves erasing all existing files and applications.
Part3: Preparation for the Clean Installation of Windows 10
Before embarking on a clean installation of Windows 10, it's crucial to ensure you have the necessary requirements and follow these essential tips:
Requirements:
Windows 10 Installation Media: You'll need a Windows 10 installation source, such as a bootable USB drive or DVD. You can create this using the official Media Creation Tool provided by Microsoft.
Valid Windows 10 Product Key: You must have a valid Windows 10 product key to activate your new installation. Ensure you have this key on hand before starting.
Backup: Back up all essential data, including documents, photos, and any other files you want to keep. A clean install erases everything on your computer.
Device Drivers: If possible, download and save the latest device drivers for your hardware, especially for components like graphics cards, Wi-Fi adapters, and chipset drivers. This will make post-installation setup smoother.
Internet Connection: Ensure you have an active internet connection to download updates and drivers during the installation process.
Tips:
Backup Your Data: Before proceeding, create a complete backup of your data. You can use external hard drives, cloud storage services, or dedicated backup software. This ensures that your important files are safe during the installation.
Make a List of Installed Programs: Create a list of the software programs you use regularly. After the clean install, you'll need to reinstall them, so having a list can help you remember what you need.
Create a Bootable Installation Media: Use Microsoft's Media Creation Tool to create a bootable USB drive or DVD with the Windows 10 installation files. This is your installation source.
Check for BIOS/UEFI Settings: Ensure your computer's BIOS or UEFI settings are configured to boot from the installation media. You may need to access the BIOS/UEFI setup during startup by pressing a specific key (e.g., F2, F12, Del) and setting the boot order.
Install Windows 10: Boot your computer from the installation media and follow the on-screen instructions. During the installation, you'll be prompted to enter your product key.
Custom Installation: Choose the "Custom" installation option to perform a clean install. This allows you to format your existing drive(s) and install Windows 10 on a clean partition.
Install Drivers: After Windows 10 is installed, install the latest device drivers for your hardware. You may need to download these from the manufacturers' websites.
Windows Updates: After driver installation, check for Windows updates to ensure your operating system is up to date.
Reinstall Software: Use your list of previously installed programs to reinstall the software you need.
Data Restoration: Restore your backed-up data to your computer, making sure everything is in its proper place.
Part4: Step-by-Step Guide for the Clean Install Process
Using USB
Step 1: Start the PC with the Windows 10 USB flash drive.
Step 2: Press any key to continue.
Step 3:Click the Next button.
Step 4: Click the Install now button.
Step 5: Click the “I don’t have a product key” option if you are doing a reinstallation. If Windows 10 was already activated after the installation, reactivation would happen automatically.
Step 6: Select the edition of “Windows 10” that your license key activates (if applicable).
Step 7: Check the “I accept the license terms” option.
Step 8: Click the Next button.
Step 9: Select the “Custom: Install Windows only (advanced)” option to perform a clean install.
Step 10: Select each partition in the hard drive you want to install Windows 10 and click the Delete button. (Typically, the “Drive 0” is the drive that contains all the installation files.)
Warning: Deleting a partition also deletes all data on the drive. Also, it is not required to delete the partitions from a secondary hard drive.
Step 11: Select the hard drive (Drive 0 Unallocated Space) to install Windows 10.
Step 12: Click the Next button.
Step 13: Select your region setting after the installation on the first page of the out-of-the-box experience (OOBE).
Step 14: Click the Yes button.
Step 15: Select your keyboard layout setting.
Step 16: Click the Yes button.
Step 17: Click the Skip button if you do not need to configure a second layout.
Step 18: The computer will automatically connect to the network using an Ethernet connection. If you have a wireless connection, you must set up the link manually (a security key may be required).
Step 19: Select the “Set up for personal use” option for Windows 10 Pro. (The “Home” edition does not have this option.)
Step 20: Click the Next button.
Step 21: Confirm your Microsoft account email to create an account.
Step 22: Click the Next button.
Step 23: Confirm your account password.
Step 24: Click the Next button.
Step 25: Click the “Create a PIN” button.
Step 26: Create a new PIN password.
Step 27: Click the OK button.
Step 28: Confirm the privacy settings best suit your needs by turning on or off the toggle switch for each option.
Step 29: Click the Accept button.
Step 30: (Optional) On the “Customize your device” page, select one or more ways you plan to use the device to allow the setup to suggest tools and services customization during this experience.
Step 31: Click the Accept button to continue. Or click the Skip button to skip this part of the setup.
Step 32: Click the “No, thanks” button to skip linking your phone to your PC. (You can always do this from the Settings app.)
Step 33: Click the Next button to allow OneDrive to automatically upload your Desktop, Pictures, and Documents folders to the cloud. Or click the “Only save files to this PC” option to skip this step.
Step 34: Click the “No, thanks” button to skip the Microsoft 365 setup.
Step 35: Click the Decline button to skip the OneDrive storage offer.
Step 36: Click the “No Thanks” button to skip the Game Pass offer.
Step 37: Click the “Not now” button to disable Cortana.
Once you complete the steps, Windows 10 will apply the settings and finish the setup.
Users Feedback and Experience:
Using a USB drive for a clean Windows 10 installation is a convenient and reliable method, especially if your computer lacks an optical drive. It offers a fresh start and, in my experience, is straightforward to execute. However, it's crucial to ensure your USB drive is prepared correctly, and you have your product key at hand. Additionally, accessing the boot menu or BIOS settings may differ depending on your computer's manufacturer, so consulting your device's documentation for specific instructions is advisable. Overall, this method provides a streamlined way to reinstall or upgrade Windows 10.
Without CD or USB (Reset Computer to Reinstall Windows 10 Without CD)
This method is available when your PC can still boot properly. Being capable of solving most system problems, it won't be different from a clean install of Windows 10 via an installation CD. Follow the steps below to reset the computer to reinstall Windows 10 without CD.
Step 1. Go to "Start" > "Settings" > "Update & Security" > "Recovery".
Step 2. Under "Reset this PC option", tap "Get Started".
Step-by-Step Guide for the Clean Install Process without CD or USB ̣(Reset Computer to Reinstall Windows 10 Without CD)
Step 3. Click either "Keep my files" or "Remove everything", depending on whether you want to keep your data files intact. Either way, all of your settings will return to their defaults, and apps will be uninstalled.
Step 4. After the process, a window will pop up, saying that your apps will be removed. Click Next to go on.
Step 5. In Ready to reset this PC interface, click the Reset button to reinstall Windows 10 without CD or personal file loss.
Users Feedback and Experience:
Installing Windows 10 without CD or USB is more geared towards upgrading an existing system while retaining files and settings. It's a straightforward process if that's your goal. However, for users seeking a true clean install, the USB method is preferable as it provides more control over partitioning and ensures optimal system performance. The choice between methods depends on your specific needs: upgrading or starting fresh.
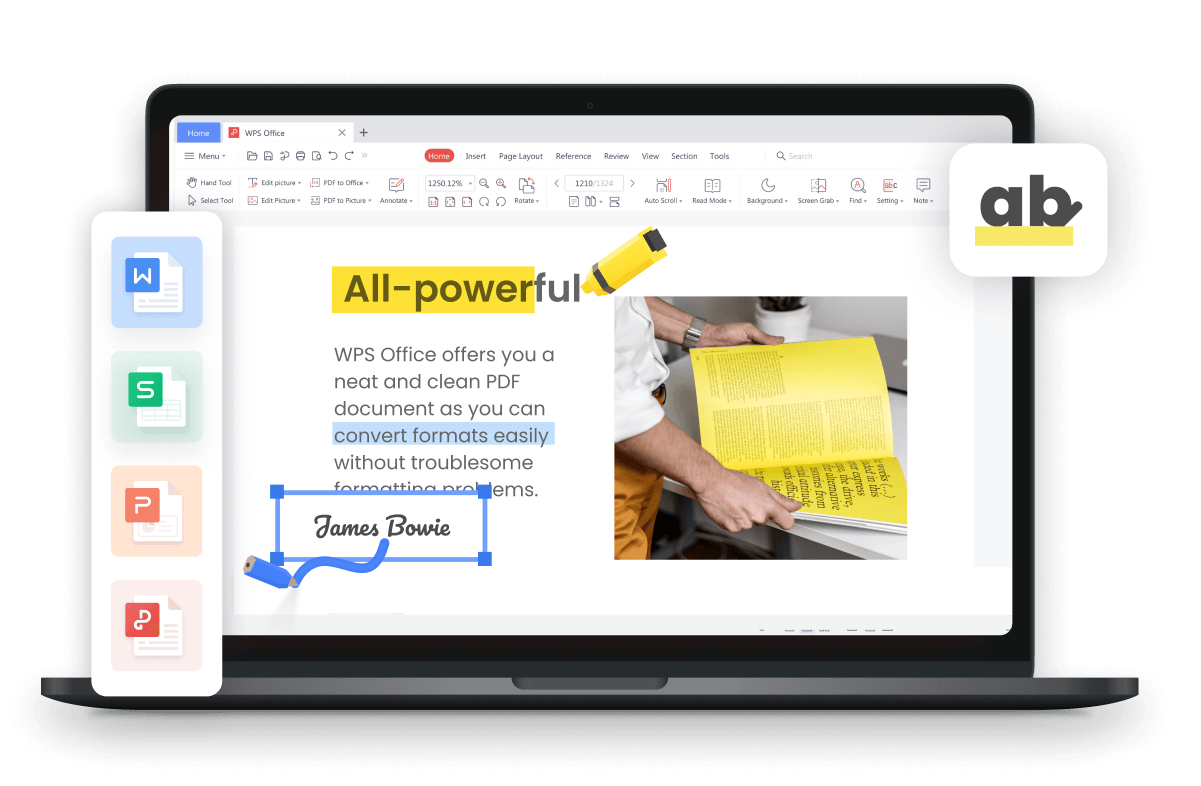
Your Perfect Companion for Windows 10 - WPS Office
Your Perfect Companion for Windows 10 - WPS Office
WPS Office is an exceptional office suite that serves as an ideal companion for Windows 10 users. With WPS Office, you can harness the power of Word processing, Excel spreadsheets, and PowerPoint presentations, all available for free. Here are some key advantages of WPS Office:
Free Download and Usage: One of the standout features of WPS Office is that it's free to download and use. This includes powerful applications like Word, Excel, and PowerPoint.
Powerful PDF Toolkit: WPS Office offers an impressive PDF toolkit, allowing you to create, edit, and convert PDF documents effortlessly.
Rich Template Store: Access a vast library of templates for various document types, enabling you to kickstart your projects with professionally designed layouts.
Rich Functions: WPS Office boasts a comprehensive set of features, rivaling premium office suites. You'll find everything you need for document creation, editing, and formatting.
Lightweight: WPS Office is designed to be light on system resources, ensuring smooth performance even on Windows 10 devices with modest hardware specifications.
Support for Online Documents: Seamlessly access and edit your documents online, enabling collaboration and productivity from anywhere.
Compatibility: WPS Office is fully compatible with Microsoft Office file formats, ensuring that your documents remain accessible and editable across platforms.
User-Friendly: The user interface of WPS Office is intuitive and user-friendly, making it accessible to users of all levels of expertise.
Features Not Offered for FREE by Microsoft Office:
Co-editing: Collaborate with others in real-time within Word documents, spreadsheets, and presentations. This feature is invaluable for team projects and document sharing.
Group Document Sharing: Share documents with a group of users, granting them permission to edit collaboratively. This enhances teamwork and document management.
Introduction to WPS AI:
WPS AI takes your office suite experience to the next level by providing advanced features such as document analysis, efficient formatting suggestions, and intelligent content recommendations. It's your smart assistant within the WPS Office, making your work more efficient and productive.


FAQs
Does a clean install of Windows 10 erase everything?
Yes, a clean install of Windows 10 will erase everything on the drive where Windows is being installed. This means that all your files, programs, and settings on that drive will be permanently deleted. It essentially provides a fresh start, and you will need to reinstall your programs, restore your files from backups, and configure your settings from scratch after the clean install.
It's crucial to back up any important data before proceeding with a clean install to avoid losing valuable information. Additionally, ensure you have the necessary installation media (e.g., USB drive or DVD) and product key to complete the installation and activate Windows 10 afterward.
Is it better to factory reset or clean install Windows?
Windows 10 Reset is more likely to be a basic troubleshooting method, while a Clean Install is an advanced solution for more complex problems. If you don't know which method to apply, first have a try on Windows Reset, if it doesn't help, fully backup your computer data, and then perform a Clean Install.
How do I uninstall Windows 11 and clean install Windows 10?
Step 1: Insert the USB flash drive in your Windows 11 PC and disconnect any other nonessential USB devices; then go to https://aka.ms/downloadwindows10. Note that you can do this on a PC running any Windows version.
Step 2: Under the heading "Create Windows 10 installation media," click Download Now.
Step 3: Run the Media Creation Tool Installer and follow the prompts to create bootable Windows 10 installation media using your USB flash drive. Leave the drive attached to your Windows 11 PC.
Step 4: Go to Settings > System > Recovery. Under the Advanced Startup heading, click Restart Now.
Step 5: At the Windows 11 recovery menu, choose Use A Device and select your USB drive. When you see the prompt to boot from the USB drive, tap the spacebar to start Windows Setup.
Step 6: Follow the prompts to install Windows 10. When you reach the step where you're asked to enter a product key, click I Don't Have A Product Key and then be certain to choose the edition (Home or Pro) that you're "downgrading" from.
Summary
Performing a clean install of Windows 10 can breathe new life into your computer, and this step-by-step guide ensures a smooth and effective process. It covers everything from creating installation media to configuring settings, all with an emphasis on setting up your computer with essential software like WPS Office. With the power of a fresh Windows 10 installation and the productivity of WPS Office, your computer will be optimized for efficiency, providing a seamless and productive experience for all your work and personal needs.


