Free All-in-One Office Suite with PDF Editor

Edit Word, Excel, and PPT for FREE.
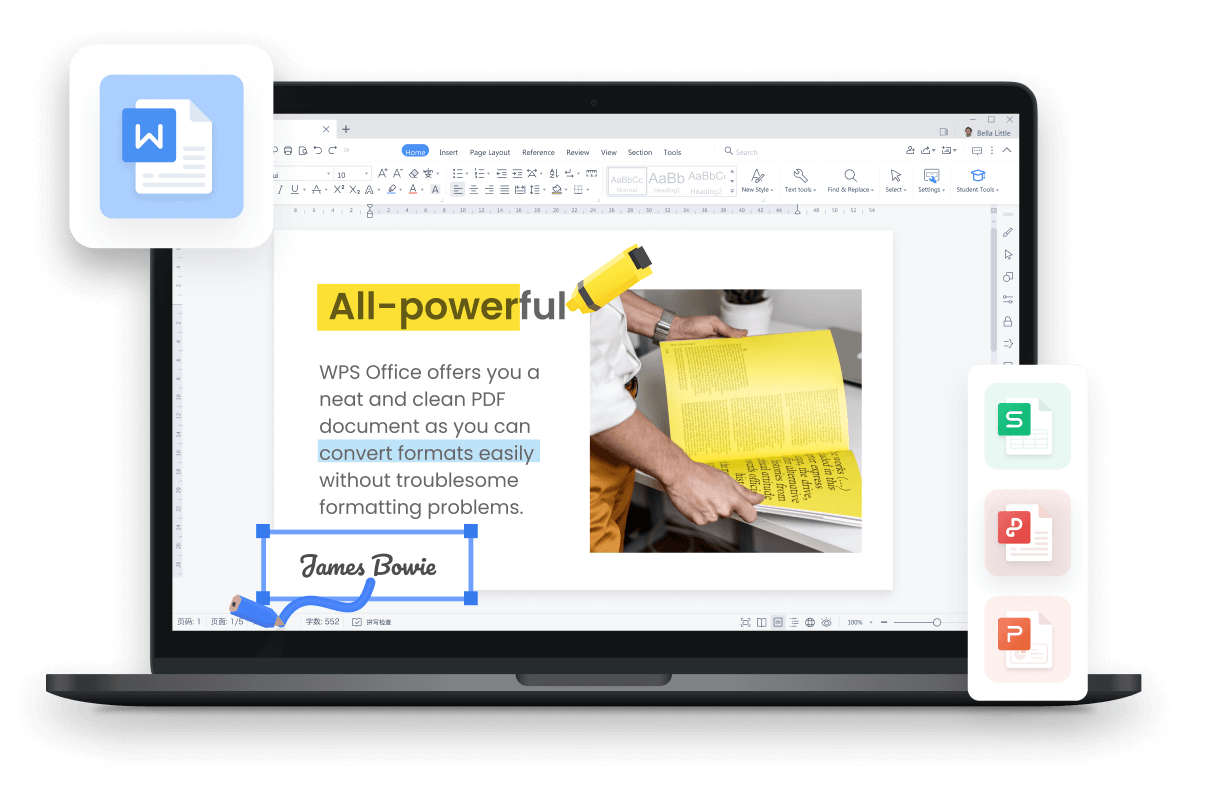
Read, edit, and convert PDFs with the powerful PDF toolkit.
Microsoft-like interface, easy to use.
Windows • MacOS • Linux • iOS • Android
How we can use the settings of borders and shading
Uploaded time: August 26, 2021 Difficulty Beginner
How we can use the settings of borders and shading

How we can use the settings of borders and shading
When we are using WPS Document to edit text, we sometimes need to put a border around the text, or we may also want to add a special shading color to the text in order to highlight the keywords. So now the problem is, how can we do that?
Take this resume as an example. If we want to highlight the border, we should select all the content first, and click the Hometab, and then lick theOutside Bordersdrop-down button. Here, we can see different styles of border lines. ClickBorders and Shading, then a dialog box will pop up.

In the Borderstab, we can select blue for the Color, Style, and Widthcan also be selected according to our needs. These two values will not be adjusted in the default settings.
Click the Optionsbutton in the lower right corner of the dialog box, and then we can see another pop-up dialog box.
In From text, we can adjust the space between the border and the text content by ourselves in order to make page looks more coordinated.
Click the Shadingtab in the dialog, and then click the Patterns drop-down button, here we can select our favorite color to fill the area of your selected text.If we want to fill the border with different styles, we can also select it in Pattern.
After we finish selecting the settings, click the OK button to apply the pattern you select from the style list to the text. To be office word advancers, we could learn how to use WPS Office Writer online in WPS Academy.


15 years of office industry experience, tech lover and copywriter. Follow me for product reviews, comparisons, and recommendations for new apps and software.


Does this video help you?