
Adding a curve to your text in PowerPoint can be a game-changer for your presentations. It's a creative touch that not many people know about. This article will show you step-by-step how to do it, making your presentations really stand out. Let's dive in!
Part 1. How to Bend Text in PowerPoint?
Bending text in PowerPoint can add a dynamic touch to your presentations. Here’s a step-by-step guide on how to do it, along with my personal insights on each method.
Method 1: Using the Format Tab
Step 1: Click on the text box containing the text you want to bend.
Step 2: Navigate to the Format tab.
Step 3: Click on "Text Effects" and select "Transform."
Step 4: Choose the bend or curve option that suits your preference.
This method provides a straightforward way to bend text, giving you control over the curvature. It's especially useful for creating eye-catching titles.
Method 2: Utilizing the Rotation Handle
Step 1: Select the text box.
Step 2: Locate the rotation handle (a white circle) at the top of the text box.
Step 3: Click and drag the handle to adjust the curvature.
This method offers a more hands-on approach. It allows for precise adjustments, making it ideal for customizing the text's curve to your liking.
Method 3: Combining Shapes
Step 1: Insert a shape like an arc or circle.
Step 2: Add your text inside the shape.
Step 3: Adjust the size and position of the shape to control the bend.
While slightly more involved, this method grants a high degree of customization. It's excellent for creating unique and artistic text designs.
Method 4: Using WordArt
Step 1: Go to the Insert tab and select WordArt.
Step 2: Type your text and choose a style.
Step 3: After inserting, click on the WordArt object.
Step 4: Use the circular arrow handle to bend the text.
WordArt provides a creative platform for bending text. It's versatile and can lead to visually striking results.
Ultimately, the best way to bend text in PowerPoint depends on your individual needs and preferences. If you are looking for a quick and easy way to bend text, I recommend using the Text Effects feature. If you need more options for customizing the appearance of the text, you can use the WordArt feature.
Part 2. What are some tips for Bending Text in PowerPoint
Bending text in PowerPoint can be a powerful design element, but it requires finesse for optimal results. Here are some expert tips to help you master this technique:
Choose the Right Font: Not all fonts bend well. Opt for clean, sans-serif fonts that maintain readability even when curved.
Limit the Amount of Text: Curved text is most effective when it's concise. Long sentences or paragraphs can become difficult to read.
Consider Hierarchy: If you have multiple lines of text, consider varying the curve or angle to emphasize key points.
Use Guides for Precision: PowerPoint offers guides to help align and position objects. Utilize these to ensure your curved text is perfectly placed.
Experiment with Effects: Explore other text effects, like shadows or glows, to enhance the visibility and impact of curved text.
Test for Readability: Before finalizing your design, step back and view it from a distance. This helps ensure that your audience can easily read the curved text.
Avoid Overcrowding: Don’t overcrowd the slide with too much curved text. Leave enough white space for visual balance.
Animate Thoughtfully: If you choose to animate the curved text, do so in a way that doesn’t distract from the content.
Consider Context: The purpose of your presentation should guide the use of curved text. It may be ideal for titles and headings but less suitable for body text.
Practice Patience: Achieving the perfect curve might take a few attempts. Don't be afraid to fine-tune until it looks just right.
By incorporating these tips, you'll be able to use curved text effectively, enhancing the visual appeal and impact of your PowerPoint presentations. Remember, practice makes perfect!
Part 3. Best Free Office Suite on Your PC - WPS Office
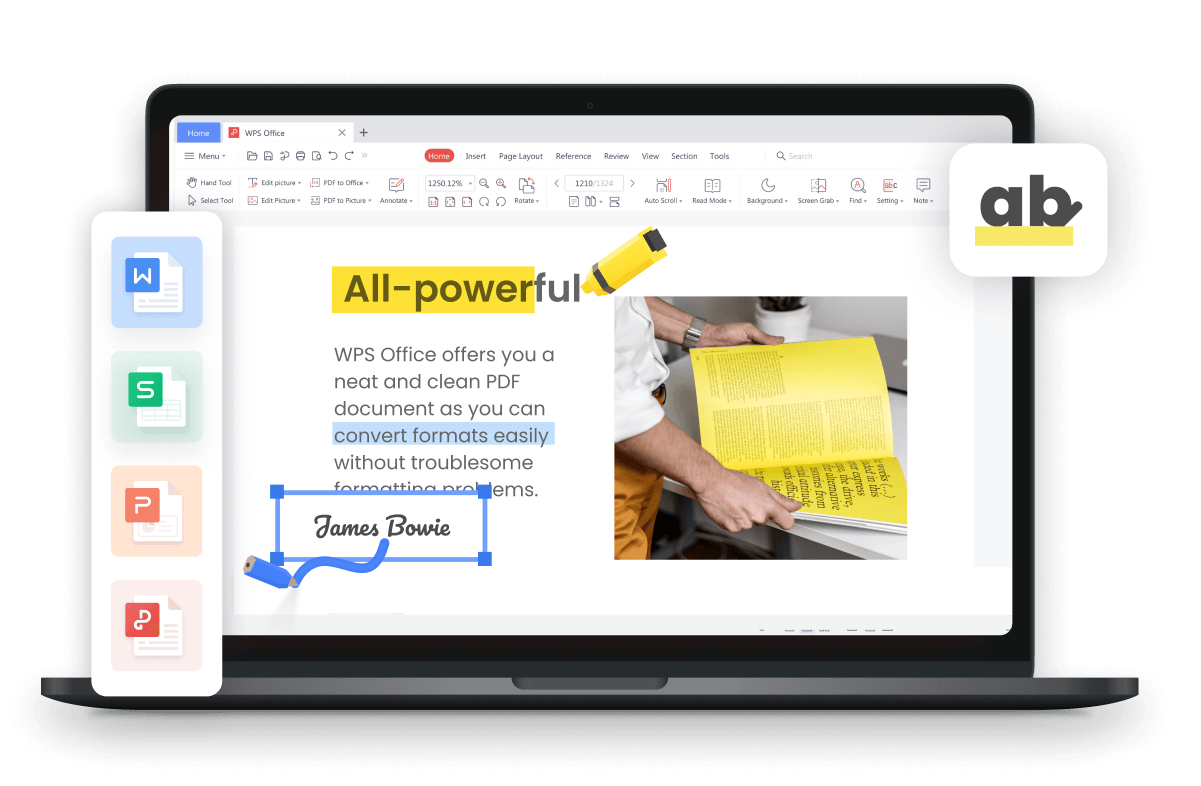
WPS Office is a free and open-source office suite that includes word processing, spreadsheet, and presentation software. It is compatible with Microsoft Office, LibreOffice, and Google Workspace, so you can easily open and edit documents created in these other programs. WPS Office also offers a variety of features that are not available in Microsoft Office, such as the ability to bend text and create custom document templates.
I have been using WPS Office for several years now, and I have been very impressed with it. It is a powerful and versatile office suite that offers all of the features that I need. I also appreciate the fact that it is free and open-source.
How to download WPS Office
To download WPS Office, follow these steps:
Step 1: Go to the official website: Visit " www.wps.com".
Step 2: Find the download button: Look for a prominent button that says "Download WPS Office".
Step 3: Select your operating system: Choose the version compatible with your system (Windows, macOS, Android, iOS, etc.).
Step 4: Start the download: The download should begin automatically. If not, there will be a clear option to start it.
Step 5: Install WPS Office: Locate the downloaded file and double-click to run the installer. Follow the on-screen instructions for installation.
How to bend text in WPS Office
To bend text in WPS Office, follow these steps:
Step 1: Open the WPS Office Writer or Presentation software.
Step 2: Select the text that you want to bend.
Step 3: On the Shape Format tab, click Text Effects and then select Transform.
Step 4: Choose a path or warp effect.
Step 5: Adjust the effect to your liking.
Tips for bending text in WPS Office
Use a large font size. Smaller fonts will be more difficult to read when bent.
Use a consistent curve. Don't bend your text too much in one place and not enough in another. This will make your text look messy and unprofessional.
Use color to your advantage. You can use color to make your bent text stand out or to blend it in with the rest of your document.
Use sparingly. Bending text can be a great way to add visual interest to your document, but don't overuse it. Too much bent text can be distracting and make your document look cluttered.


FAQs
How to make text slanted in PowerPoint?
To make text slanted (italicized) in PowerPoint, follow these steps:
Step 1: Open your PowerPoint presentation and select the text you want to slant.
Step 2: Go to the "Home" tab in the PowerPoint ribbon.
Step 3: Locate the "Font" section.
Step 4: Click on the small arrow in the bottom right corner of the "Font" section. This opens the Font dialog box.
Step 5: In the Font dialog box, go to the "Font Style" dropdown menu.
Step 6: Select "Italic" from the list of options.
Step 7: Click "OK" to apply the italic formatting to the selected text.
Your text will now appear slanted or italicized in your PowerPoint slide.
How can I adjust the curve of the text in PowerPoint?
To fine-tune the curve of text, select the text box, go to the "Format" tab, then click "Text Effects." From there, choose "Transform" and select the desired curve style. You can further customize the curve using the "Edit Points" option.
Is it possible to curve text around a specific shape or object in PowerPoint?
Yes, you can curve text around a shape. First, insert the shape, then select both the shape and the text. Go to the "Format" tab, choose "Wrap Text," and select the desired wrapping style.
Can I animate curved text in a PowerPoint presentation?
Absolutely! To animate curved text, select the text box, go to the "Animations" tab, and choose an animation effect. You can further customize the animation settings in the Animation Pane.
Summary
In this comprehensive guide, we've delved into the art of bending text in PowerPoint, providing a step-by-step tutorial along with valuable tips to enhance your presentations. We've also shed light on the powerful WPS Office suite, emphasizing its compatibility and highlighting its advantages over other office software. With a focus on user-friendly instructions and a creative touch, this article aims to empower you in creating captivating presentations. Remember, utilizing WPS Office can be a game-changer in your office productivity.


