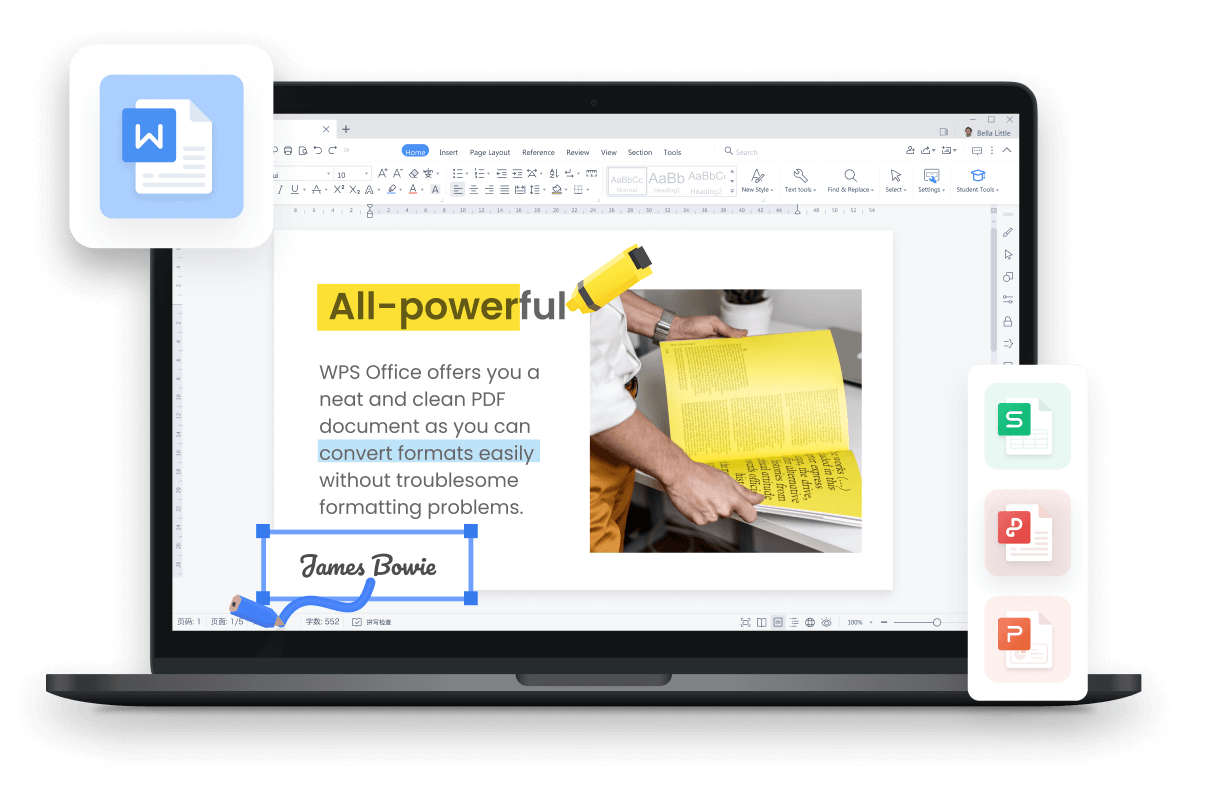
Free All-in-One Office Suite with PDF Editor

Edit Word, Excel, and PPT for FREE.
Read, edit, and convert PDFs with the powerful PDF toolkit.
Microsoft-like interface, easy to use.
Windows • MacOS • Linux • iOS • Android
How to use the screenshot tool in WPS Writer
Uploaded time: November 16, 2021 Difficulty Beginner
How to use the screenshot tool in WPS Writer

How to use the screenshot tool in WPS Writer
Many people don't know how to take screenshots when using WPS Writer. Let's take a look at how to use the WPS screenshot tool.
First, click the Insert tab to find the Screenshot button. And in the Screenshot drop-down list, we can choose the screenshots of areas with different shapes. They are respectively: Rectangle screenshot, Oval screenshot, Rounded rectangle screenshot and Polygon screenshot.
.gif")
We can click Screenshot to take a screenshot within the WPS Writer interface. Its shortcut is Ctrl+Alt+X.
If we want to hide the WPS Writer interface and take a screenshot from other web pages, we can click Hide current window when screenshot. Its shortcut is Ctrl+Alt+C.
.gif")
Click Screenshot, and at the top of the screen, we can freely choose the shape of the screenshot and then drag the mouse to select the screenshot area.
In the shortcut menu bar below, we can format and mark the screenshot area.
.gif")
Here, I would like to introduce you to a very convenient small feature. By clicking Pin, we can place screenshots outside the WPS editing area so that when we edit a document, we don't have to jump between pages if we encounter the web page content that we need to refer to.
.gif")
To be office word advanced, you could learn how to use WPS Office Writer online in WPS Academy.


15 years of office industry experience, tech lover and copywriter. Follow me for product reviews, comparisons, and recommendations for new apps and software.


Does this video help you?