
'%3e%3cpath%20d='M8%200C12.4183%200%2016%203.58172%2016%208C16%2012.4183%2012.4183%2016%208%2016C3.58172%2016%200%2012.4183%200%208C0%203.58172%203.58172%200%208%200ZM11.6162%204.38379C11.2257%203.99337%2010.5927%203.99338%2010.2021%204.38379L8%206.58594L5.79785%204.38379C5.40732%203.99334%204.77429%203.99329%204.38379%204.38379C3.99331%204.77429%203.99335%205.40733%204.38379%205.79785L6.58594%208L4.38379%2010.2021C3.99348%2010.5927%203.99341%2011.2257%204.38379%2011.6162C4.77426%2012.0066%205.40734%2012.0065%205.79785%2011.6162L8%209.41406L10.2021%2011.6162C10.5927%2012.0066%2011.2257%2012.0067%2011.6162%2011.6162C12.0067%2011.2257%2012.0066%2010.5927%2011.6162%2010.2021L9.41406%208L11.6162%205.79785C12.0066%205.40735%2012.0066%204.77429%2011.6162%204.38379Z'%20fill='%23080E17'%20fill-opacity='0.46'/%3e%3c/g%3e%3cdefs%3e%3cclipPath%20id='clip0_3761_713'%3e%3crect%20width='16'%20height='16'%20fill='white'/%3e%3c/clipPath%3e%3c/defs%3e%3c/svg%3e)


'%3e%3cpath%20fill-rule='evenodd'%20clip-rule='evenodd'%20d='M21.4999%2010.9993C21.4999%205.20009%2016.7986%200.498901%2010.9993%200.498901C5.19994%200.498901%200.498657%205.20009%200.498657%2010.9993C0.498657%2016.2404%204.33858%2020.5844%209.35855%2021.3722V14.0346H6.69238V10.9993H9.35855V8.68594C9.35855%206.05427%2010.9262%204.60062%2013.3248%204.60062C14.4736%204.60062%2015.6753%204.80571%2015.6753%204.80571V7.38979H14.3512C13.0468%207.38979%2012.64%208.19921%2012.64%209.0296V10.9993H15.5523L15.0867%2014.0346H12.64V21.3722C17.66%2020.5844%2021.4999%2016.2404%2021.4999%2010.9993Z'%20fill='%231568EA'/%3e%3c/g%3e%3c/svg%3e)


Feeling perplexed about navigating the intricacies of academic writing? Fret not, as WPS Writer comes to the rescue with an abundance of student tools. These tools are your key to enhancing the quality of your assignments, essays, and research papers. Join us in unraveling the secrets of mastering these writer's toolbox essentials at WPS. Your journey to writing excellence begins here!
Part 1. What is WPS Write?

Before we dive into the world of student tools, let's set the stage with a brief introduction to WPS Write. What is this versatile word processing software, and what are the features that set it apart? Get ready to embark on a journey of exploration.
WPS Write is a dynamic word processing tool. Think of it as your digital workspace where words take shape. From crafting academic essays to mastering the art of
WPS Write has a wide range of features helpful for students, including:
Templates for Projects: WPS Write has ready-to-use templates for essays, reports, and presentations, making it easier for students to start their assignments.
Easy Citations: Students can manage citations effortlessly using WPS Writer's tools, ensuring proper credit for sources in research papers.
Teamwork Made Simple: Collaborative editing lets students work together on group projects in real time, even if they're not in the same place.
Table of Contents: WPS Write helps create neat tables of contents and headings, keeping longer documents well-organized.
Math Made Easy: The equation editor assists students in writing and displaying complex math equations neatly.
Spelling and Grammar Help: Built-in checks catch mistakes, boosting the quality of assignments before submission.
Feedback and Comments: Students and teachers can exchange ideas using annotations and comments, aiding in revisions.
PDF Submission: WPS Write lets students save assignments as PDFs, which are often required for online submissions.
Access Anywhere: Documents are safely stored in the cloud, meaning students can work on them from different devices.
Language Help: The language translation feature is handy for understanding foreign texts or working in different languages.
Present with Confidence: Presentation mode helps students create engaging slideshows for class presentations.
In a nutshell, WPS Write provides students with tools to start, improve, and present their assignments effectively.
To use WPS Write, you can follow these steps:
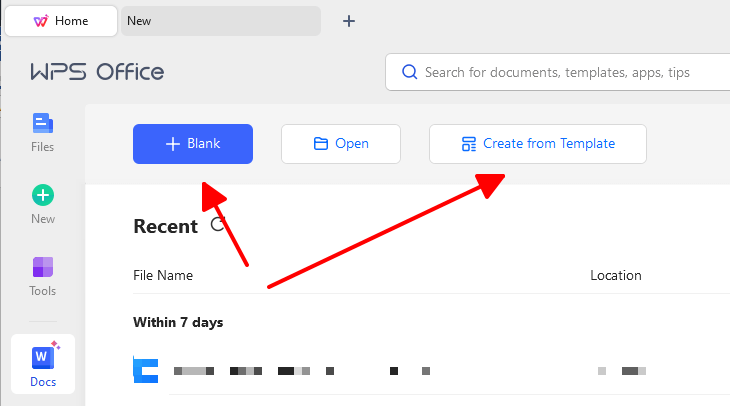
Step 1. Open WPS Write.
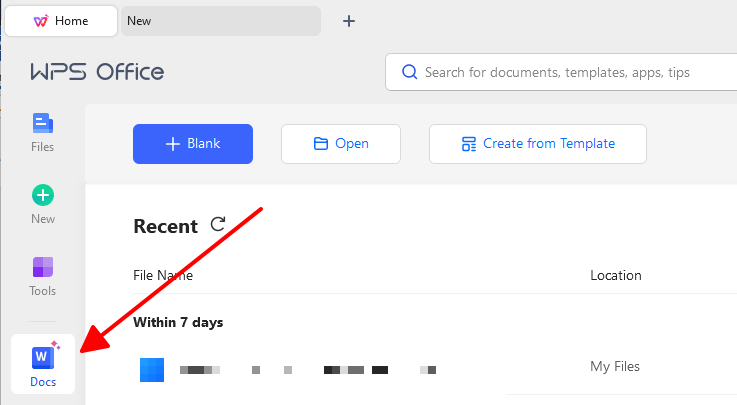
Step 2. Choose a template or create a new document.
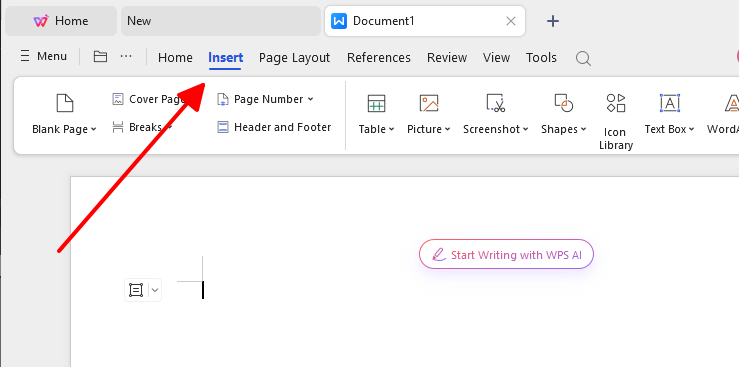
Step 3. Format your text, insert images, and create tables.
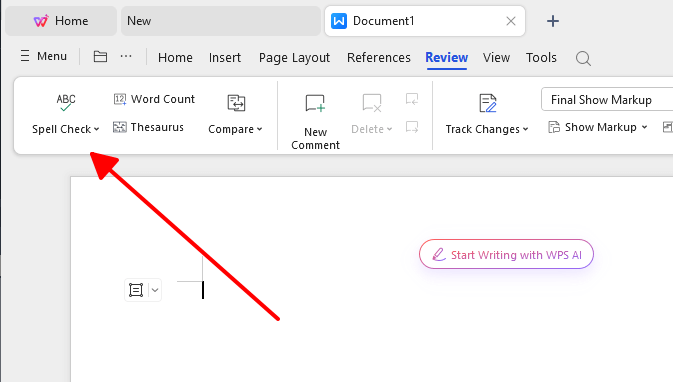
Step 4. Spell check and grammar check your document.
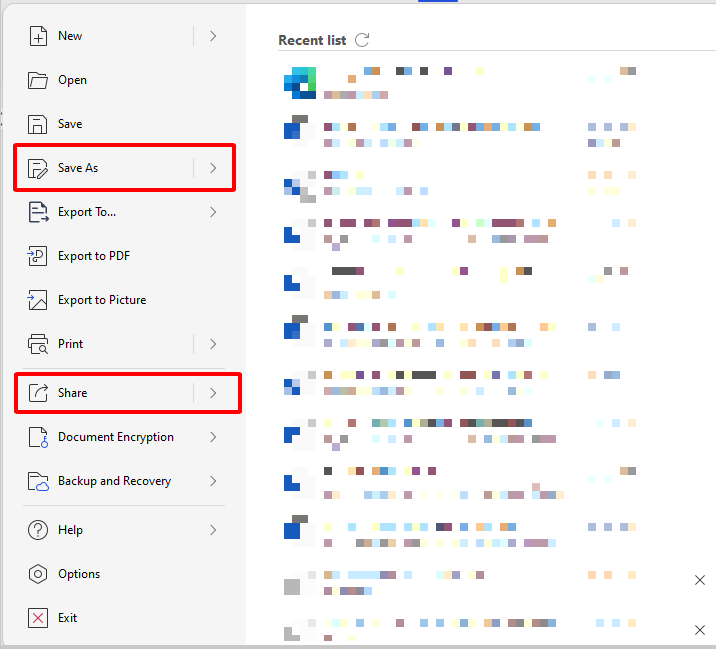
Step 5. Save and share your document.
Here are some additional features of WPS Write:
Cloud storage: WPS Write supports cloud storage, so you can access your documents from anywhere.
Mobile app: There is a WPS Write mobile app that you can use to create and edit documents on your phone or tablet.
Accessibility features: WPS Write has accessibility features that make it easier for people with disabilities to use the software.
Part 2. Student Tools Unique features in WPS Write.
Student Tools is a collection of features in WPS Write that are designed to help students with their studies.
These features include:
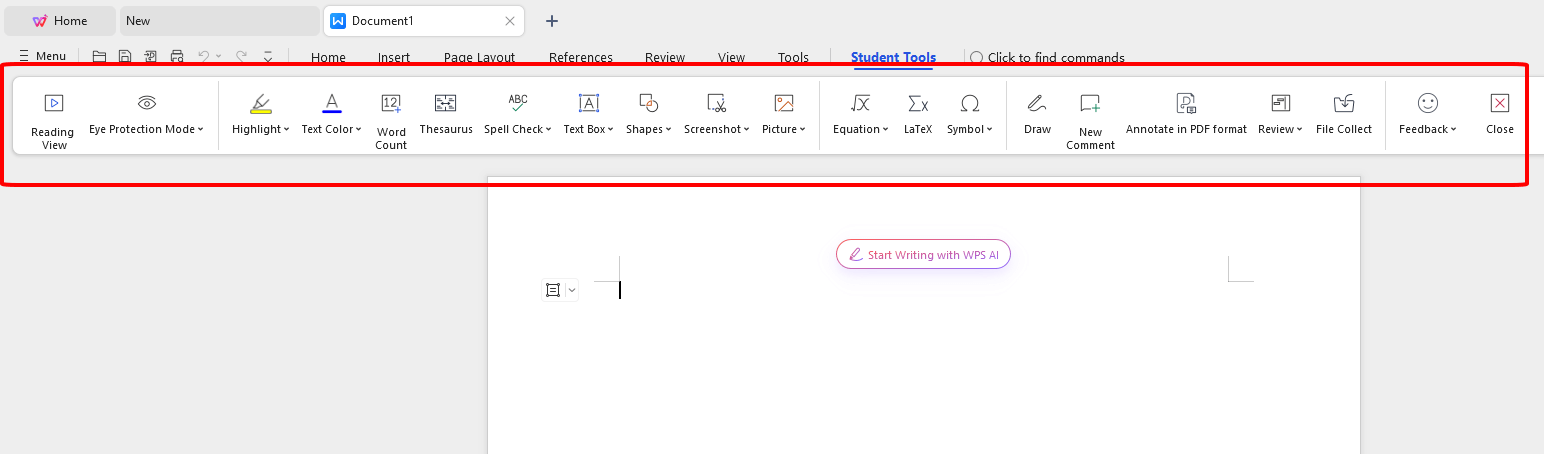
Reading view mode: This mode allows students to focus on the content of their document without distractions.
Reviewing tools: These tools allow students to track changes to their documents and collaborate with others on their work.
Insert formula: This feature allows students to insert mathematical formulas into their documents.
Insert symbol: This feature allows students to insert special symbols into their documents.
Comment: This feature allows students to leave comments on their documents for themselves or others.
Unique features in WPS Write include:
A citation tool: The citation tool can help students create citations for their work in accordance with different citation styles.
A mind map tool: The mind map tool can help students brainstorm ideas and organize their thoughts.
A research tool: The research tool can help students find information on the internet.
A writing assistant: The writing assistant can help students improve their writing style and grammar.
Part 3. How to Use Student Tools in WPS Writer?
Learning by doing is the name of the game. Here's where the magic happens – we'll guide you through the steps of using student tools in WPS Writer, making your academic life smoother. But we're not stopping there. We're adding a personal touch, sharing our own experiences to bridge the gap between method and practice. You'll discover the art of collaborative document editing, the power of seamless citations, and the finesse of proper formatting. Ready to take the plunge?
To use the Student Tools in WPS Writer, you can follow these steps:
Step 1. Open the document that you want to use the Student Tools on.
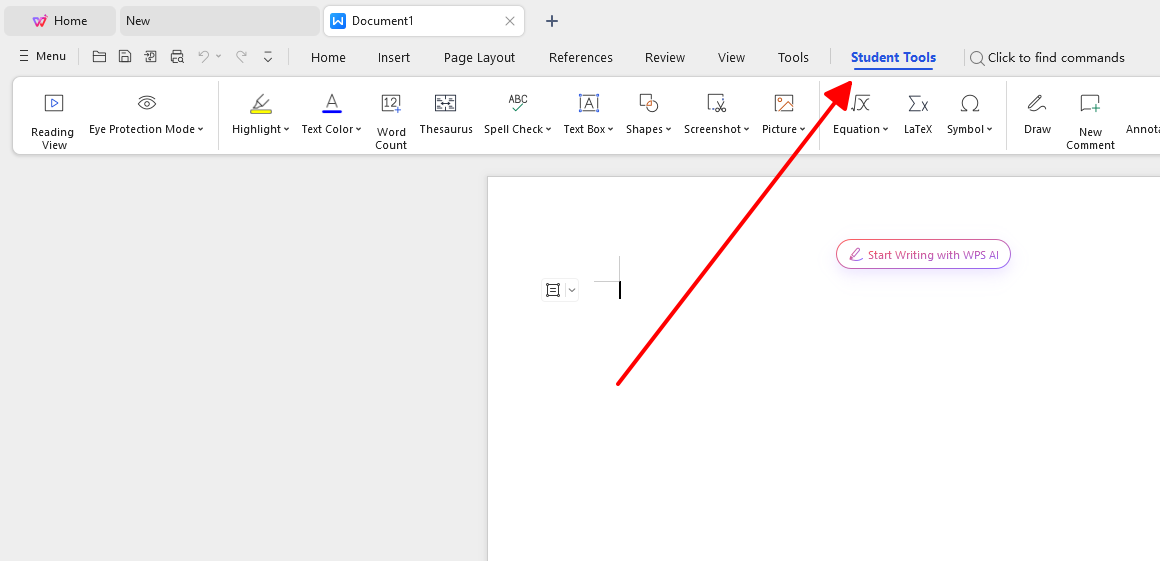
Step 2. Click on the Student Tools tab.
Step 3. Click on the button for the tool that you want to use.
Step 4. Follow the instructions in the tool to use it.
Here are some examples of how to use the Student Tools:
To use the citation tool, click on the Citation Tool button and select the citation style that you want to use. Then, enter the information for your citations and the tool will generate the citations for you.
To use the mind map tool, click on the Mind Map Tool button and start creating your mind map by adding nodes and links.
To use the research tool, click on the Research Tool button and search for information on the internet.
To use the writing assistant, click on the Writing Assistant button and the tool will scan your document for grammar and spelling errors and give you suggestions for improving your writing style.
Resonating Reminder:
By harnessing the Student Tools in WPS Writer, students can streamline their writing process and enhance the quality of their academic documents. These tools cater to the unique needs of students, helping them efficiently manage citations, organize content, and maintain proper formatting. Incorporating these tools can significantly contribute to improved productivity and higher-quality assignments.
Here are some specific feature of how the Student Tools in WPS Writer can help students:
Citation tools
Mind map tool
Research tools
Writing assistants
Part 4: College Students Why use the WPS Office?

WPS Office is a free and open-source office suite that is a popular alternative to Microsoft Office. It includes a word processor, spreadsheet, presentation software, and more. WPS Office is fully compatible with Windows and Mac, and it can open, create, edit, and save Microsoft Office files.
Here are some of the reasons why college students should use WPS Office:
It's free: WPS Office is a free and open-source software, which means that you can download and use it without having to pay anything.
It's compatible with Microsoft Office: WPS Office can open, create, edit, and save Microsoft Office files, which makes it a great choice for students who need to use both WPS Office and Microsoft Office.
It has a student version: WPS Office offers a student version that is free for students and teachers. This version includes all of the features of the regular version, plus some additional features that are designed for students, such as a plagiarism checker and a citation tool.
It has AI writing features: WPS Office has a number of AI writing features that can help students with their writing, such as a grammar checker, a style checker, and a writing assistant.


Steps to edit Word/Excel/Powerpoint in WPS:
Step 1. Download and install WPS Office on your computer.

Step 2. Open the WPS Office app.

Step 3. Click on the "File" menu and select "Open".
Step 4. Browse to the location of the Excel, Word, or PowerPoint file that you want to edit.
Step 5. Click on the file to open it in the WPS Office.
Step 6. Make your edits to the file.
Step 7. When you are finished editing, click on the "File" menu and select "Save".

Steps to Use WPS AI:
Step 1. Open the WPS Office application.
Step 2. Click on the AI button.

Step 3. Select the AI writing feature that you want to use.

Step 4. Follow the instructions in the AI writing feature to use it.
To find the WPS AI dashboard:
Step 1. Open the WPS Office application.
Step 2. Click on the AI button.
Step 3. The WPS AI dashboard will open.

FAQs
1.How do you edit a document in Word step by step?
Step 1. Open Microsoft Word.
Step 2. Click "File" and select "Open."
Step 3. Choose your document and click "Open."
Step 4. Click "Enable Editing" if needed.
Step 5. Make changes by typing or deleting text.
Step 6. Use the "Home" tab for formatting.
Step 7. Check spelling and grammar in "Review" tab.
Step 8. Save your changes by clicking "File" and "Save."
Step 9. Close the document when done.
You've edited your Word document successfully!
2.How do you cross out and edit in Word?
Step 1. Open your Word document.
Step 2. Highlight text to cross out.
Step 3. Right-click and choose "Font."
Step 4. Select "Strikethrough" and click "OK."
Step 5. Edit or add new text.
Step 6. Save your changes.
You've successfully learned how to cross out and edit in Word!
Summary
In this article, we explored the powerful world of WPS tools. We began by uncovering the capabilities of WPS Write, a versatile word processing tool that simplifies document creation. We then demystified the process of editing in Microsoft Word, including the art of cross-outs for revisions. Emphasizing the transformative potential of WPS Office, we highlighted its AI-powered features and seamless compatibility. Whether writing, editing, or managing documents, WPS tools offer a comprehensive solution for students seeking efficiency and quality. Harness the power of WPS to elevate your academic journey.

'%3e%3cpath%20d='M19.9911%204.11386V6.471H18.5894C18.0775%206.471%2017.7322%206.57814%2017.5536%206.79243C17.3751%207.00671%2017.2858%207.32814%2017.2858%207.75671V9.44421H19.9019L19.5536%2012.0871H17.2858V18.8639H14.5536V12.0871H12.2769V9.44421H14.5536V7.49779C14.5536%206.39064%2014.8632%205.53201%2015.4822%204.92189C16.1013%204.31177%2016.9257%204.00671%2017.9554%204.00671C18.8304%204.00671%2019.509%204.04243%2019.9911%204.11386Z'%20fill='%23333333'/%3e%3c/g%3e%3cdefs%3e%3cclipPath%20id='clip0_2938_8199'%3e%3crect%20width='16'%20height='16'%20fill='white'%20transform='translate(8%204.00671)'/%3e%3c/clipPath%3e%3c/defs%3e%3c/svg%3e)
'%3e%3cpath%20d='M17.5237%2010.7813L23.4811%204H22.0699L16.8949%209.88693L12.7648%204H8L14.2469%2012.9029L8%2020.0133H9.4112L14.8725%2013.7952L19.2352%2020.0133H24M9.92053%205.04213H12.0885L22.0688%2019.0224H19.9003'%20fill='%23333333'/%3e%3c/g%3e%3cdefs%3e%3cclipPath%20id='clip0_2938_8200'%3e%3crect%20width='16'%20height='16.0134'%20fill='white'%20transform='translate(8%204)'/%3e%3c/clipPath%3e%3c/defs%3e%3c/svg%3e)


