
Technology is changing education, and classroom apps play an important role in enhancing and improving the teaching and learning experience. With so many options available, it can be challenging for teachers to select the right tools. This article acknowledges this need by introducing the top 5 classroom apps for teachers in 2023, with detailed explanation of their pros and cons.
Part 1: Top 5 Classroom Apps for Teachers
1. Google Classroom:
Google Classroom is a free blended learning tool created by Google for educational institutions to simplify the task of creating, distributing and assessing assignments. Its main goal is to make file sharing between educators and students more efficient.
Google Classroom offers a seamless platform for assignments, communication, and grading, particularly convenient for users within the Google ecosystem. There are few features that Google Classroom provides.
Features:
Offers a platform for assignments, communication, and grading within the Google ecosystem.
Everything comes with a good side and a bad side. Here are the Pros and Cons of Google Classroom:
Pros of Google Classroom in Education |
Cons of Google Classroom in Education |
|---|---|
Works seamlessly with Google tools for collaboration. |
Some may need time to learn its features. |
It's free for educational institutions, reducing costs. |
Limited offline functionality. |
Easy access to files with Google Drive integration. |
Lacks advanced features of premium systems. |
Offers interactive features like polls and quizzes. |
Limited interface and course customization. |
Provides mobile apps for on-the-go access. |
Only works best in the Google ecosystem. |
So here comes the question, how to start to use Google Classroom? Don’t worry, let me teach you about it.
Step 1: Sign in your Google Account to enter Google Classroom.
Step 2: Click on create a class or join an existing class.
Step 3: Set up your class, including your class name, section, etc.
Step 4: Invite or add your student to the classroom. You can invite student by Classroom Code, Email, Invite Link or Google Contact.

Step 5: Customize your classroom appearance, theme or setting default landing page.
Step 6: Explore Additional Features
Congratulations! Now you can start using Google Classroom with all the resource libraries. And Google Classroom will continue to add new features and resources also, so you can take time to explore the additional tools and functionalities.
2. Microsoft Teams for Education:
Microsoft Teams is like a digital meeting place where you can chat, share content, and use different tools. For teachers, it's a convenient way to create a classroom, connect with other teachers, and chat with school staff. All of this is within Office 365 Education.
There are few features that Microsoft Team provides.
Features:
Provides a hub for collaboration, assignments, and communication for teachers and students.
Pros of Microsoft Office in Education |
Cons of Microsoft Office in Education |
|---|---|
Familiar to many students and teachers |
It's not free; schools may need to buy licenses. |
It works on most devices. |
It needs an internet connection for cloud features. |
It offers many useful tools. |
Some parts can be confusing for beginners. |
It connects with other Microsoft tools. |
Cloud storage may raise privacy issues. |
It includes features for students with disabilities. |
Updates can require adapting to changes. |
It provides templates and resources for education. |
Mobile apps may have less features. |
Did you know how to start to use Microsoft Team in education? Don’t worry, let me teach you about it.
Step 1: Sign in your Microsoft Teams Account online or in windows app.
Step 2: Create a new team or join an existing team.
Step 3: Choose the team type that you want to create. For example, Class.
Step 4: Set up your class detail and information.
Step 5: Add student or teacher to the class.
Step 6: Explore Additional Features.
Congratulations! Now you can start using Microsoft Teams in Education with all the resource libraries. And Microsoft Teams in Education will continue to add new features and resources also, so you can take time to explore the additional tools and functionalities.
3. ClassDojo:
ClassDojo is a company that helps teachers, students, and families in elementary schools communicate better. It has features like sharing photos and videos from the school day and messaging that can be translated into over 35 languages.
Here are some features that ClassDojo provided.
Features:
ClassDojo focuses on promoting positive classroom culture and enhancing parent-teacher communication.
Everything comes with a good side and a bad side. Here are the Pros and Cons of ClassDojo:
Pros of ClassDojo in Education |
Cons of ClassDojo in Education |
|---|---|
Create a positive classroom environment by rewarding good behavior. |
Primarily focused on behavior, may not cover academic needs extensively. |
Encourages student engagement by tracking and rewarding positive behaviors. |
Mainly designed for elementary levels. |
Allows instant communication between teachers and parents for progress updates. |
Storing student data in the cloud may raise privacy concerns. |
Easy to use for both teachers and parents, promoting widespread adoption. |
|
Promote seamless communication and strengthen home-school connections. |
|
ClassDojo is available for free |
|
Provides tools for effective classroom routines and activities. |
So how to start to use your ClassDojo? Follow the steps below and you will find out.
Step 1: Sign up or log in as teacher on your ClassDojo Account.
Step 2: Set up your class detail and information.
Step 3: Add or invite student or parent to the class.
Step 4: Explore Additional Features.
Congratulations! Now you can start using ClassDojo with all the resource libraries. And ClassDojo will continue to add new features and resources also, so you can take time to explore the additional tools and functionalities.
4. Seesaw:
Seesaw serves as a digital portfolio tool, empowering students to showcase their learning progress. Benefits include digital portfolios, student-driven content creation, and intuitive interfaces for all ages. Yet, some advanced features may require a paid subscription, consistent parent involvement is necessary, and it might not cover all academic needs.
Feature:
A digital portfolio tool that empowers students to showcase their learning progress.
Here is the list of Pros and Cons about Seesaw:
Pros:
Digital portfolios for tracking progress.
Encourages student-driven content creation.
Enhances parent engagement in the learning process.
User-friendly interface suitable for all ages.
Supports a variety of file types.
Cons:
Some advanced features may require a paid subscription.
Requires consistent parent involvement for optimal use.
May not fully cover all academic needs.
Seesaw is easy to use for students of all ages. To get started, please follow these steps:
Step1: Go to Seesaw website.
Step 2: Click on the “Sign Up for free” button.
Step 3: Use your google email to create account or create a new one.
Step 4: Create your class.
Congratulations! Now you can start using Seesaw with all the resource libraries.


5. Nearpod:
Nearpod lets teachers create interactive lessons with real-time engagement. It offers polls, quizzes, collaboration tools, and virtual reality. But, free features are limited, lesson creation takes time, and devices may be needed for full participation.
Feature:
Nearpod allows teachers to create engaging multimedia lessons that students can interact with in real-time.
Pros:
Interactive lessons that engage students.
Real-time student participation and engagement.
Features like polls, quizzes, and collaboration tools.
Virtual reality experiences for immersive learning.
Compatibility with various devices.
Integration with Google Slides and Microsoft PowerPoint.
Cons:
Limited free features; some advanced options may require payment.
Requires time to create engaging lessons.
Students may need devices for full participation.
Want to start to use Nearpod, please follow these steps:
Step 1: Go to Nearpod website.
Step 2: Click “Sign up” button for teachers.
Step 3: Fill your information to create a new account or use your google email.
Step 4: Answer all the questions.
Step 5: Start to use it.
Part 2: How to Improve Productivity with WPS Office
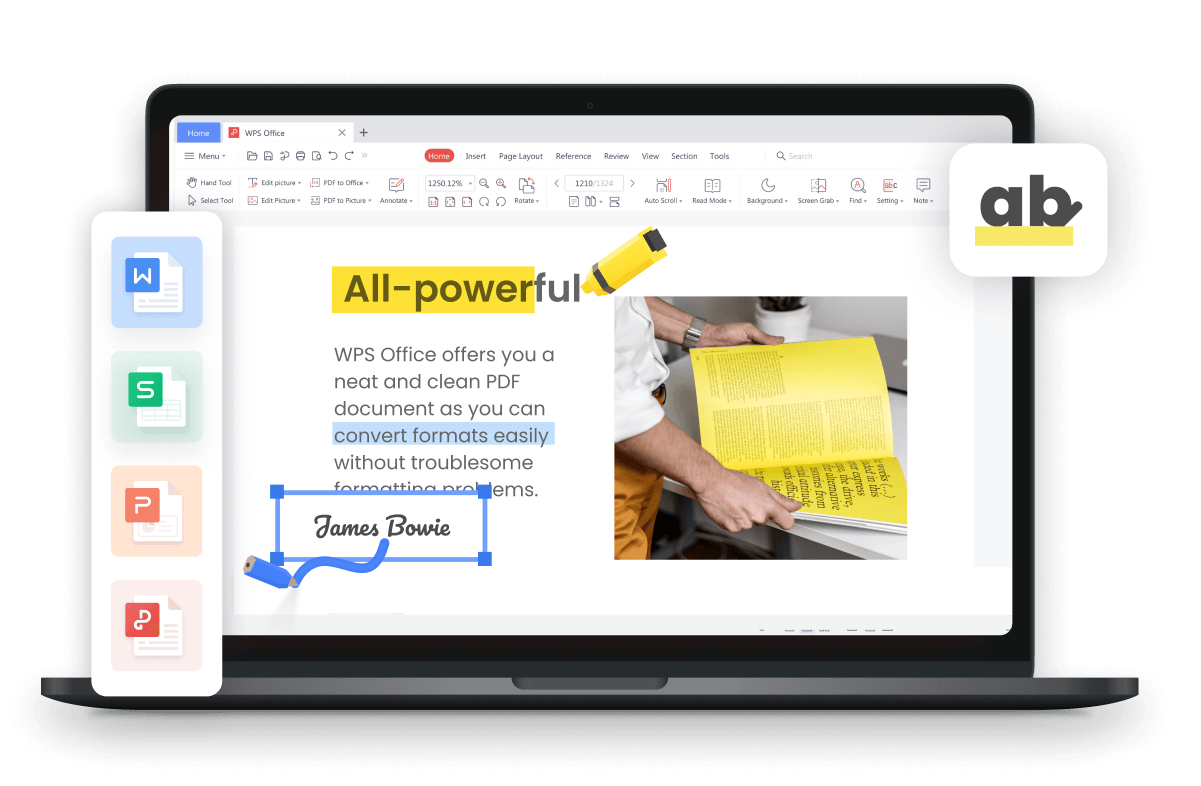
Editing your Word documents for free is easy with WPS Office, a versatile and cost-effective solution. Whether you're on Windows or Mac, WPS Office allows you to open, create, edit, and save Microsoft Office files, including Word, Excel, and PowerPoint, hassle-free.
Steps to edit Word/Excel/Powerpoint in WPS:
Step 1: Download and Install Wps Office.
Once you've selected the correct version, click on the download link. The installer file will be downloaded to your device. Run the installer and follow the on-screen instructions to install WPS Office, including WPS Excel.
Step 2: Open WPS Writer (Word), WPS Spreadsheets (Excel), or WPS Presentation (PowerPoint)
Step 3:
To edit a Word document: use the toolbar to format the text, insert tables, images, and other objects.
To edit an Excel spreadsheet: use the toolbar to enter data, create formulas, and charts.
To edit a PowerPoint presentation: use the toolbar to add slides, text, images, and other objects.
Step 4: Save Your Changes:
After making edits, click on "File" -> Choose "Save" to overwrite the existing file or "Save As" to create a new version.
Step 5: Close the Document:
When you're done editing, click on the "X" button in the top-right corner to close the document.
Step 6: Exit WPS Office:
Click on "File." -> Select "Exit" to close the application.
Congratulations! You've successfully edited Word, Excel, or PowerPoint documents using WPS Office.
Here are some step by step on how to use WPS AI:
Step 1: Download and open WPS Office.
Step 2: Open the WPS AI dashboard by clicking on the AI button in the toolbar.
Step 3: Select the AI feature you want to use.
-
In Word:
In PDF: Write the things you want to know and help from WPS AI and send.
With all these steps, you can already use the WPS AI function with no cost at all. How great is it! Really recommend you should try this NOW.
FAQs
1. What is the app so teachers can see students' screens?
Netop Vision allows teachers to monitor their students' computer screens to ensure productivity and restrict access to specific websites as needed.
2. Can teachers look at what you're doing on your phone?
While students have some rights to privacy at school, schools may search a student's phone if there is a reasonable suspicion of violating school rules.
Summary:
The article discusses the importance of technology in education and presents the top 5 classroom apps for teachers in 2023: Google Classroom, Microsoft Teams for Education, ClassDojo, Seesaw, and Nearpod, outlining their features and pros and cons.
After that, it shifts to improving productivity with WPS Office, offering a step-by-step guide for editing Word, Excel, and PowerPoint documents. WPS Office is highlighted as a valuable tool for educators and professionals due to its compatibility with Microsoft Office files.


