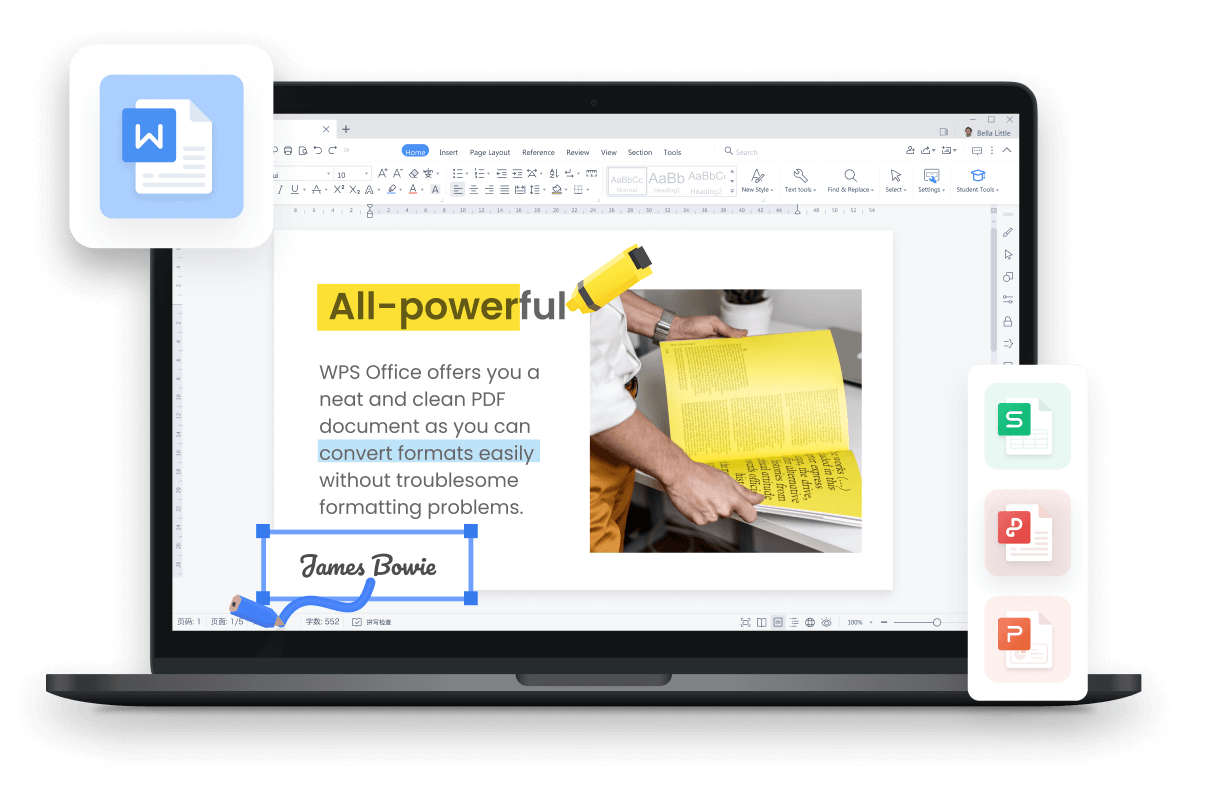
Free All-in-One Office Suite with PDF Editor

Edit Word, Excel, and PPT for FREE.
Read, edit, and convert PDFs with the powerful PDF toolkit.
Microsoft-like interface, easy to use.
Windows • MacOS • Linux • iOS • Android
How to use the spell-check function
Uploaded time: September 28, 2021 Difficulty Beginner
How to use the spell-check function

How to use the spell-check function
The spell-check function of WPS helps us to quickly check spelling mistakes and provides suggestions for corrections. It saves us a lot of time to align documents.
We can see that some of the content of this document has been marked with red underlines because WPS Office judged that the content of the text is wrong. At this time, we need to correct the marked content to eliminate these red underlines.
Click the Review tab and click the Spell Check button. A pane will pop up on the right side. Its shortcut key is F7.
Take the first wrong word ducuments as an example. When the mouse clicks where the word is located, the Suggestions will generate the correct word based on spelling intelligence.
Select the word that needs to be corrected, and then click Change. Then we can revise the word. Click Change All to correct the misspelling of all these words in the document.
We can see that some abbreviated words in the document are also marked for misspelling, and in fact, there are no errors in the words. In this case, we can choose to ignore or delete the marks completely.
· 1. Ignore
Take the xlxs in the second column as an example. Click xlxs, and Ignore Once in the pane to ignore the error message of this word, and click Ignore All to ignore all the error messages of this word in the document.
Note: Ignoring the marks does not completely clear the underlines prompt, it only turns the red underlines blue.
· 2. Delete
Take the ppt in the third column as an example. Click ppt, and click Add in the right pane, you will find that the underline is deleted. The purpose is to add this word to the proofing dictionary. If we encounter this word in the future, this word will no longer be marked incorrectly.
In the Spell Check drop-down button, we can choose Set Language according to the language in the document.
Click Options, and a dialog box will pop up. We can check the options of Spell Check and also Custom Dictionaries. These can be selected according to our needs.
To be office word advanced, you could learn how to use WPS Office Writer online in WPS Academy.
Also Read:


15 years of office industry experience, tech lover and copywriter. Follow me for product reviews, comparisons, and recommendations for new apps and software.


Does this video help you?