
'%3e%3cpath%20d='M8%200C12.4183%200%2016%203.58172%2016%208C16%2012.4183%2012.4183%2016%208%2016C3.58172%2016%200%2012.4183%200%208C0%203.58172%203.58172%200%208%200ZM11.6162%204.38379C11.2257%203.99337%2010.5927%203.99338%2010.2021%204.38379L8%206.58594L5.79785%204.38379C5.40732%203.99334%204.77429%203.99329%204.38379%204.38379C3.99331%204.77429%203.99335%205.40733%204.38379%205.79785L6.58594%208L4.38379%2010.2021C3.99348%2010.5927%203.99341%2011.2257%204.38379%2011.6162C4.77426%2012.0066%205.40734%2012.0065%205.79785%2011.6162L8%209.41406L10.2021%2011.6162C10.5927%2012.0066%2011.2257%2012.0067%2011.6162%2011.6162C12.0067%2011.2257%2012.0066%2010.5927%2011.6162%2010.2021L9.41406%208L11.6162%205.79785C12.0066%205.40735%2012.0066%204.77429%2011.6162%204.38379Z'%20fill='%23080E17'%20fill-opacity='0.46'/%3e%3c/g%3e%3cdefs%3e%3cclipPath%20id='clip0_3761_713'%3e%3crect%20width='16'%20height='16'%20fill='white'/%3e%3c/clipPath%3e%3c/defs%3e%3c/svg%3e)


'%3e%3cpath%20fill-rule='evenodd'%20clip-rule='evenodd'%20d='M21.4999%2010.9993C21.4999%205.20009%2016.7986%200.498901%2010.9993%200.498901C5.19994%200.498901%200.498657%205.20009%200.498657%2010.9993C0.498657%2016.2404%204.33858%2020.5844%209.35855%2021.3722V14.0346H6.69238V10.9993H9.35855V8.68594C9.35855%206.05427%2010.9262%204.60062%2013.3248%204.60062C14.4736%204.60062%2015.6753%204.80571%2015.6753%204.80571V7.38979H14.3512C13.0468%207.38979%2012.64%208.19921%2012.64%209.0296V10.9993H15.5523L15.0867%2014.0346H12.64V21.3722C17.66%2020.5844%2021.4999%2016.2404%2021.4999%2010.9993Z'%20fill='%231568EA'/%3e%3c/g%3e%3c/svg%3e)


Microsoft Word makes adding headers and footers to your documents simple, giving your project a professional look. These are ideal areas to place data such as the document name, author, date, and details such as page numbers and privacy specifications.
Users may not know how to make or add a header in Word in the right and effective way. So, how do Microsoft Word users make a header without messing with the document layout? This article will show you a step-by-step guide on how to create a header in Word.
How to Insert a Header and Footer in Microsoft Word
When discussing the header and footer of a Word document, we refer to the document's margins. Although both are in the margin, the header is at the top of the page, and the footer is at the bottom. Having the same heading across a document is only one of the many possible ways to use the header.
You can also have a different header on the first page but the same header on the rest or different headers on multiple pages. Carefully follow the steps below if you still need to learn how to add a header in Word. The steps are also synonymous with adding a footer to a Word document.
Step 1: To add a header or footer, launch Word and open the document.

Step 2: Select the Insert tab among the toolbar options.

Step 3: Click Header or Footer.

Step 4: Select a header or footer design style or the "blank" option to customize it to your taste.

Step 5: You can write text and insert or paste an image within the header or footer simultaneously. In addition, you can use the format or change it to a distinct font, size, and color of your choice in the Home tab.

Step 6: To close the edition, click on any space in the worksheet. You can also click the red "X" in the ribbon menu, "Close Header and Footer," to close the header entry area and return to the document. The header or footer will be displayed automatically and will be repeated on all sheets of the document.

Step 7: To totally clear the header or footer, click on Insert, then select header or footer, and finally, "Remove Header."

How to Create Headings in Word for Navigation
Word has a Navigation Panel tool that makes organizing and searching documents with substantial amounts of data easier. The tool helps the user see the document better by separating sections, showing page thumbnails, and searching for words and phrases.
It is perfect for papers, theses, and course conclusion works (TCC). Check out the guide below to learn how to create headings for navigation in the Microsoft text editor:
Step 1: Open your Word app and select an already formatted title. You can also format by clicking on "Styles" at the "Home" tab or using the shortcut Ctrl + Alt + 1-9 to choose from heading 1-9. For example, I'll have to press Ctrl + Alt + 3 on the sentence to get a heading 3 format.

Step 2: To activate the Headers feature, click the "View" tab and check the "Navigation Panel" box. You can also enable it by using a keyboard shortcut of Ctrl + F on Microsoft 365, 2021 and 2016.

Step 3: You can easily rearrange headings by dragging them up or down.
Step 4: When you right-click a title, you can change the heading's rank using the "Promote" and "Demote" options. Promote will raise the rank of the heading, and demote does the opposite. For example, clicking demote on heading 1 reduces its rank automatically to heading 2.

Step 5: Right-click on a heading and select "New Heading Before" or "New Heading After" to insert a new title above or below it.

Step 6: You can remove an entire heading and its corresponding text. To do this, right-click on the desired heading and select "Delete."

Best Free Alternative to Microsoft Office—WPS Office

Microsoft Office has been a prominent productivity tool in operation and market for a long time. It has set its standards as one of the best for writing any document. This gives it the strength to set its usage cost comparatively high among other productivity software.
But guess what? There's an alternative that offers the same service at relatively no cost! WPS Office is the best free option for Microsoft Word, which lets you do all services for free without activating any product keys. Below are the features WPS Office has that qualify it as the best alternative for your project.
Download for free: WPS Office provides a free version with essential features. Users can upgrade to a paid version for advanced tasks, but the free version is sufficient for most projects.
Compatibility: WPS Office lets you work with Microsoft Word documents without losing layout or functionality. It makes switching between the two easy and smooth.
Cross-platform compatibility: WPS Office is compatible with various file formats and works smoothly on Linux systems, Android, iOS, Windows, and Mac. It allows easy access to files from any device and location, and the WPS Cloud service enables data synchronization across devices.
Tabbed Interface: WPS Office lets you open multiple documents in tabs and switch or close them easily. This feature makes it easy to switch between documents quickly without cluttering your desktop.
User-friendly interface: WPS Office has a similar but simpler interface to Microsoft Word. If you are familiar with Microsoft Interface, you don't need any extra studies to operate WPS Office.
How to Insert a Header and Footer in WPS Writer
You must've wondered if you can also insert a header and footer in WPS Writer since we established it as the best alternative for MS Office. Whether you are using the desktop application or the version Word online, you can insert headers effortlessly. Well, doing that is just a breeze, and below is a step-by-step guide on how to add headers for different pages using WPS Writer:
Step 1: Open your document with WPS Writer.

Step 2: Select the Insert tab among the toolbar options.

Step 3: Click "Header and Footer" and write or insert an image in the box at the document's margin.

Step 4: Once you write or insert the image in the box, click on Cancel to stop the edit mode.


Use Word, Excel, and PPT for FREE, No Ads.
Edit PDF files with the powerful PDF toolkit.
Microsoft-like interface. Easy to learn. 100% Compatibility.
Boost your productivity with WPS's abundant free Word, Excel, PPT, and CV templates.

FAQs
Solving Common Problems Relating to Headers
What Is the Maximum Character Limit for Headers in Microsoft Word?
Headers in Microsoft Word are limited to 255 characters. Still, the margin and layout, page size and orientation, font size and style, and space between lines are all variables that might affect this. However, practical proof suggests that on a conventional 8.5 x 11-inch paper, the header text disappears or overlaps with the main text at roughly 5.5 inches.
Can I Have Different Headers on Odd and Even Pages?
Yes, Microsoft Word allows you to easily create unique headers for odd and even pages with only a few clicks. Below is how to add a header in Word for different pages, including odds and even:
Step 1: Open the document you want to add different headers to its even and odd pages in Word.
Step 2: Click on Insert and then select "Header."
Step 3: Check the "Different Odds & Even Pages" box in the ribbon menu.
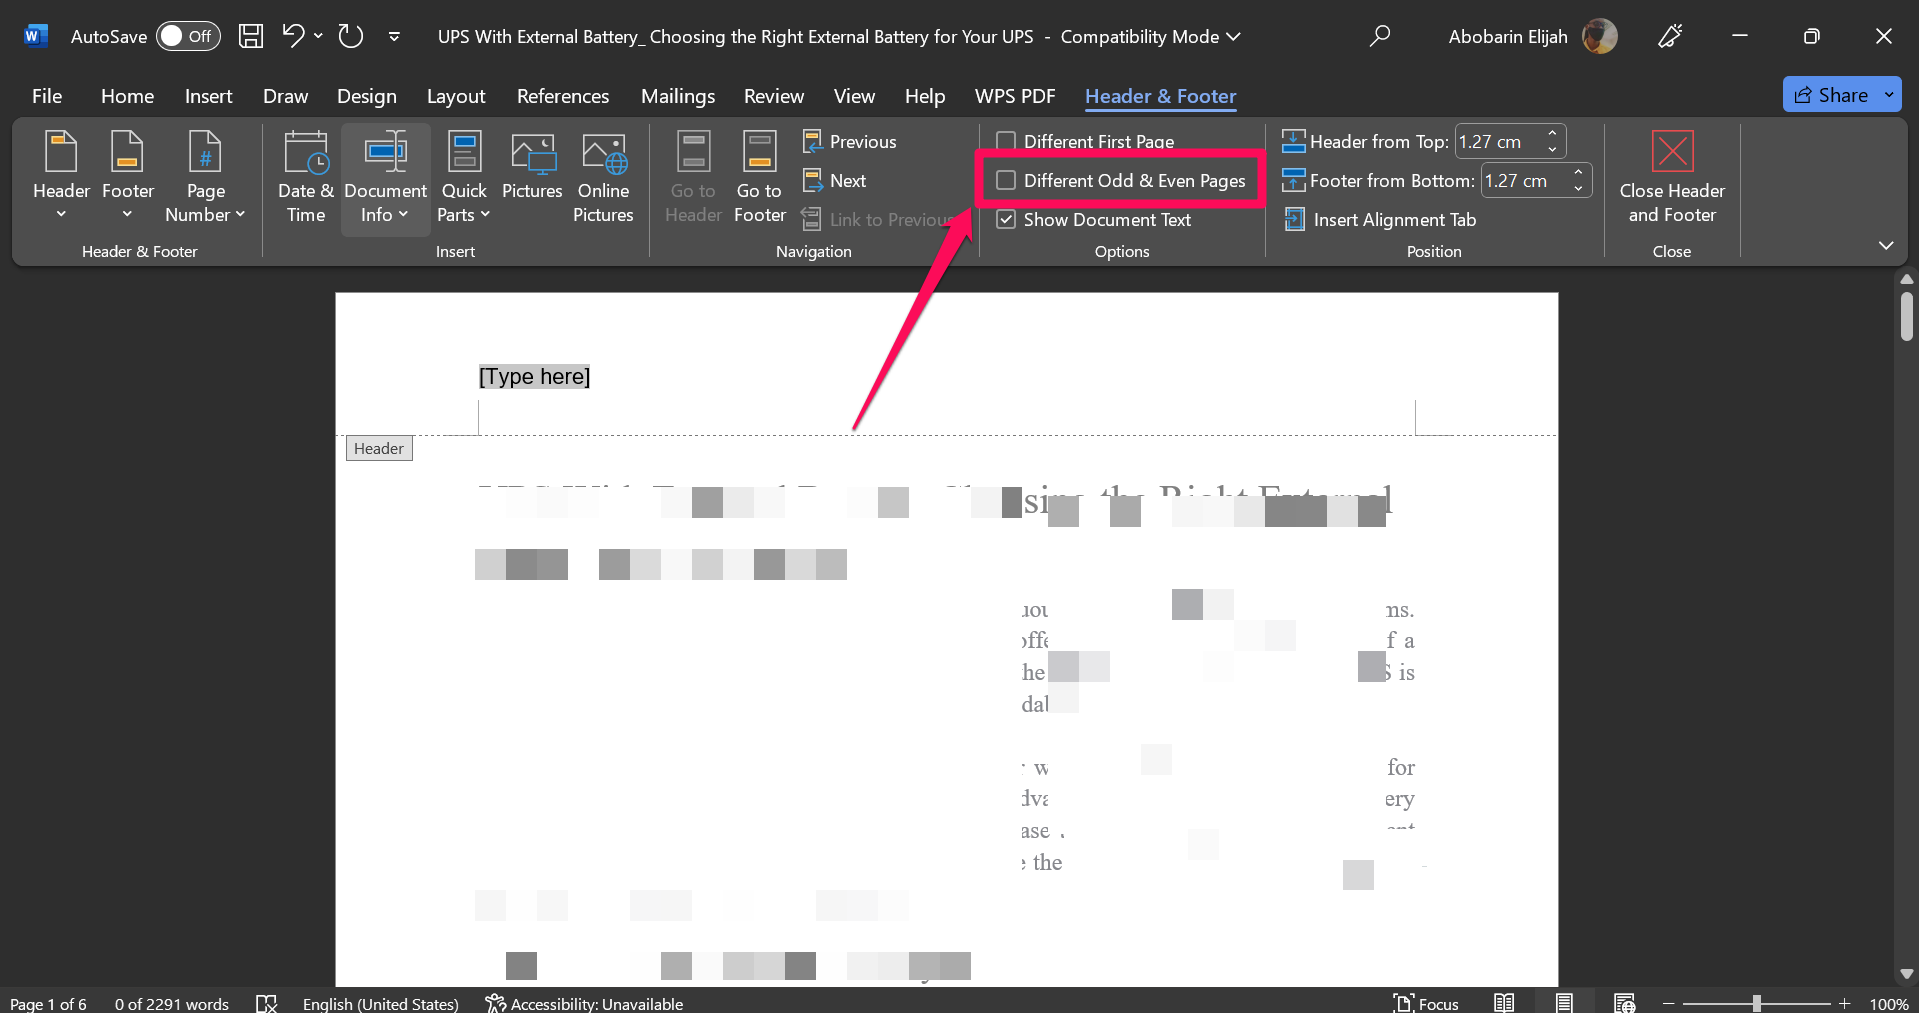
Step 4: Double-click on the header on the first page and type or insert what you want for the odd pages. Do that also for the second page to get the headers you want on even pages.

Step 5: Click the red "X" in the ribbon menu, "Close Header and Footer," to close the header entry area and return to the document.
Can I Remove Headers From Specific Pages?
Yes! You can remove headers on every specific page you want. You just have to remove them manually by inserting a section break on the page. Follow the steps below to delete the header or footer of a certain page:
Step 1: Go to the part you want to start a page that won't have a header and click "Layout." Adjusting the word layout here ensures the section break and headers align properly with the rest of your document.
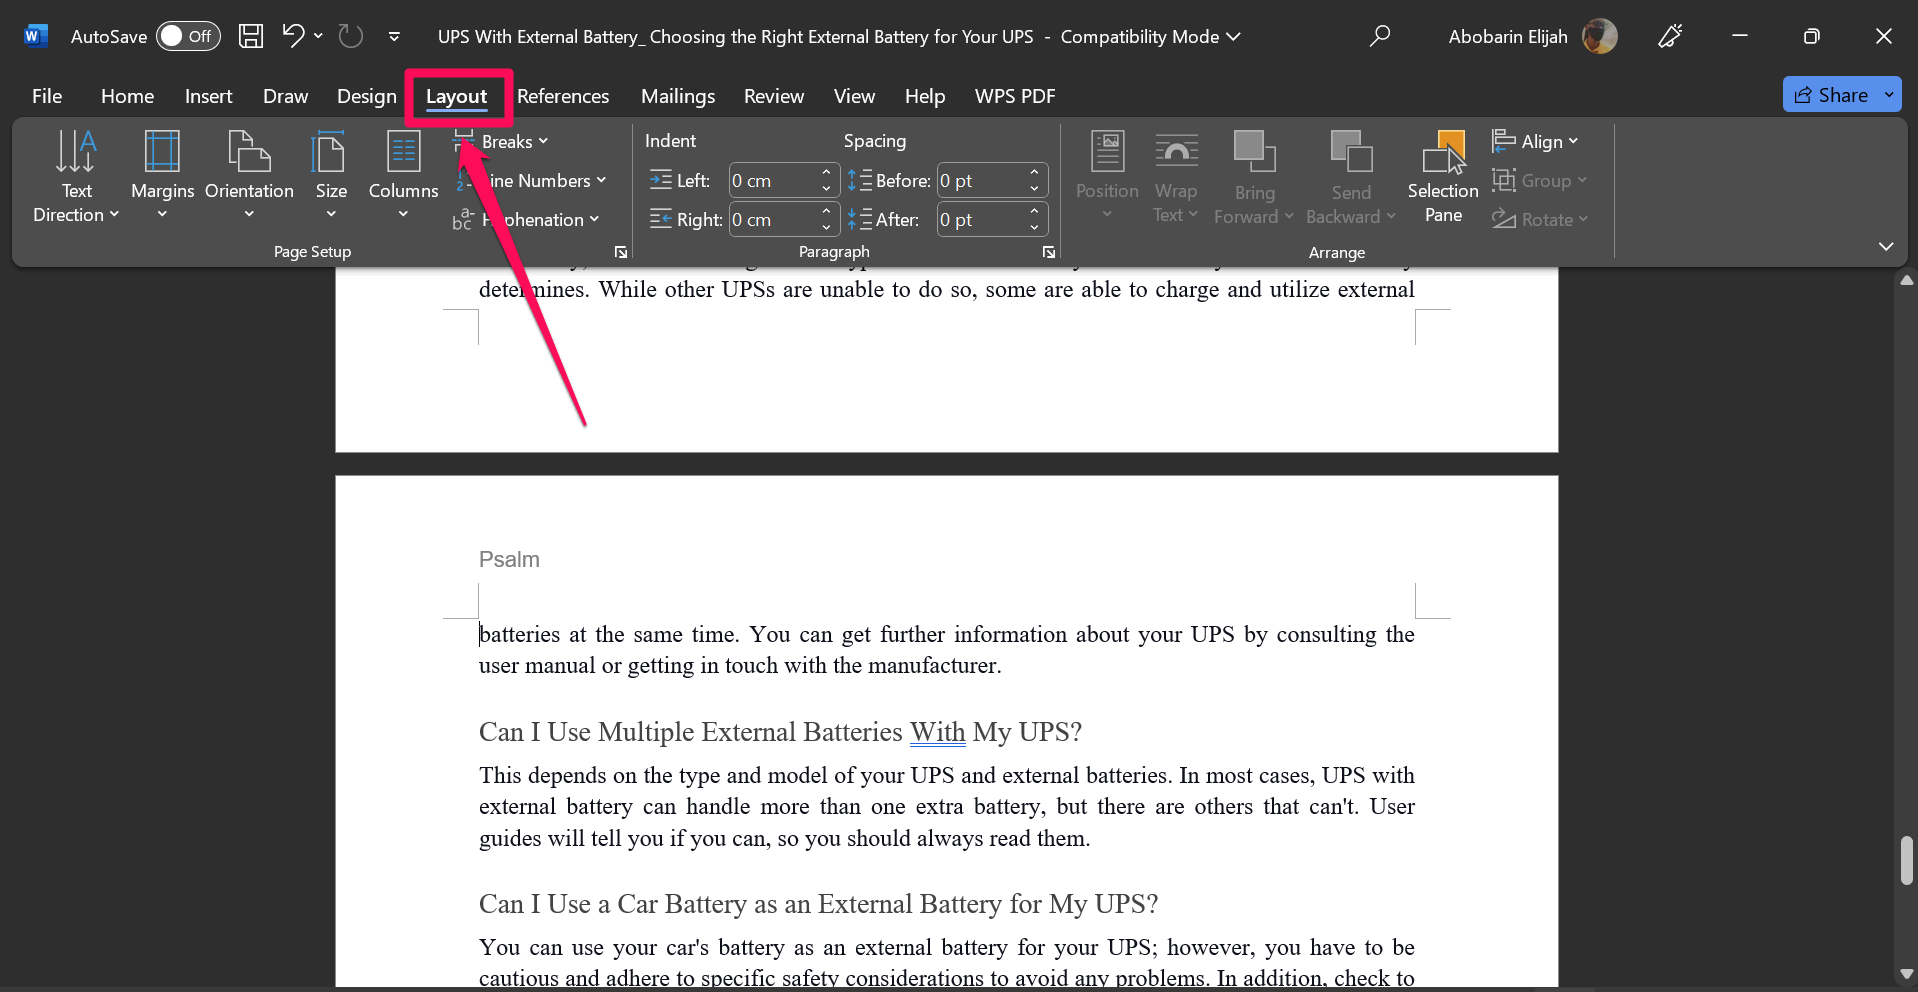
Step 2: On the ribbon menu, click "Breaks" and select "Next Page" under section breaks.

Step 3: Double-click on the header area to open its tab, then deselect "Link to Previous."

Step 4: After that, select "Header" and scroll down to click on "Remove Header."
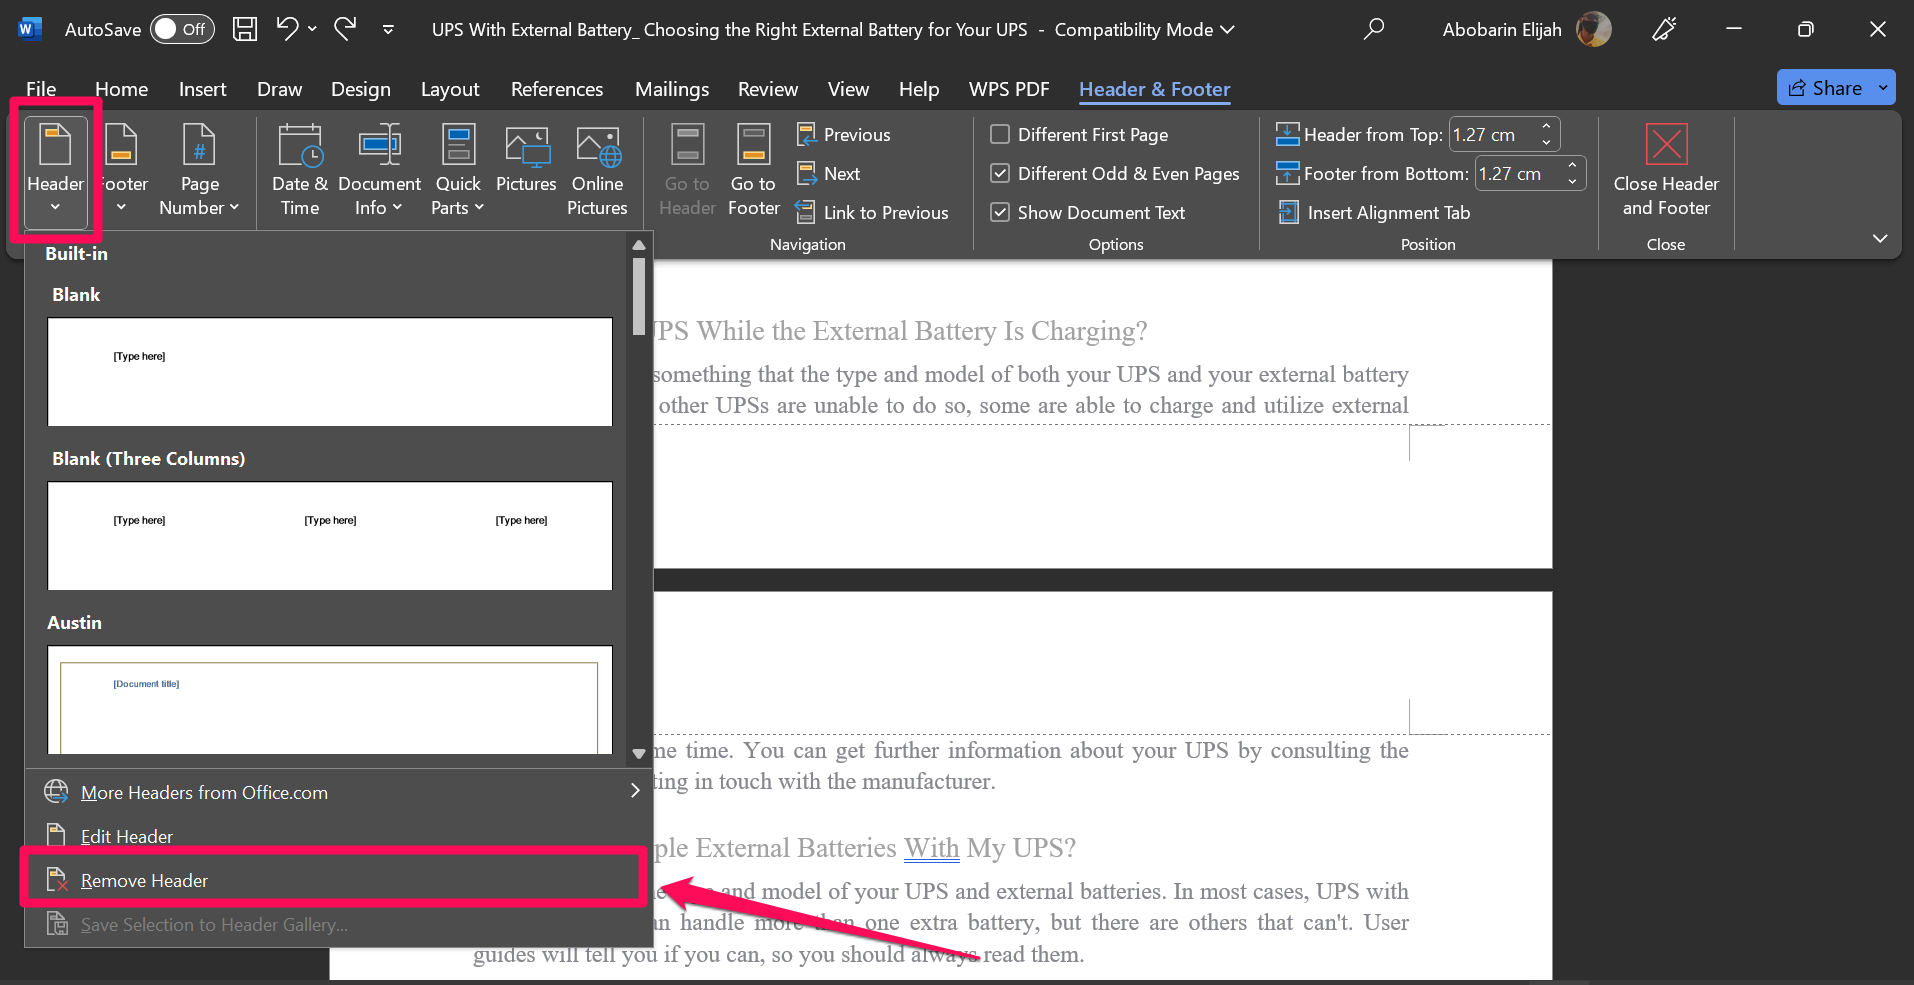
Step 5: Click the red "X, Close Header and Footer" in the ribbon menu to escape the header edit option.
Summary
Users who have never created a footer or header may find the process difficult. However, we have detailed the processes for doing so in both Microsoft Word and WPS Writer. Header and footer options range from premade to fully customizable.
We also discussed using headers to create a table of contents and facilitate smooth reading. You can format sections of your document with several heading levels, such as Heading 1, Heading 2, etc.
WPS Office is a free program that may be used as a substitute for Microsoft Office. WPS Writer, Presentation, and Spreadsheet are all part of WPS Office, a robust and cross-platform office suite. Its intuitive design, ease of use and navigation, and numerous features make it the top alternative to Microsoft Office.

'%3e%3cpath%20d='M19.9911%204.11386V6.471H18.5894C18.0775%206.471%2017.7322%206.57814%2017.5536%206.79243C17.3751%207.00671%2017.2858%207.32814%2017.2858%207.75671V9.44421H19.9019L19.5536%2012.0871H17.2858V18.8639H14.5536V12.0871H12.2769V9.44421H14.5536V7.49779C14.5536%206.39064%2014.8632%205.53201%2015.4822%204.92189C16.1013%204.31177%2016.9257%204.00671%2017.9554%204.00671C18.8304%204.00671%2019.509%204.04243%2019.9911%204.11386Z'%20fill='%23333333'/%3e%3c/g%3e%3cdefs%3e%3cclipPath%20id='clip0_2938_8199'%3e%3crect%20width='16'%20height='16'%20fill='white'%20transform='translate(8%204.00671)'/%3e%3c/clipPath%3e%3c/defs%3e%3c/svg%3e)
'%3e%3cpath%20d='M17.5237%2010.7813L23.4811%204H22.0699L16.8949%209.88693L12.7648%204H8L14.2469%2012.9029L8%2020.0133H9.4112L14.8725%2013.7952L19.2352%2020.0133H24M9.92053%205.04213H12.0885L22.0688%2019.0224H19.9003'%20fill='%23333333'/%3e%3c/g%3e%3cdefs%3e%3cclipPath%20id='clip0_2938_8200'%3e%3crect%20width='16'%20height='16.0134'%20fill='white'%20transform='translate(8%204)'/%3e%3c/clipPath%3e%3c/defs%3e%3c/svg%3e)


