

Windows 11 is an extremely powerful OS, but Microsoft has made it very difficult to set up a Windows 11 local account without forcing a Microsoft login. This frustrates many people, including me, who value privacy and don't want our activity to be tracked 24/7, so that we aren't bombarded with targeted ads 24/7.
Although logging in with Microsoft's account has many benefits, like seamless integration with OneDrive and Microsoft Office 365. However, despite these advantages, people who value privacy prefer to have a local account.
But Microsoft has recently removed the option to bypass the online account requirement. For some time, users were able to make do without the online account requirement, but now Microsoft has started closing all the gaps, and I'm sure you're finding it hard to find the right information to work around this.
However, no matter how many roadblocks Microsoft might put up, there are still ways to get around them, and that is exactly what I will be helping you with in this step-by-step, beginner-friendly guide.
How to Set Up a Local Account During Windows 11 Installation (3 Easy Methods)
Microsoft may want to make it difficult, but you can still set up your Windows 11 local account setup with a local account. In this section, I'll walk you through three reliable methods to bypass the online account setup and create a local account instead.
These methods are arranged from easiest to most advanced. If one doesn’t work on your Windows build, try the next.
Method 1: Disconnect from the Internet (Recommended and Easiest)
This is hands down the easiest method to activate the offline setup.
Just start installing Windows 11 like you normally would. When you hit the “Let’s connect you to a network” screen, here’s what to do:
Step 1: If you're using Wi-Fi, click the Wi-Fi icon and choose "I don’t have internet", or if you're on Ethernet, just unplug the cable.

Step 2: After skipping the network, you’ll see the option to “Continue with limited setup”. Click it, then click Next.
Step 3: Enter the username you’d like to use for your local account, then click Next.

Step 4: If you want to add a password, type it in now and click Next.

Step 5: Choose and answer three security questions. These help you recover your account if you forget your password. Click Next when you're done.

Step 6: Review your privacy settings. Choose what you’re comfortable with, then click Accept and Next to finish setup.

Tip: This method works best on most versions. Be sure to note your username for future login.
Method 2: Use a Fake Email and Password to Trigger an Error
When you’re at the Microsoft account sign-in screen, just type in a fake email (something like nope@noway.com) and throw in any random password.
Windows will get confused and show you an error. From there, you will be redirected to an offline account setup.
Note: This trick may not work on newer builds of Windows 11, but it’s worth a quick try.
Method 3: Use Command Prompt to Bypass Online Requirement (Advanced)
For the latest version of Windows 11, there's a simple method of setting up a local account. It works by utilizing the command prompt (cmd). Let's look at this advanced version.
Step 1: When you’re at the network connection screen or stuck on the Microsoft account sign-in screen, press Shift + F10 on your keyboard. This opens up the Command Prompt window.

Step 2: In the Command Prompt, type the following command exactly: “OOBE\BYPASSNRO”. Then press Enter.

Step 3: Your computer will automatically restart and bring you back to the setup screen.
Step 4: This time, you should see the “I don’t have internet” option. Click it to move forward.
Step 5: Next, select “Continue with limited setup”.

Step 6: From here, go ahead and create your local account by entering a username, password (optional), setting your security questions, and choosing your privacy settings.
Tip: This method gives you the most control over the setup process, especially if other options fail.
Enhance Privacy with Your Windows 11 Local Account
When you log in to your device using your Microsoft account, you are automatically connected to Microsoft OneDrive, which syncs your settings, active history, files, and everything else. While this is convenient, that your data is automatically being stored also means that more of your data is being collected and sent to Microsoft, which can later use this data to send targeted ads based on your Microsoft profile.
A windows 11 local account prevents all this; it doesn't allow any of your activity to be tracked, but this also means that you will have to backup everything important manually, configure settings on new devices from scratch, and enter passwords manually. However, if you are someone who prefers privacy, then this should be perfect for you.
This part will cover everything about how you can maximize your privacy and make your local account as secure as possible.
1. Minimize Telemetry:
Step 1: Turn off tailored experiences and delete diagnostic data. In the “Diagnostics & feedback” settings, toggle off “Tailored experiences” and click “Delete” under “Delete diagnostic data” to enhance privacy.

Step 2: Next, scroll down to Diagnostics & Feedback. Here, turn off “Send optional diagnostic data”. This limits how much info your device shares with Microsoft about how you use your PC.

Tip: Review privacy settings after major Windows updates for new options
2. Skip Cloud Services:
Step 1: During setup, if Windows asks you to sign in or set up OneDrive, just skip it. If it’s already installed and you’re not using it, open Settings, go to Apps, then Installed Apps.

Step 2: Find OneDrive or search for it and uninstall it.

Step 3: For backing up files, stick with local options. Use your PC’s internal storage or plug in an external drive. This way, your files stay with you and don’t get synced to the cloud automatically.
Tip: Local accounts don’t sync settings across devices, so document preferences manually.
3. Secure Your Local Account:
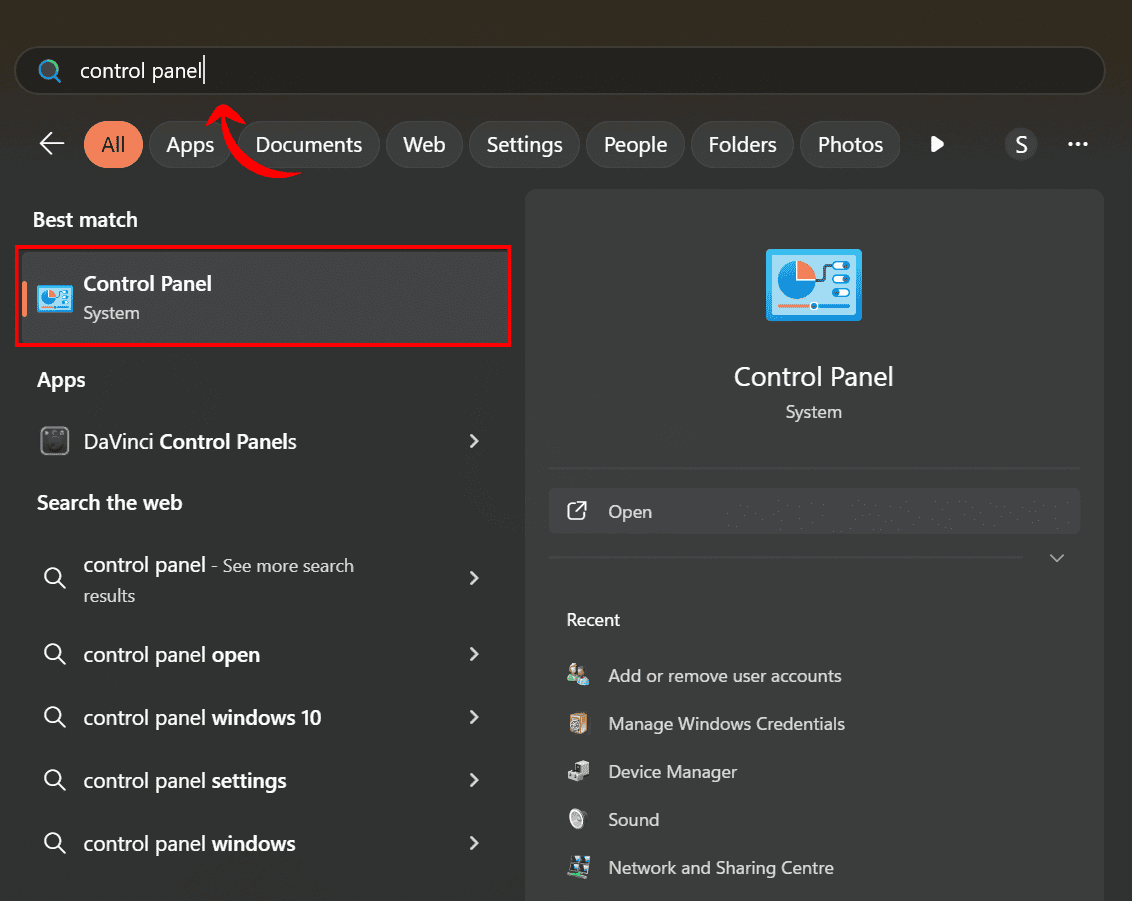
Step 1: Start by searching for “Control Panel” from the Start menu and click on it to open.
Step 2: Inside the Control Panel, go to “User Accounts” to manage your login options and account settings.

Step 3: Now, head to “Credential Manager” if you want to manage saved passwords. While you're here, it's a good idea to set a strong password for security.

Step 4: Set a strong password for your security in the credential manager.

Even if you're using a local account, it's important to keep Windows updated to stay protected from security threats. Here's how you can do it:
Step 1: Click on the Start menu in the bottom-left corner of your screen, then select the gear icon to open up Settings.

Step 2: On the left-hand side, search and select “Windows Update settings”. This is where you’ll be able to check if your system needs any updates.

Step 3: Click on “Check for updates”. If there are any available, Windows will begin downloading and installing them automatically.

Tip: Consider a password manager for complex credentials if used.
Note: While using a local account significantly reduces data sharing and background tracking, it doesn't completely eliminate telemetry. Some system-level data may still be collected by Windows for diagnostics and performance improvements.
Boost Productivity with WPS Office After Setting Up Your Local Account
Now that you’ve taken back control of your system by setting up a Windows 11 local account, you’re already on track for a more private life. So why not carry that same mindset into the tools you use every day?

The next step is choosing software without unnecessary complexity and expensive subscriptions. Now, although MS Office is a powerful tool, it comes with a pricey subscription and isn't always installed on your device, which means you need to buy a license before even using it.
WPS Office is an all-in-one alternative that includes everything you need: Writer, Spreadsheets, Presentation, and a built-in PDF Editor, and it's available for free. Most features come at no cost, making it a smart choice for users who want immediate access to essential tools without the financial burden of a Microsoft Office subscription.
1. Works with Microsoft Office Files
You won’t run into trouble opening documents created in Microsoft Word, Excel, or PowerPoint. WPS supports those file formats out of the box, so you can view and edit them without needing to convert anything or worry about compatibility issues.
2. Light on System Resources
WPS Office installs quickly and runs well, even on older or lower-powered machines. If you’ve recently upgraded from an older version of Windows, or you're working with limited hardware, it can be a good match.
3. AI-integrated Software
One of the most notable advantages WPS Office has over Microsoft Office is its smooth integration of AI features. Whether you're creating a presentation or translating a document, WPS can complete the task quickly. Its AI tools help with formatting, editing, and generating content, making your workflow more efficient and reducing repetitive or time-consuming work.
FAQs
Q1: Is Windows 11 forcing me to add a Microsoft account?
Yes, especially on the Home edition. Microsoft pushes online accounts during setup, but with certain steps, like disconnecting from the internet, you can still create a local account.
Q2: How to set up Windows 11 without the internet?
Disconnect from Wi-Fi or unplug Ethernet during setup. This triggers the option for an offline account. You can then proceed with a local account setup.
Q3: Will a local account receive Windows 11 updates?
Yes, local accounts still get system and security updates. As long as Windows Update is enabled, your PC stays up to date regardless of the account type.
Build a Smarter, Simpler Windows Experience
Setting up a local account in Windows 11 is simpler than it seems, and it gives you more control over your system with fewer cloud ties. You can bypass Microsoft account Windows 11 requirements using some of the methods we covered. Once that's done, the next step is finding tools that match that clean and efficient setup.
WPS Office is a practical choice for everyday productivity. It includes all the essentials like word processing, spreadsheets, presentations, and PDFs without the need for a subscription. It is lightweight, easy to use, and even includes helpful AI features for tasks such as formatting and document editing which can make routine work faster without getting in your way.


