Free All-in-One Office Suite with PDF Editor

Edit Word, Excel, and PPT for FREE.
Read, edit, and convert PDFs with the powerful PDF toolkit.
Microsoft-like interface, easy to use.
Windows • MacOS • Linux • iOS • Android
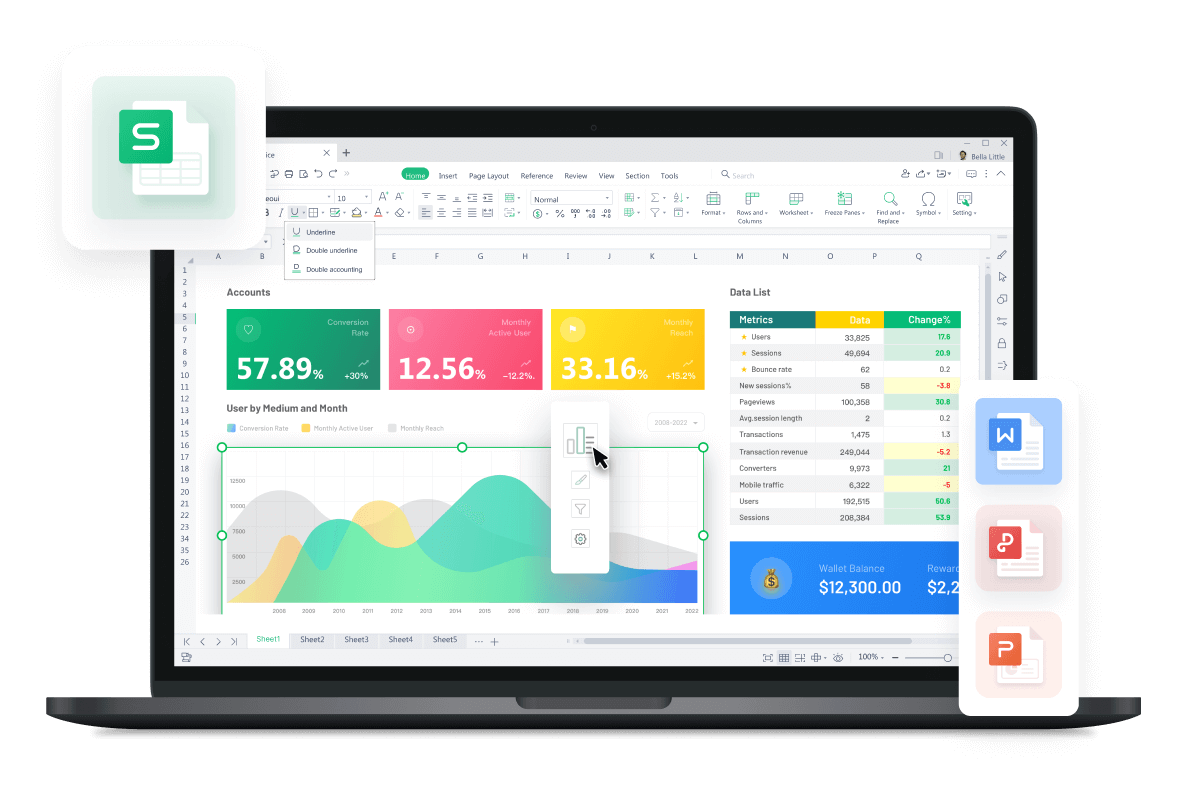
Edit settings in WPS Spreadsheet
Uploaded time: November 17, 2021 Difficulty Beginner
Edit settings in WPS Spreadsheet

Edit settings in WPS Spreadsheet
WPS Spreadsheet could be an alternative to Microsoft Office Excel. It includes 100's of built-in formulas, pivot tables, etc. Today, we will learn Editing settings in WPS Spreadsheet. A personalized editing style will make the table easier to edit and read.
First, click Menu in the upper left corner of the table, select Options, and click Editin the pop-up dialog box to get into the Edit Settings interface. Here I will elaborate on how the functions of Edit Settings can be put into good use.
First, take this table as an example, head to the interface ofEdit Settings, check After pressing Enter, move selection, and select Right at Direction. If you press the Enter key, the selected area will automatically move one grid to the right. We can customize the settings according to our own needs.
Second, check Fixed decimal and enter 3 at Places. At this time, if we input 2021, the cell content will be converted into 2.021. Similarly, when the entered value is 1, the content will present as 0.001. We can set it according to our work requirements.
Third, let's head to Sheet 2, in the Edit Settings interface, this time, check Enable AutoComplete for cell values. When entering information, we will be given a list of recommended contents.
In this table, we need to enter the Contract Number. When we enter a letter C, the related content list will appear below the cell.
In the Edit Settings interface, we can see Provide a list of content cancelled by the ESC key under the Enable Autocomplete for cell values option. Let's check that. When we enter Contract Number in the cell,press the Esc key to cancel the entered content, and then click the previous cell, and the content just cancelled by the Esc key will be displayed below the cell.
Four, check the Allow cell drag and drop option, click OK, and we are entitled to drag the contents of cells to other places.
Fifth, Head to sheet 3, check Replace Internet and network paths with hyperlinks as you type. Thereafter, the web address in the table will automatically generate a hyperlink. Click the hyperlink, we can jump to the web address.
Sixth, in this table, we can find the arrows with the words NEXT and BACK that were added with hyperlinks. If we want to adjust their positions, they will go against our operation and jump to other worksheets.
We can open the Edit Settings interface and check Trace hyperlinks with Alt key pressed.
At this time, only when we hold down the Alt key can the mouse click trigger the jump.
Seventh, it's time for Sheet 4 to serve its purpose, select cells A1 and B1, and drag them down to select the data area. At this time, it is easy to exceed the boundary when dragging quickly.
To solve this, we need to open the Edit Settings interface and check Select area with mouse. Slow down when close to borders. This time, select cells A1 and B1 and drag them down to select the data area. This time, the speed is slower when it comes to the border of the selected area.
This is all about Edit Settings in WPS, did you get it?


15 years of office industry experience, tech lover and copywriter. Follow me for product reviews, comparisons, and recommendations for new apps and software.


Does this video help you?