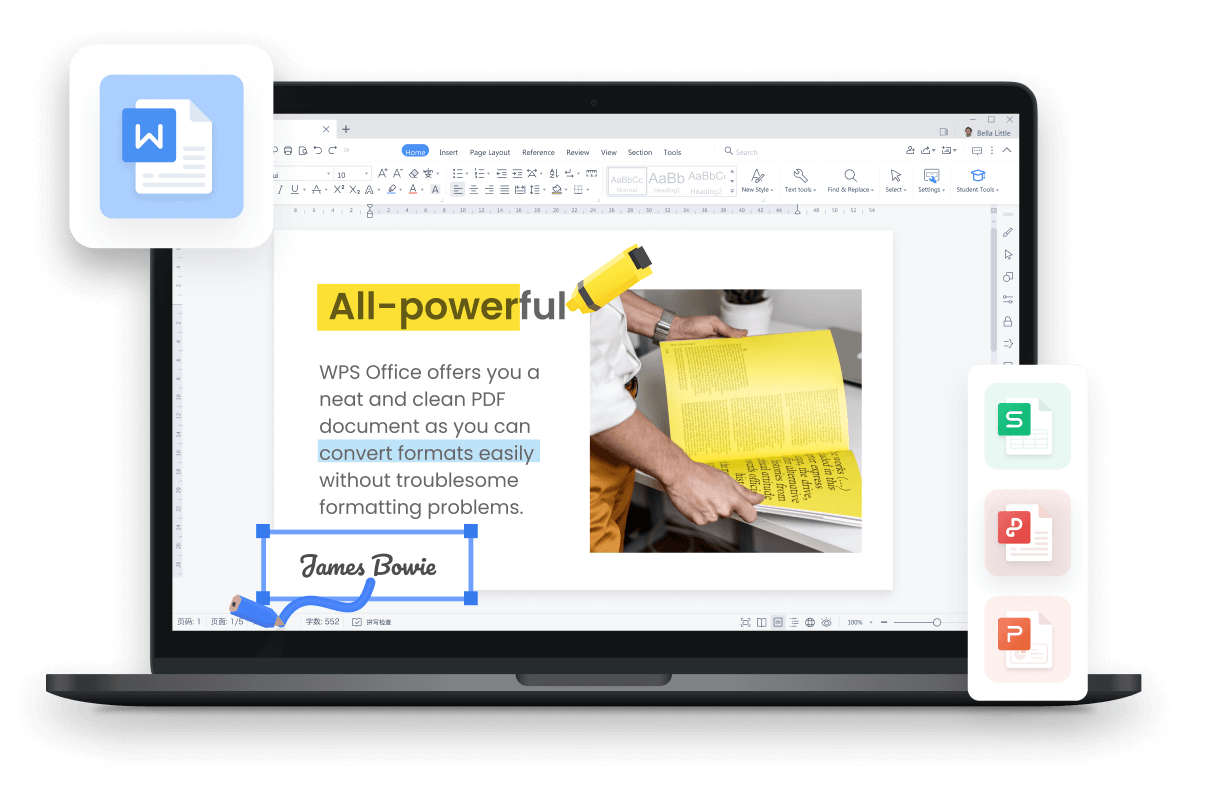
Free All-in-One Office Suite with PDF Editor

Edit Word, Excel, and PPT for FREE.
Read, edit, and convert PDFs with the powerful PDF toolkit.
Microsoft-like interface, easy to use.
Windows • MacOS • Linux • iOS • Android
How to create a resume for work in WPS Writer
Uploaded time: March 9, 2022 Difficulty Beginner
How to create a resume for work in WPS Writer

How to create a resume for work in WPS Writer
Graduation season is coming. Do you know how to create a professional resume for a job like this? Now we'll introduce you to how to create a resume in WPS Writer step by step.
l Step 1. Set the page size.
In this blank document, we need to set the page size and margin in advance. Click the Page Layout tab, select the common size of a resume, A4, and set Margins as the built-in Narrow.
l Step 2. Arrange the overall layout with Shapes
The resume should be clean and concise with fewer flashy elements. We can use the built-in Shapes function to determine the overall layout and structure of the resume.
Go to the Insert tab, and click the Shapes drop-down button. Select the shape and style as needed, draw the shape with the mouse, and place it in the appropriate position.
We can simply modify the shape, such as changing color and canceling the border. Thus, the resume is basically divided into three sections, namely job objective, personal information, and body text.
l Step 3. Add text information to each section.
Generally, a resume displays such parts as personal information, work experience, education background, self-assessment, and technical expertise. And we recommend you insert text information with text boxes, making it convenient to adjust later.
Head to the Insert tab, and click Text Box. Insert a text box with the proper size, and press the shortcut Ctrl+Shift to copy the remaining text boxes vertically.
l Next, we can enter information in the text boxes quickly.
In order to makeamore attractive resume, we need to beautify the text part.
1. Bold, enlarge, and modify the color of the key content so that the key information could stand out from the body part.
2. We can add bullets to increase the layers of the text.
3. Select all the text, and set the appropriate Line spacing, such as 1.25 multiple.
Then, we can use Format Painter to arrange the remaining text.
l Step 5: Elaborate the chapter headings.
Now the skeleton of the resume is completed, but it's not striking enough. Therefore, we can design the chapter heading through superposition and a combination of shapes.
Click Shapes to insert two rounded rectangles, and place them overlaid.
Then insert a proper icon in the smaller rounded rectangle.
WPS provides abundant practical icons in Icon Library. Subscribe for WPS Template Premium to use them freely!
Finally, insert text boxes and enter the corresponding chapter headings. Modify the font size and set the text box to no box line and no fill effect and color.
l Step 6. Associate the shapes.
To make it easier to adjust the position, drag, and copy these elements, we need to integrate them.
Click the Select drop-down button in the Home tab, click Select Objects, and include all the elements. In the Drawing Tools tab, click the Group drop-down button, select Group to assemble the shapes.
Next, we can press the shortcut Ctrl+Shift to duplicate the remaining chapter headings.
Then, we insert a line to connect the chapter headings.
Now, the line layer is on the top, blocking the heading, so we need to change the position of the layer.
Select the line, and click Send Backward in the Drawing Tools tab. And finally select Send to Back.
l Step 7. Perfect the details in the resume.
We also need to insert a profile image in the resume and crop the image outline. Select the photo, click Crop in the shortcut menu on the right, and choose a shape as needed.
In the end, we'd like to share two practical tools to simplify the modification of resumes later.
First, in the Page Layout tab, click the Themes drop-down button to change the color with the help of the matching color card.
Second, click Selection Pane in the right pane, and you can see all objects in this document. Click the list to select the element. In this interface, we can rename the object, or block the little eye to hide the element.
You can also press Delete to remove the element for good.
Hence, an exquisite resume is created. Did you get it?


15 years of office industry experience, tech lover and copywriter. Follow me for product reviews, comparisons, and recommendations for new apps and software.

Does this video help you?