
'%3e%3cpath%20d='M8%200C12.4183%200%2016%203.58172%2016%208C16%2012.4183%2012.4183%2016%208%2016C3.58172%2016%200%2012.4183%200%208C0%203.58172%203.58172%200%208%200ZM11.6162%204.38379C11.2257%203.99337%2010.5927%203.99338%2010.2021%204.38379L8%206.58594L5.79785%204.38379C5.40732%203.99334%204.77429%203.99329%204.38379%204.38379C3.99331%204.77429%203.99335%205.40733%204.38379%205.79785L6.58594%208L4.38379%2010.2021C3.99348%2010.5927%203.99341%2011.2257%204.38379%2011.6162C4.77426%2012.0066%205.40734%2012.0065%205.79785%2011.6162L8%209.41406L10.2021%2011.6162C10.5927%2012.0066%2011.2257%2012.0067%2011.6162%2011.6162C12.0067%2011.2257%2012.0066%2010.5927%2011.6162%2010.2021L9.41406%208L11.6162%205.79785C12.0066%205.40735%2012.0066%204.77429%2011.6162%204.38379Z'%20fill='%23080E17'%20fill-opacity='0.46'/%3e%3c/g%3e%3cdefs%3e%3cclipPath%20id='clip0_3761_713'%3e%3crect%20width='16'%20height='16'%20fill='white'/%3e%3c/clipPath%3e%3c/defs%3e%3c/svg%3e)


'%3e%3cpath%20fill-rule='evenodd'%20clip-rule='evenodd'%20d='M21.4999%2010.9993C21.4999%205.20009%2016.7986%200.498901%2010.9993%200.498901C5.19994%200.498901%200.498657%205.20009%200.498657%2010.9993C0.498657%2016.2404%204.33858%2020.5844%209.35855%2021.3722V14.0346H6.69238V10.9993H9.35855V8.68594C9.35855%206.05427%2010.9262%204.60062%2013.3248%204.60062C14.4736%204.60062%2015.6753%204.80571%2015.6753%204.80571V7.38979H14.3512C13.0468%207.38979%2012.64%208.19921%2012.64%209.0296V10.9993H15.5523L15.0867%2014.0346H12.64V21.3722C17.66%2020.5844%2021.4999%2016.2404%2021.4999%2010.9993Z'%20fill='%231568EA'/%3e%3c/g%3e%3c/svg%3e)


In the realm of presentations, the choice of font can significantly impact the message you convey. There are instances where a uniform font change is imperative, be it for branding consistency or aesthetic enhancement, both of which are core to polished text design in PowerPoint. This guide offers three effective methods to seamlessly alter fonts in PowerPoint, ensuring a polished and professional presentation. Whether you're a seasoned presenter in need of a quick fix or a design enthusiast seeking a comprehensive approach, we've got you covered. So, let's explore how you can effortlessly transform the fonts in your PowerPoint, ensuring your message shines through with clarity and style.
Part1. Method 1: Using the Replace Fonts Tool in PowerPoint

One effective way to change fonts in PowerPoint is by utilizing the Replace Fonts tool. This feature allows you to seamlessly switch from one font to another throughout your presentation. Here's how you can do it:
Step 1: Open Your Presentation: Begin by opening the PowerPoint presentation that contains the fonts you wish to change.
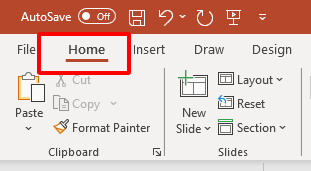
Step 2: Access the "Home" Tab: Navigate to the "Home" tab in the PowerPoint ribbon.
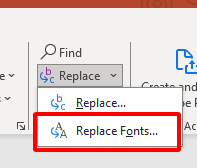
Step 3: Click on "Replace": Within the "Editing" group, click on the "Replace" option. A drop-down menu will appear.
Step 4: Select "Replace Fonts": From the menu, choose "Replace Fonts." This will open the "Replace Font" dialog box.
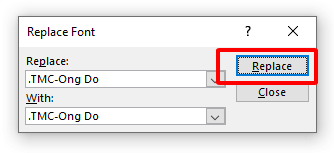
Step 5: Choose Current and New Fonts: In the dialog box, select the current font (the one you want to replace) from the "Replace" dropdown menu. Then, choose the new font from the "With" dropdown menu.
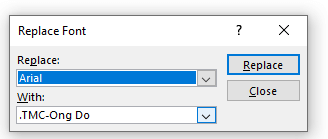
Step 6: Apply to All or Apply to Selection: Decide whether you want to apply the font change to the entire presentation ("Apply to All") or just to selected text elements ("Apply to Selection").
Step 7: Click "Replace": Once you've made your selections, click the "Replace" button. PowerPoint will replace all instances of the current font with the new one.
The Replace Fonts tool is a quick and easy way to change all of the instances of a particular font in a PowerPoint presentation. It is also very versatile, as you can use it to replace fonts in the body text, headings, subtitles, and even in charts and graphs.
Part2. Method 2: Using the Slide Master in PowerPoint
Harnessing the power of the Slide Master in PowerPoint allows you to exert control over the fonts in your presentation with precision. Here's a concise guide to help you make font adjustments using this method:
The Slide Master is a foundational element in PowerPoint that governs the overall design and formatting of your presentation. It enables you to make universal changes to fonts across all slides.
Step 1: Accessing the Slide Master:
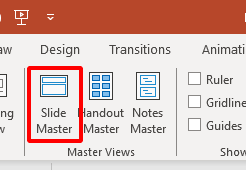
Click on the "View" tab in the PowerPoint ribbon.
Select "Slide Master" from the dropdown menu. This action will open the Slide Master view.
Step 2: Locate the Font Area:
In the Slide Master view, identify the font area which typically displays the font name and size.
Step 3: Edit Font Properties:
Click on the font you wish to change. A dropdown arrow will appear.
Click the arrow and select "Font" to modify the font type and size.
Step 4: Save Changes:
Once you've made the desired font adjustments, click "Save" to implement the changes across your entire presentation.
Using the Slide Master to change the fonts in your presentation is a quick and easy way to ensure that all of your slides have a consistent font style. It is also a good way to change the fonts in your presentation if you are using a pre-made template.
Part3. Method 3: Changing Your Default Font in PowerPoint
The default font in PowerPoint serves as the initial font applied to all text boxes and shapes when you start a new presentation. It is a foundational aspect of your design and can be modified to suit your preferences.
Change Your Default Font Using a Template
Step 1: Create a new PowerPoint presentation and select a template that you want to use.
Step 2: On the View tab, in the Master Views group, click Slide Master.
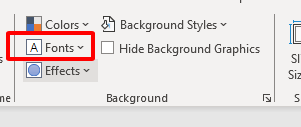
Step 3: In the Slide Master tab, click the Fonts drop-down menu and select the new fonts that you want to use.
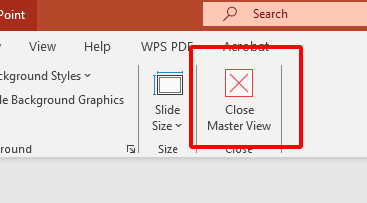
Step 4: Click Close Master View.
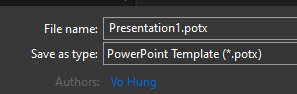
Step 5: Save the presentation as a template.
Change the Default Formatting of Your Shapes
Step 1: Select a shape on a slide.

Step 2: On the Home tab, in the Shape Styles group, click the More button.
Step 3: In the Format Shape pane, click the Text Options tab.
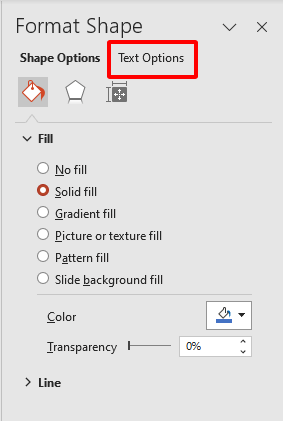
Step 4: In the Font section, select the font that you want to use.
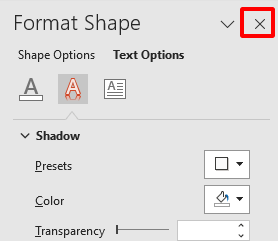
Step 5: Click Close.
Change the Default Formatting of Your Text Boxes
Step 1: Select a text box on a slide.
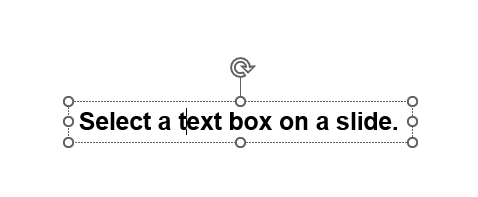
Step 2: On the Home tab, in the Font group, click the Font drop-down menu and select the font that you want to use.
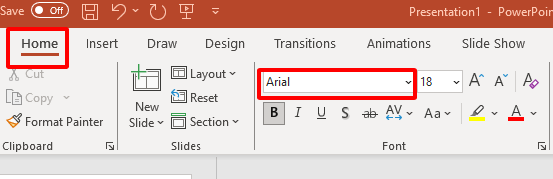
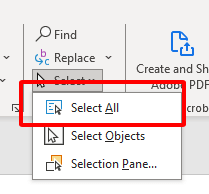
Step 3: Click the Home tab again.
Step 4: In the Editing group, click the Select All button.
Step 5: On the Home tab, in the Font group, click the Font drop-down menu and select the font that you want to use.
Part4 Best Free Alternative to Microsoft PowerPoint – WPS Presentation

WPS Presentation offers a range of features that make it an excellent alternative to Microsoft PowerPoint. Here are some highlights:
Cross-Platform Compatibility: WPS Presentation is compatible with Windows, macOS, Android, and iOS, ensuring seamless access and editing on various devices.
Intuitive Interface: Its user-friendly interface makes it easy to create engaging presentations without a steep learning curve.
Rich Templates and Resources: WPS Presentation provides a wide selection of templates and resources to enhance your presentations.
Advanced Editing Tools: It offers a suite of tools for formatting, graphic design, and multimedia integration.
Free Cloud Storage: WPS Office comes with 1GB of free cloud storage, allowing you to access your presentations from anywhere.
Mac Compatibility: WPS Office is optimized for macOS, ensuring a smooth experience for Mac users.
How to Download WPS Office:
Step 1: Visit the WPS Office Website:
Go to the official WPS Office website at wps.com.
Step 2: Download WPS Office:
Locate the "Download" button on the website's homepage.
Click on it to initiate the download process.

Step 3: Installation:
Once the download is complete, open the installer file.
Follow the on-screen instructions to install WPS Office on your computer.

Step 4: Launch WPS Presentation:
After installation, locate and open WPS Presentation from your applications or desktop.
Open PowerPoint Using WPS Office:
Step 1: Launch WPS Presentation:
Double-click the WPS Presentation icon to open the application.

Step 2: Access PowerPoint Files:
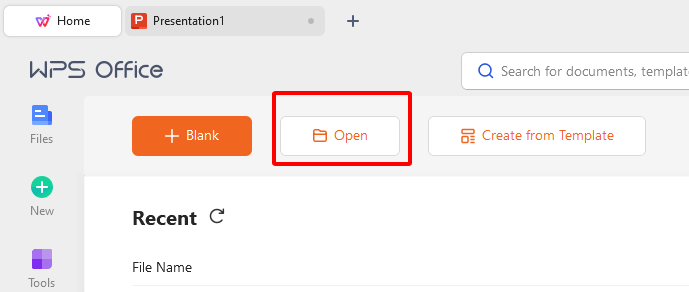
In the WPS Presentation interface, go to "File" in the top-left corner.
Step 3: Open PowerPoint File:
Select "Open" from the dropdown menu.
Locate and select the PowerPoint file you want to open.
Step 4: View and Edit:
Your PowerPoint file will open in WPS Presentation, where you can view and make edits as needed.
WPS Presentation is a free and powerful alternative to Microsoft PowerPoint. It is compatible with PowerPoint and has many of the same features. WPS Presentation also has some additional features that are not available in PowerPoint. WPS Office is compatible with the Mac operating system and is available for a variety of other platforms as well.
I recommend using WPS Presentation if you are looking for a free and powerful alternative to Microsoft PowerPoint. WPS Presentation is a good choice for students, businesses, and individuals alike.
FAQs about how to change all fonts in PowerPoint
How do I find all the fonts in PowerPoint?
To find all the fonts used in a PowerPoint presentation, follow these steps:
Step 1: Open your PowerPoint presentation.
Step 2: Go to the "Design" tab in the ribbon at the top.
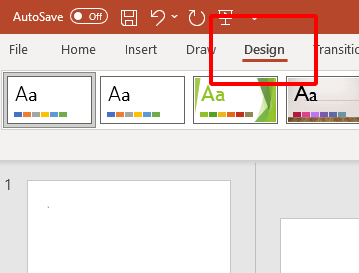
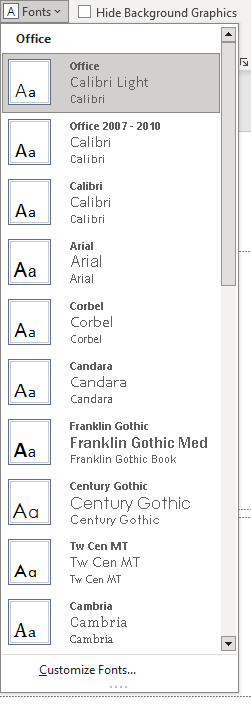
Step 3: Click on the drop-down arrow in the Fonts section.
Step 4: Scroll through the list of fonts. The fonts used in your presentation will be displayed at the top of the list, followed by other available fonts.
This will allow you to see a list of all the fonts currently in use in your presentation.
How do I remove bad fonts from PowerPoint?
To remove bad fonts from PowerPoint, you can follow these steps:
Step 1: Open your PowerPoint presentation.
Step 2: Go to the "Design" tab in the ribbon at the top.
Step 3: Click on the drop-down arrow in the Fonts section.
Step 4: Scroll through the list of fonts.
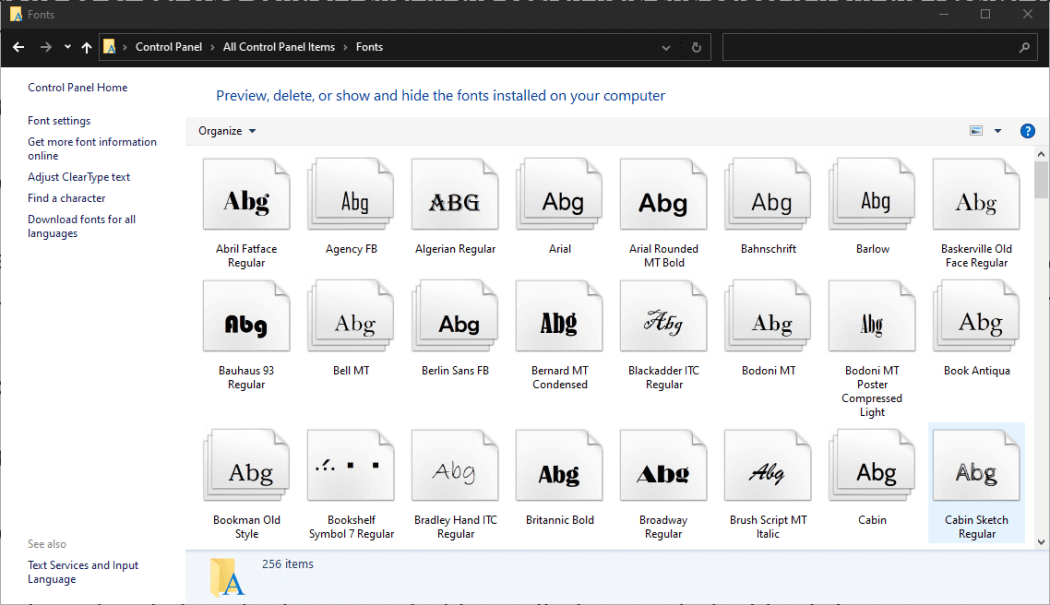
Step 5: If you identify a font that you consider "bad" (e.g., it doesn't display correctly or causes issues), you'll need to remove it from your system.
Summary
This article is a comprehensive guide on changing fonts in PowerPoint. It emphasizes the user-friendly features of WPS Office, a strong alternative to Microsoft PowerPoint. The guide covers various methods, from using the Replace Fonts tool to adjusting default settings. With step-by-step instructions and references, it empowers users to make impactful font adjustments. Overall, the article highlights the advantages of WPS Office, making a compelling case for its use in presentations.

'%3e%3cpath%20d='M19.9911%204.11386V6.471H18.5894C18.0775%206.471%2017.7322%206.57814%2017.5536%206.79243C17.3751%207.00671%2017.2858%207.32814%2017.2858%207.75671V9.44421H19.9019L19.5536%2012.0871H17.2858V18.8639H14.5536V12.0871H12.2769V9.44421H14.5536V7.49779C14.5536%206.39064%2014.8632%205.53201%2015.4822%204.92189C16.1013%204.31177%2016.9257%204.00671%2017.9554%204.00671C18.8304%204.00671%2019.509%204.04243%2019.9911%204.11386Z'%20fill='%23333333'/%3e%3c/g%3e%3cdefs%3e%3cclipPath%20id='clip0_2938_8199'%3e%3crect%20width='16'%20height='16'%20fill='white'%20transform='translate(8%204.00671)'/%3e%3c/clipPath%3e%3c/defs%3e%3c/svg%3e)
'%3e%3cpath%20d='M17.5237%2010.7813L23.4811%204H22.0699L16.8949%209.88693L12.7648%204H8L14.2469%2012.9029L8%2020.0133H9.4112L14.8725%2013.7952L19.2352%2020.0133H24M9.92053%205.04213H12.0885L22.0688%2019.0224H19.9003'%20fill='%23333333'/%3e%3c/g%3e%3cdefs%3e%3cclipPath%20id='clip0_2938_8200'%3e%3crect%20width='16'%20height='16.0134'%20fill='white'%20transform='translate(8%204)'/%3e%3c/clipPath%3e%3c/defs%3e%3c/svg%3e)


