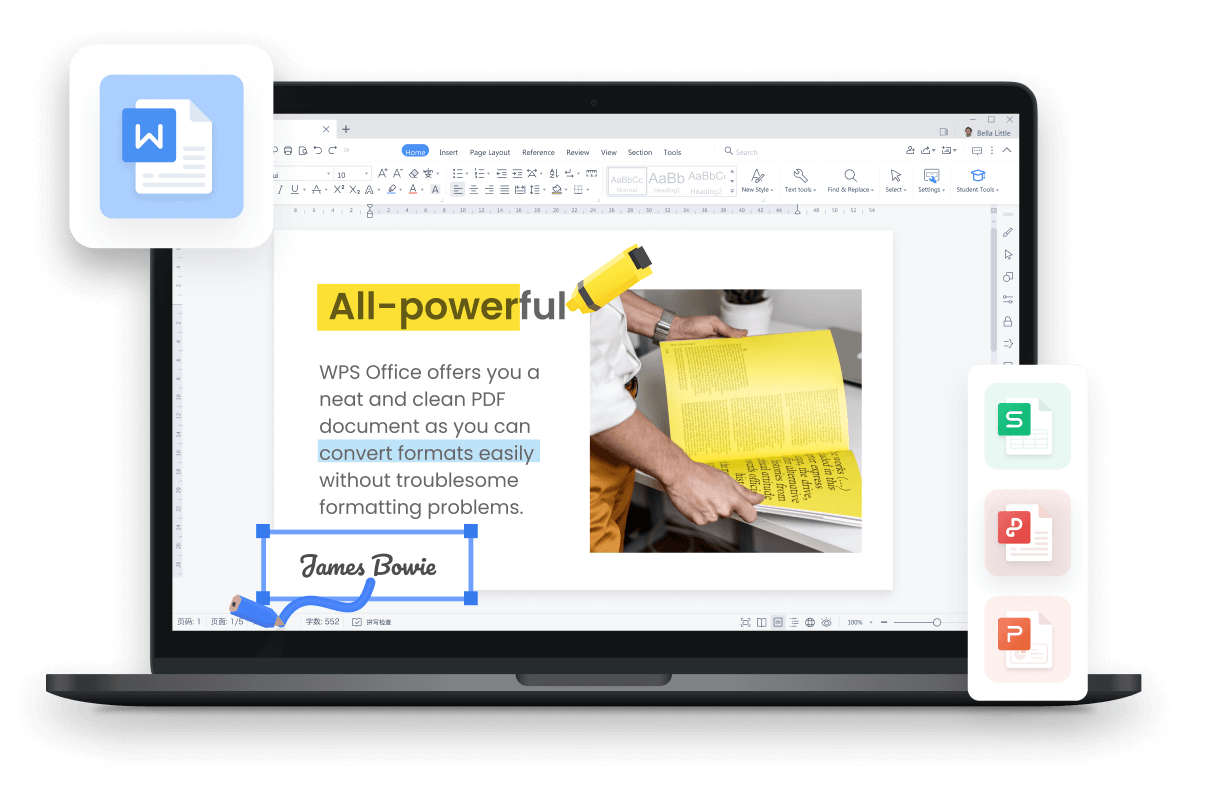
Free All-in-One Office Suite with PDF Editor

Edit Word, Excel, and PPT for FREE.
Read, edit, and convert PDFs with the powerful PDF toolkit.
Microsoft-like interface, easy to use.
Windows • MacOS • Linux • iOS • Android
How to insert shapes in WPS Writer
Uploaded time: September 28, 2021 Difficulty Beginner
How to insert shapes in WPS Writer

How to insert shapes in WPS Writer
Inserting patterns and shapes can increase the aesthetics of the document. Take this document as an example. We can add shapes to make workflow diagrams. For all, easy your work with WPS Writer.
First, click the Insert tab, and click the Shapes button. In the selection list, we can seedifferent categories, namely Lines, Rectangles, and Basic Shapes, Block Arrows, Equation Shapes, Flowchart, Stars and Banners and Callouts. These shapes can be selected according to personal needs.
In this case, we choose the rectangle that represents the Process in the Flowchart. At this time, the mouse cursor will turn into a cross; just draw this shape at the corresponding position.
At this time, we also need to place the pattern on the bottom of the text to make the text appear. In the Drawing Tools tab, click the Wrap Text button and select Behind Text.
To increase the aesthetics of the shape, we can also choose different filling effects in the upper function panel. After selecting, click the shape that has been set up, press the shortcut key Ctrl + C to copy, and then press Ctrl + V to paste, so we can save the time of drawing the shape repeatedly.


15 years of office industry experience, tech lover and copywriter. Follow me for product reviews, comparisons, and recommendations for new apps and software.


Does this video help you?