

'%3e%3cpath%20d='M8%200C12.4183%200%2016%203.58172%2016%208C16%2012.4183%2012.4183%2016%208%2016C3.58172%2016%200%2012.4183%200%208C0%203.58172%203.58172%200%208%200ZM11.6162%204.38379C11.2257%203.99337%2010.5927%203.99338%2010.2021%204.38379L8%206.58594L5.79785%204.38379C5.40732%203.99334%204.77429%203.99329%204.38379%204.38379C3.99331%204.77429%203.99335%205.40733%204.38379%205.79785L6.58594%208L4.38379%2010.2021C3.99348%2010.5927%203.99341%2011.2257%204.38379%2011.6162C4.77426%2012.0066%205.40734%2012.0065%205.79785%2011.6162L8%209.41406L10.2021%2011.6162C10.5927%2012.0066%2011.2257%2012.0067%2011.6162%2011.6162C12.0067%2011.2257%2012.0066%2010.5927%2011.6162%2010.2021L9.41406%208L11.6162%205.79785C12.0066%205.40735%2012.0066%204.77429%2011.6162%204.38379Z'%20fill='%23080E17'%20fill-opacity='0.46'/%3e%3c/g%3e%3cdefs%3e%3cclipPath%20id='clip0_3761_713'%3e%3crect%20width='16'%20height='16'%20fill='white'/%3e%3c/clipPath%3e%3c/defs%3e%3c/svg%3e)




'%3e%3cpath%20fill-rule='evenodd'%20clip-rule='evenodd'%20d='M21.4999%2010.9993C21.4999%205.20009%2016.7986%200.498901%2010.9993%200.498901C5.19994%200.498901%200.498657%205.20009%200.498657%2010.9993C0.498657%2016.2404%204.33858%2020.5844%209.35855%2021.3722V14.0346H6.69238V10.9993H9.35855V8.68594C9.35855%206.05427%2010.9262%204.60062%2013.3248%204.60062C14.4736%204.60062%2015.6753%204.80571%2015.6753%204.80571V7.38979H14.3512C13.0468%207.38979%2012.64%208.19921%2012.64%209.0296V10.9993H15.5523L15.0867%2014.0346H12.64V21.3722C17.66%2020.5844%2021.4999%2016.2404%2021.4999%2010.9993Z'%20fill='%231568EA'/%3e%3c/g%3e%3c/svg%3e)


'%3e%3cpath%20d='M2.42045%2022.1876H6.31818V12.7217L0.75%208.54553V20.5171C0.75%2021.4414%201.49892%2022.1876%202.42045%2022.1876Z'%20fill='%234285F4'/%3e%3cpath%20d='M19.682%2022.1876H23.5797C24.5041%2022.1876%2025.2502%2021.4387%2025.2502%2020.5171V8.54553L19.682%2012.7217'%20fill='%2334A853'/%3e%3cpath%20d='M19.682%205.48293V12.7216L25.2502%208.54543V6.31816C25.2502%204.25236%2022.8921%203.07469%2021.2411%204.31361'%20fill='%23FBBC04'/%3e%3cpath%20d='M6.31824%2012.7217V5.48303L13.0001%2010.4944L19.6819%205.48303V12.7217L13.0001%2017.733'%20fill='%23EA4335'/%3e%3cpath%20d='M0.75%206.31816V8.54543L6.31818%2012.7216V5.48293L4.75909%204.31361C3.10534%203.07469%200.75%204.25236%200.75%206.31816Z'%20fill='%23C5221F'/%3e%3c/g%3e%3cdefs%3e%3cclipPath%20id='clip0_2954_7305'%3e%3crect%20width='24.5'%20height='18.375'%20fill='white'%20transform='translate(0.75%203.8125)'/%3e%3c/clipPath%3e%3c/defs%3e%3c/svg%3e)


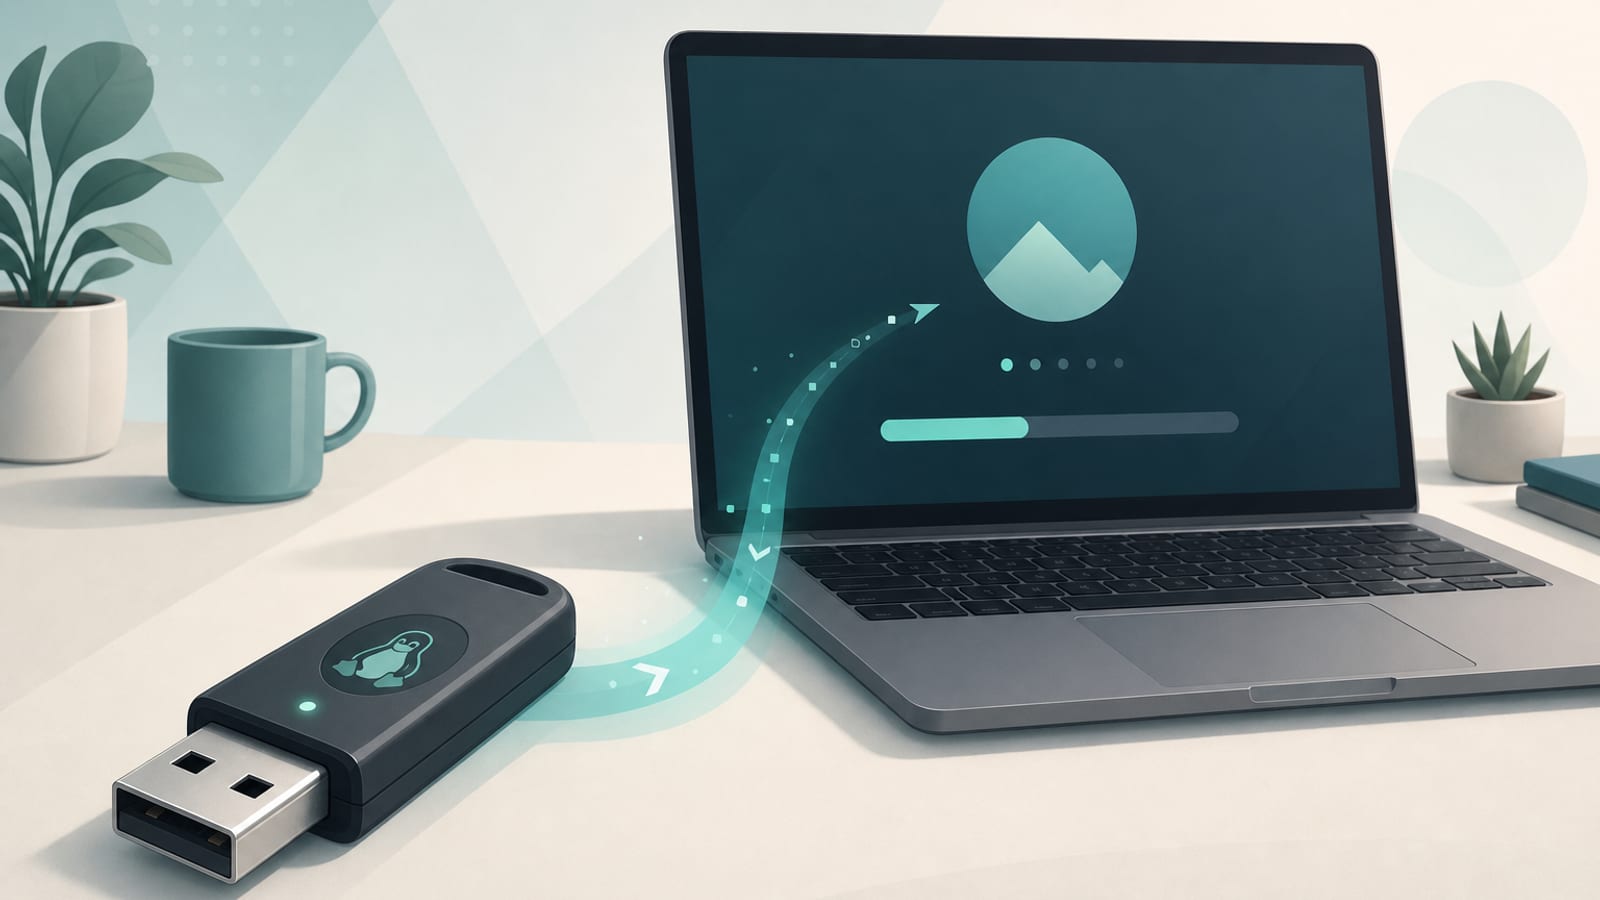
A Linux bootable USB is a flash drive rewritten with an official Linux ISO so a PC can start from that stick—to try Linux live, install it, or repair a broken system. Copying the .iso file into a folder will not work. You must use an image writer (Rufus, Disks, Etcher, or careful dd).
Canonical’s current docs call for an 8 GB or larger USB stick, an official Ubuntu Desktop image, and a backup of anything already on the stick (the write destroys all USB data). Success means the PC’s boot menu can launch Try or Install Ubuntu from the stick.
If you already know your blocker, jump to: Rufus UEFI settings, Disks restore image, dd safety, or USB won’t boot.
For the full PC install overview with Ubuntu, start with how to install Linux on a PC.
What a Bootable USB Is For
With a bootable Ubuntu USB you can:
- Install or upgrade Ubuntu
- Try Ubuntu without changing the hard drive
- Boot Ubuntu on a borrowed PC
- Use live tools to diagnose or repair a broken install
This is live/install media, not the same as fully installing Linux onto the USB as the system disk, and not the same as a large persistent live USB (optional advanced topic below).
What You Need
- USB stick 8 GB or larger (Ubuntu: Create a bootable USB stick)
- Official ISO from Download Ubuntu Desktop (or another distro’s official site)
- A working Windows, macOS, or Linux PC to write the stick
- Backup of files on the USB (they will be erased)
Download the ISO to your hard drive (usually Downloads). Do not download straight onto the USB stick. Wait until the download finishes completely.
Step 1: Download the Official Linux ISO
- Open the official Ubuntu Desktop download page (or your distro’s official page).
- Choose the Desktop image for your CPU (usually Intel/AMD 64-bit /
amd64). - Save the
.isolocally and note the file path. - Optional: download
SHA256SUMSand verify the ISO when the project publishes checksums.
Step 2: Write the ISO to USB (Pick Your Host OS)
On Windows: Rufus (official Ubuntu path)
- Download Rufus from rufus.ie.
- Insert the USB → confirm the correct Device.
- Click SELECT and choose the Ubuntu ISO (if the button says DOWNLOAD, switch the dropdown to SELECT).
- Leave most options at defaults. If a previous stick failed to boot, set:
- Partition scheme: GPT
- Target system: UEFI (non CSM)
- Click START.
- Prefer Write in ISO Image mode when Rufus says the image is ISOHybrid.
- Confirm the data-destroy warning only after checking the device name.
- Wait until status shows READY, then close Rufus safely.
On Ubuntu / GNOME Linux: Disks
- Open Disks.
- Select the USB in the sidebar (not your system disk).
- Close apps using the stick (including the file manager).
- Drive options (⋮) → Restore Disk Image…
- Choose the ISO → Start Restoring… → enter your password.
- When finished, Eject the stick.
On Ubuntu: Startup Disk Creator
- Install if needed:
sudo apt install usb-creator-gtk - Insert the USB, open Startup Disk Creator.
- Confirm source ISO and target disk → Make Startup Disk.
Ubuntu notes this tool is aimed at Ubuntu and Ubuntu-based images (flavors/derivatives). Prefer Disks/Etcher for non-Ubuntu ISOs.
On macOS: balenaEtcher
- Insert the USB.
- Download Etcher for your Mac (Intel vs Apple Silicon builds differ).
- Flash from file → select the ISO → Select target → Flash!
A standard Ubuntu USB works on PCs and older Intel Macs. Running Ubuntu on Apple Silicon is a different community path (Ubuntu Asahi)—not this generic amd64 stick.
Cross-platform: balenaEtcher
Etcher is also available for Windows and Linux if you want one simple UI everywhere. Ubuntu lists it under multi-platform writers.
Advanced: dd on Linux (high risk)
Ask Ubuntu’s top terminal answers and Ubuntu’s own docs agree: target the whole disk, not a partition.
lsblk --scsi
sudo umount /dev/sdX*    # replace sdX with your USB name
sudo dd if=~/Downloads/ubuntu-XX.XX-desktop-amd64.iso of=/dev/sdX bs=4M conv=fsync status=progress
Use /dev/sdX (example: /dev/sdb), not /dev/sdb1. A wrong of= can wipe your internal drive. Prefer Disks/Etcher unless you are comfortable with block devices.
On macOS, advanced users can use diskutil + dd to /dev/rdiskN after unmounting—same risk profile.
Multi-ISO sticks: Ventoy (optional)
Ventoy lets you copy multiple ISOs to one stick and pick at boot. Ubuntu currently warns that some Ventoy releases (for example 1.1.11) have broken Ubuntu installs—if install fails on Ventoy, switch to Rufus/Disks/Etcher for a single ISO write.
Step 3: Boot the Linux USB
- Insert the stick into the target PC.
- Restart (or power on).
- If it does not start automatically, open the one-time boot menu (common keys: F12, Esc, F2, F10—OEM specific).
- Select the UEFI USB entry if both UEFI and Legacy appear.
- On Intel Macs, hold Option/Alt and choose the gold EFI Boot entry.
You should reach Try or Install Ubuntu (or your distro’s live menu).
Live USB vs Install vs Persistence
| Type | What it does |
|---|---|
| Standard bootable/live USB | Boots a live session and/or installer; usual result of Rufus/Disks/Etcher |
| Install Linux from USB | Copies Linux to the internal drive; remove the stick after install |
| Persistent live USB | Saves files/settings across reboots (extra setup; size limits vary) |
| Full OS installed on USB | Treats the stick as the system disk (slower, wear, advanced) |
For most people searching linux bootable usb, the goal is the standard live/install stick in the first row.
Fix Common Bootable USB Problems
PC ignores the USB and boots Windows
Use the one-time boot menu, not only Boot Order changes. Pick the UEFI USB device. Try another port (prefer rear motherboard ports on desktops).
Rufus stick won’t boot on a modern laptop
Recreate with GPT + UEFI (non CSM) per Ubuntu’s Rufus note.
You only copied the ISO file to the stick
That will not boot. Re-write with an image tool.
dd finished but USB is empty/unbootable
Wrong device, stick too small, or you targeted a partition. Re-check lsblk and flash the whole disk node. Ubuntu notes a too-small stick can fail silently.
Secure Boot
Current Ubuntu Desktop generally supports Secure Boot. Fix GPT/UEFI flashing and boot-menu selection before turning Secure Boot off as a first resort.
Stick works to Try Ubuntu but install fails later
That is usually a disk/BitLocker/RST install issue, not a failed bootable USB. Keep the stick; fix the installer disk step next.
After the USB Is Ready: Setup Notes and Shareable Documents
linux bootable usb gets the machine started. After that, people usually write a short setup checklist, record firmware steps, or save a troubleshooting note for the next install.
WPS Office for Linux is a practical post-install desktop suite for that handoff: Writer for setup notes, Spreadsheet for boot/device checklists, Presentation for training material, and PDF tools when you need a fixed copy.
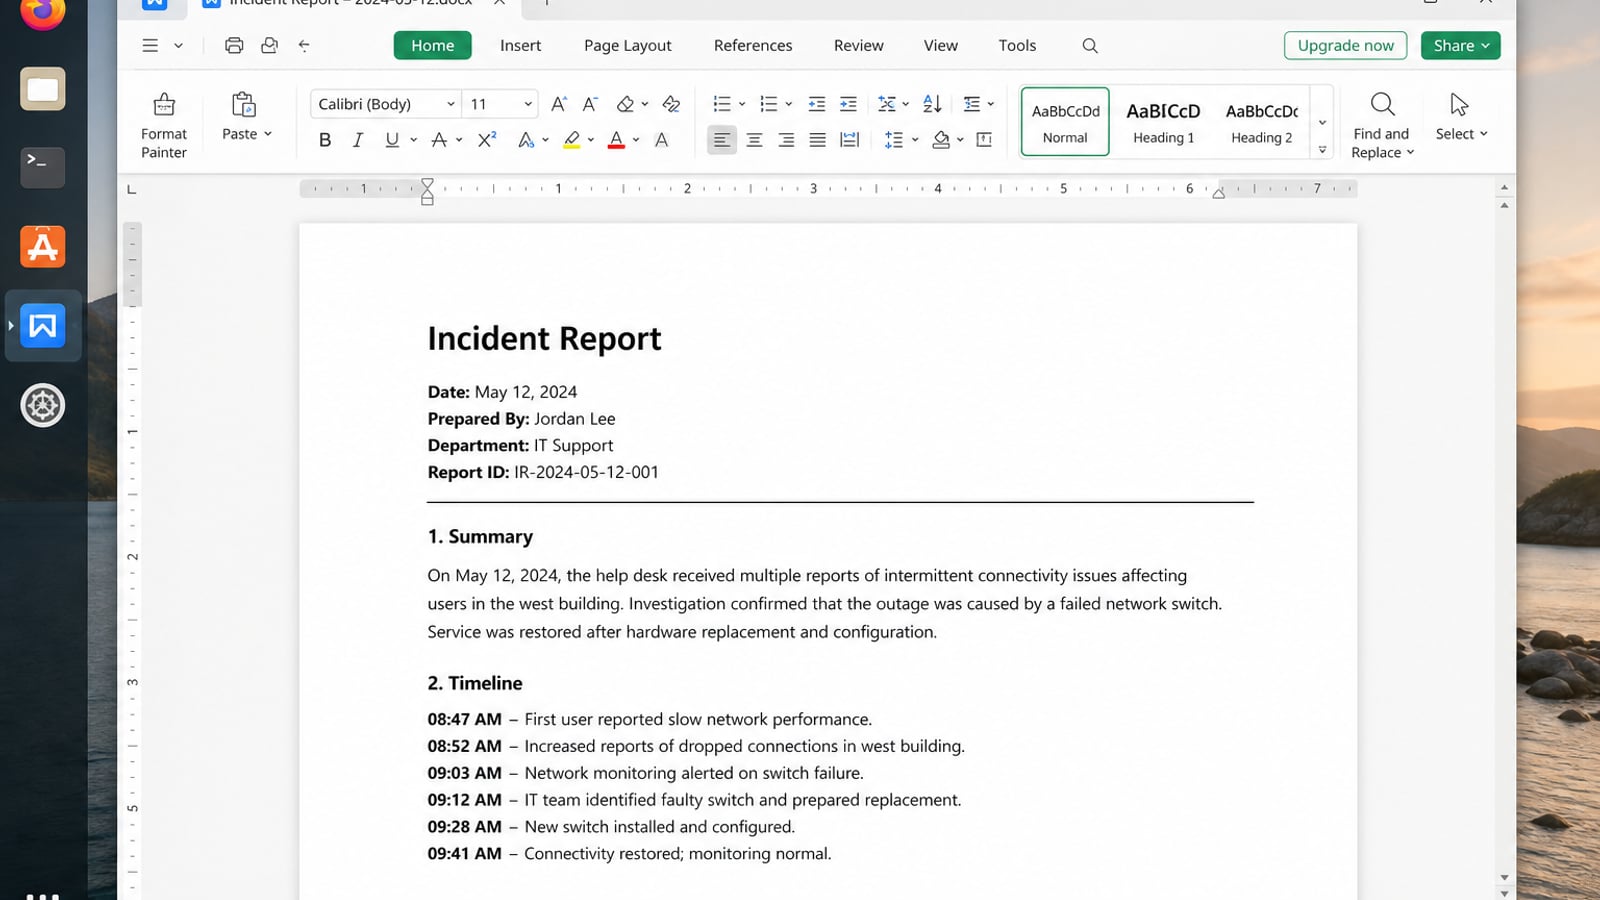
| What you need next | What WPS gives you |
|---|---|
| Write setup notes or a boot checklist after creating media | Strong .docx / .xlsx / .pptx layout fidelity when files move between Linux, Windows, and macOS |
| One place for notes, sheets, slides, and PDFs | Free core suite: Writer, Spreadsheet, Presentation, plus PDF view/edit/convert tools |
| A familiar desktop UI for switchers | Ribbon-style apps with a lighter footprint than many heavy suites |
| A trusted install path | Official DEB (Ubuntu/Debian/Mint) and RPM packages from the vendor |
Download the current 64-bit package from the official WPS Office for Linux download page (choose Deb on Ubuntu), then install the local file with sudo apt install ./wps-office_VERSION_amd64.deb. Once the system boots, move your notes from the terminal into DOCX or PDF so the next recovery or install is easier to follow.
FAQ
How do I make a Linux bootable USB quickly?
Download an official ISO, write it with Rufus (Windows), Disks/Startup Disk Creator (Ubuntu), or Etcher (macOS), then boot the stick from the firmware boot menu.
What size USB do I need?
Ubuntu’s current bootable-USB docs call for 8 GB or larger.
Is Rufus or Etcher better?
On Windows, Ubuntu documents Rufus. Etcher is the simple cross-platform choice. On Ubuntu itself, Disks is the first recommended GUI path.
Can I put several Linux ISOs on one stick?
Yes with tools like Ventoy, but if Ubuntu install breaks on a given Ventoy release, use a single-ISO writer instead.
Is a bootable USB the same as installing Linux?
No. The stick boots a live/installer environment. Installing Linux means writing the OS to your computer’s internal drive (or deliberately to another disk).
Why did copying the ISO to USB fail?
Install media must be written as a disk image. File-copy leaves a non-bootable stick.

'%3e%3cpath%20d='M19.9911%204.11386V6.471H18.5894C18.0775%206.471%2017.7322%206.57814%2017.5536%206.79243C17.3751%207.00671%2017.2858%207.32814%2017.2858%207.75671V9.44421H19.9019L19.5536%2012.0871H17.2858V18.8639H14.5536V12.0871H12.2769V9.44421H14.5536V7.49779C14.5536%206.39064%2014.8632%205.53201%2015.4822%204.92189C16.1013%204.31177%2016.9257%204.00671%2017.9554%204.00671C18.8304%204.00671%2019.509%204.04243%2019.9911%204.11386Z'%20fill='%23333333'/%3e%3c/g%3e%3cdefs%3e%3cclipPath%20id='clip0_2938_8199'%3e%3crect%20width='16'%20height='16'%20fill='white'%20transform='translate(8%204.00671)'/%3e%3c/clipPath%3e%3c/defs%3e%3c/svg%3e)
'%3e%3cpath%20d='M17.5237%2010.7813L23.4811%204H22.0699L16.8949%209.88693L12.7648%204H8L14.2469%2012.9029L8%2020.0133H9.4112L14.8725%2013.7952L19.2352%2020.0133H24M9.92053%205.04213H12.0885L22.0688%2019.0224H19.9003'%20fill='%23333333'/%3e%3c/g%3e%3cdefs%3e%3cclipPath%20id='clip0_2938_8200'%3e%3crect%20width='16'%20height='16.0134'%20fill='white'%20transform='translate(8%204)'/%3e%3c/clipPath%3e%3c/defs%3e%3c/svg%3e)


