

'%3e%3cpath%20d='M8%200C12.4183%200%2016%203.58172%2016%208C16%2012.4183%2012.4183%2016%208%2016C3.58172%2016%200%2012.4183%200%208C0%203.58172%203.58172%200%208%200ZM11.6162%204.38379C11.2257%203.99337%2010.5927%203.99338%2010.2021%204.38379L8%206.58594L5.79785%204.38379C5.40732%203.99334%204.77429%203.99329%204.38379%204.38379C3.99331%204.77429%203.99335%205.40733%204.38379%205.79785L6.58594%208L4.38379%2010.2021C3.99348%2010.5927%203.99341%2011.2257%204.38379%2011.6162C4.77426%2012.0066%205.40734%2012.0065%205.79785%2011.6162L8%209.41406L10.2021%2011.6162C10.5927%2012.0066%2011.2257%2012.0067%2011.6162%2011.6162C12.0067%2011.2257%2012.0066%2010.5927%2011.6162%2010.2021L9.41406%208L11.6162%205.79785C12.0066%205.40735%2012.0066%204.77429%2011.6162%204.38379Z'%20fill='%23080E17'%20fill-opacity='0.46'/%3e%3c/g%3e%3cdefs%3e%3cclipPath%20id='clip0_3761_713'%3e%3crect%20width='16'%20height='16'%20fill='white'/%3e%3c/clipPath%3e%3c/defs%3e%3c/svg%3e)




'%3e%3cpath%20fill-rule='evenodd'%20clip-rule='evenodd'%20d='M21.4999%2010.9993C21.4999%205.20009%2016.7986%200.498901%2010.9993%200.498901C5.19994%200.498901%200.498657%205.20009%200.498657%2010.9993C0.498657%2016.2404%204.33858%2020.5844%209.35855%2021.3722V14.0346H6.69238V10.9993H9.35855V8.68594C9.35855%206.05427%2010.9262%204.60062%2013.3248%204.60062C14.4736%204.60062%2015.6753%204.80571%2015.6753%204.80571V7.38979H14.3512C13.0468%207.38979%2012.64%208.19921%2012.64%209.0296V10.9993H15.5523L15.0867%2014.0346H12.64V21.3722C17.66%2020.5844%2021.4999%2016.2404%2021.4999%2010.9993Z'%20fill='%231568EA'/%3e%3c/g%3e%3c/svg%3e)


'%3e%3cpath%20d='M2.42045%2022.1876H6.31818V12.7217L0.75%208.54553V20.5171C0.75%2021.4414%201.49892%2022.1876%202.42045%2022.1876Z'%20fill='%234285F4'/%3e%3cpath%20d='M19.682%2022.1876H23.5797C24.5041%2022.1876%2025.2502%2021.4387%2025.2502%2020.5171V8.54553L19.682%2012.7217'%20fill='%2334A853'/%3e%3cpath%20d='M19.682%205.48293V12.7216L25.2502%208.54543V6.31816C25.2502%204.25236%2022.8921%203.07469%2021.2411%204.31361'%20fill='%23FBBC04'/%3e%3cpath%20d='M6.31824%2012.7217V5.48303L13.0001%2010.4944L19.6819%205.48303V12.7217L13.0001%2017.733'%20fill='%23EA4335'/%3e%3cpath%20d='M0.75%206.31816V8.54543L6.31818%2012.7216V5.48293L4.75909%204.31361C3.10534%203.07469%200.75%204.25236%200.75%206.31816Z'%20fill='%23C5221F'/%3e%3c/g%3e%3cdefs%3e%3cclipPath%20id='clip0_2954_7305'%3e%3crect%20width='24.5'%20height='18.375'%20fill='white'%20transform='translate(0.75%203.8125)'/%3e%3c/clipPath%3e%3c/defs%3e%3c/svg%3e)


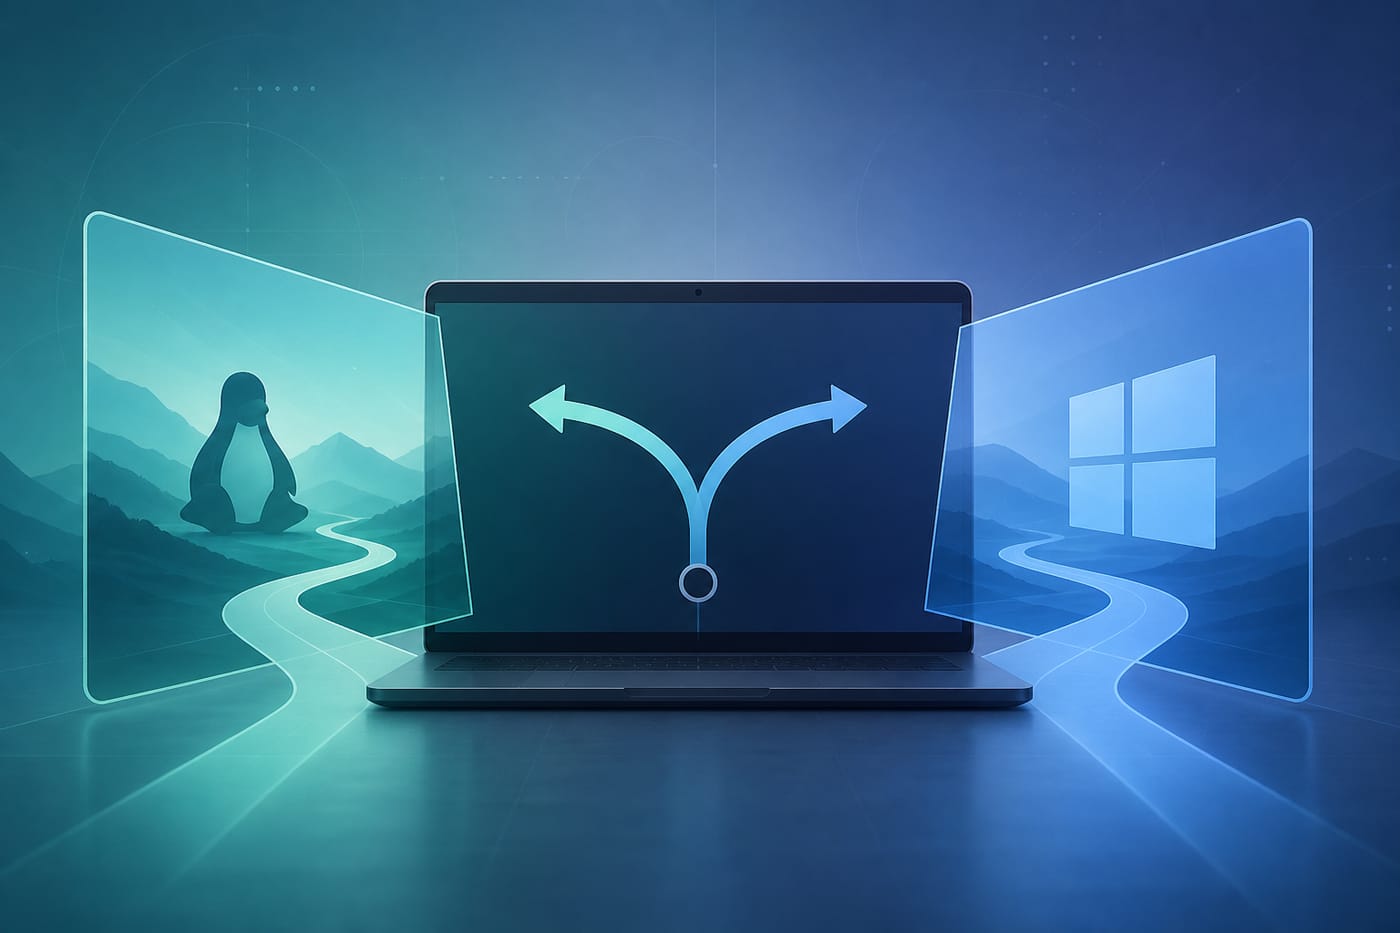
To dual boot Linux and Windows, keep Windows installed, free disk space, then install Ubuntu (or another Linux distro) alongside Windows so a boot menu lets you pick either OS. On modern PCs the safe path is: back up → handle BitLocker → disable Fast Startup → shrink Windows → boot an Ubuntu USB in UEFI mode → choose install alongside Windows → reboot and pick an OS from GRUB.
Critical risks: resizing disks can destroy data; BitLocker blocks a safe “alongside” install until it is turned off (Canonical documents this); Fast Startup can leave NTFS volumes in a hibernated state and break dual-boot sharing. Success means both Windows and Linux boot from the firmware/GRUB menu and your files still open.
If something fails, jump to: BitLocker recovery prompts, no GRUB / boots straight to Windows, Intel RST blocking install, or Windows missing after Linux updates.
For the full PC install overview with Ubuntu, start with how to install Linux on a PC.
Before You Start: Requirements and Risk Controls
You need:
- A PC already running Windows 10/11 (UEFI + GPT is the modern default)
- At least ~25 GB free for Ubuntu Desktop (more is better for daily use)
- A USB stick (12 GB+ recommended) for the installer
- External backup of important files
Prefer hardware listed on Ubuntu’s certified page when possible. This guide follows Canonical’s current Ubuntu Desktop installer flow (Ubuntu 24.04 LTS and similar). Older installers look different but the dual-boot ideas are the same.
Destructive actions (erase disk, delete partitions, force format) come last and only when you accept total Windows data loss on that drive.
Step 1: Back Up and Capture Your BitLocker Recovery Key
- Copy Documents, Desktop, and project folders to an external drive or cloud.
- If BitLocker is on, save the 48-digit recovery key somewhere offline (Microsoft account recovery page, printed note, password manager)—not only on the same PC.
- Create a Windows restore point if your edition supports it.
Do not skip the recovery key. Dual-boot and firmware changes commonly trigger BitLocker recovery screens.
Step 2: Turn Off BitLocker Before “Install Alongside Windows”
Official Ubuntu Desktop docs are clear: if BitLocker is enabled, the installer cannot safely map the Windows layout for a side-by-side install. The drive looks like noise to the guided tool, so Ubuntu blocks or refuses a safe resize.
In Windows:
- Open Manage BitLocker (Settings search, or Control Panel → System and Security → BitLocker Drive Encryption).
- Turn BitLocker off and wait until decryption finishes.
- Reboot into Windows once and confirm files open normally.
Notes:
- Suspending protection can help some boot/firmware tasks, but for the Ubuntu alongside wizard you generally need BitLocker fully off so the installer can see partitions (Canonical’s guidance).
- Not every Windows edition can re-enable BitLocker later—check your edition before you depend on turning it back on.
- Advanced encrypted dual-boot recipes exist on Ask Ubuntu, but they are not the beginner path. Start with the official guided install after BitLocker is off.
Step 3: Disable Windows Fast Startup
Fast Startup is a hybrid shutdown. In dual boot it often leaves NTFS volumes semi-hibernated, so Linux may refuse to mount shared data partitions cleanly—even on a second drive, Ask Ubuntu users still recommend disabling it when you share NTFS data.
In Windows:
- Control Panel → Power Options → Choose what the power buttons do
- Change settings that are currently unavailable
- Uncheck Turn on fast startup
- Save, then do a full shutdown (
shutdown /s /t 0from an elevated prompt is a reliable full off)
Step 4: Free Space for Linux (Shrink Windows in Windows)
Rule of thumb from community practice: resize Windows partitions in Windows; resize Linux partitions in Linux.
- Open Disk Management (
diskmgmt.msc). - Right-click the main Windows volume (usually
C:) → Shrink Volume. - Free enough unallocated space for Ubuntu (40 GB+ is comfortable for desktop use).
- Leave the space unallocated—do not create a Windows partition in that gap.
- If shrink fails, clean disk space, disable hibernation temporarily (
powercfg /h off), defragment only if appropriate for HDD (not usually needed on SSD), and retry. Never force-shrink through random third-party tools as your first move.
Step 5: Download Ubuntu and Write a Bootable USB
- Download the current Ubuntu Desktop ISO from the official Ubuntu Desktop download page.
- Write the ISO with a proper image writer (Canonical’s tutorial uses balenaEtcher). Copying the ISO file to USB is not enough.
- This erases the USB stick—back it up first.
On Windows, Rufus in GPT/UEFI mode is also commonly used; match UEFI (not legacy CSM-only) to your firmware style.
Step 6: Boot the USB in UEFI Mode
- Insert the USB and open the firmware boot menu (often F12, F10, Esc, or Del—watch the splash screen).
- Select the UEFI USB entry if both UEFI and Legacy appear.
- In the Ubuntu installer, choose language, keyboard, and network.
- Prefer Try Ubuntu first if you want to confirm Wi‑Fi and disks before committing; then start Install.
Intel RST alert: If Ubuntu warns that Intel RST is unsupported, stop. Switch storage mode per Ubuntu’s RST help and Microsoft/OEM guidance for your model—do not random-toggle RAID settings without a backup. BitLocker/RST mistakes are a top dual-boot failure cluster.
Confirm you are in UEFI (live session): the path /sys/firmware/efi should exist.
Step 7: Install Ubuntu Alongside Windows
In Type of installation / Installation type:
- Choose Install Ubuntu alongside Windows Boot Manager (wording may vary slightly by installer version).
- Use the slider to allocate space to Ubuntu from the free/unallocated region.
- Optionally install third-party codecs/drivers when offered (helps NVIDIA and media formats).
- Review the summary carefully—confirm you did not select Erase disk and install Ubuntu unless you intend to wipe Windows on that disk.
- Create your user account and strong password.
- Install, remove the USB when prompted, reboot.
On UEFI systems Ubuntu typically shares the existing EFI System Partition and installs GRUB there. That is expected.
Manual partitioning is for advanced users who need custom /, /home, or encryption layouts. If you are new to dual boot, stay on the guided alongside option.
Step 8: First Boot Checklist
- You should see a GRUB menu: Ubuntu and Windows Boot Manager.
- Boot Ubuntu, finish initial setup, then run updates:
sudo apt update
sudo apt upgrade- Boot Windows once and confirm BitLocker status, disk letters, and that data is intact.
- Only after both OSes boot cleanly should you consider re-enabling BitLocker (if your Windows edition allows it)—and expect occasional recovery-key prompts after firmware/bootloader changes.
Optional Branch: Linux on a Second Drive
If Ubuntu will live on a separate disk:
- Still disable Fast Startup if you will mount Windows NTFS data from Linux.
- In the installer, select the empty/second drive carefully.
- Set firmware boot order so the disk with GRUB (or Windows Boot Manager, depending on setup) is first—or use the firmware boot menu each time.
Wrong-disk selection is the fastest way to wipe Windows. Read the drive model/size twice before clicking Install.
Fix Common Dual-Boot Problems
Ubuntu installer says BitLocker is enabled
Reboot to Windows, fully decrypt/turn off BitLocker, verify in Windows, then restart the installer. Do not “force” alongside install on an encrypted volume.
PC boots straight into Windows (no GRUB)
Enter UEFI settings and put ubuntu / the Ubuntu boot entry above Windows Boot Manager. Some OEMs hide entries until you add them manually.
Windows asks for the BitLocker recovery key every boot
Enter the saved key, boot Windows, then suspend/resume BitLocker protection after the boot chain stabilizes. Dual-boot bootloader changes commonly trip TPM/PCR checks—keep the recovery key handy before firmware experiments.
Windows partition won’t mount in Linux
Disable Fast Startup and fully shut down Windows before booting Linux. Avoid writing to the Windows system partition from Linux as routine practice; use a shared NTFS/exFAT data partition when possible.
GRUB lost Windows entry after an update
From Ubuntu:
sudo update-grubIf the system won’t boot, use an Ubuntu live USB and repair tools carefully—prefer official docs over random “bootrec /fixboot” tips meant for legacy BIOS/MBR.
You selected Erase disk by mistake
Stop if still early; if install finished, restore from backup. There is no safe undo without backups.
After Dual Boot Setup: Keep Shared Documents Consistent
Once Linux and Windows both boot, the next real test is not GRUB. It is whether the same class notes, work docs, spreadsheets, and PDFs still open cleanly on both systems.
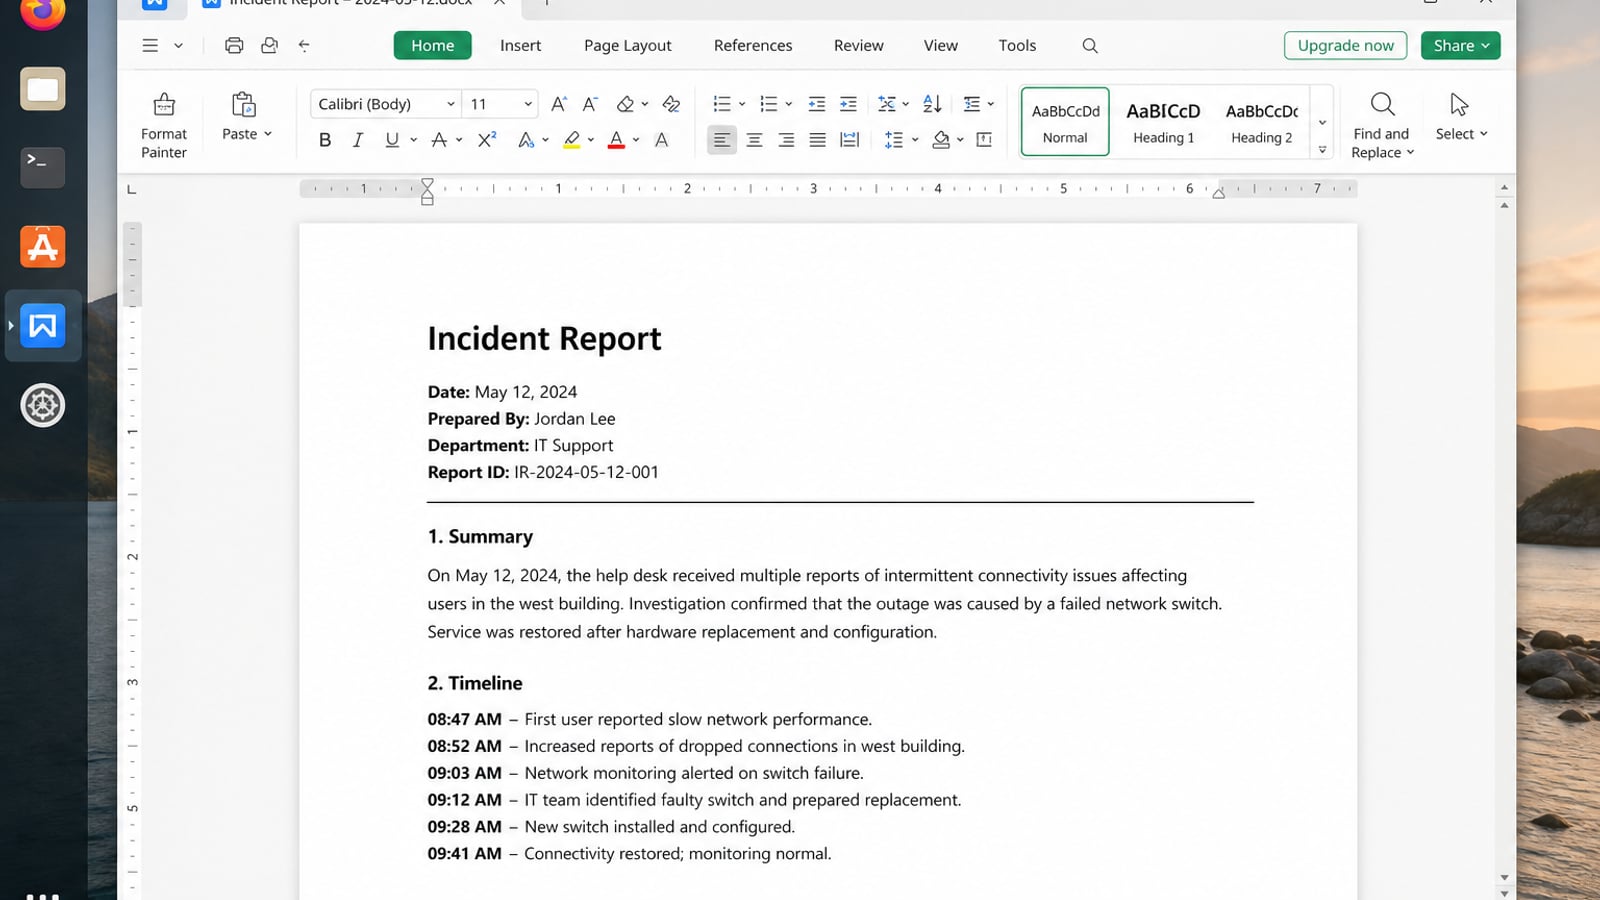
WPS Office for Linux fits that cross-platform handoff because it gives Ubuntu a familiar Writer/Spreadsheet/Presentation workflow with strong Microsoft Office compatibility.
| What you need next | What WPS gives you |
|---|---|
| Open the same Office files from both Windows and Linux | Strong .docx / .xlsx / .pptx layout fidelity when files move between Linux, Windows, and macOS |
| One place for notes, sheets, slides, and PDFs | Free core suite: Writer, Spreadsheet, Presentation, plus PDF view/edit/convert tools |
| A familiar desktop UI for switchers | Ribbon-style apps with a lighter footprint than many heavy suites |
| A trusted install path | Official DEB (Ubuntu/Debian/Mint) and RPM packages from the vendor |
Get the current 64-bit build from the official WPS Office for Linux download page and install the local package with sudo apt install ./wps-office_VERSION_amd64.deb. That way the documents you move between your two systems stay easier to review without reformatting every file after the dual-boot install.
FAQ
Is dual booting safe for Windows 11?
Yes if you back up, handle BitLocker, free space correctly, and use UEFI install alongside Windows. The danger is skipping those prep steps.
Do I need to disable Secure Boot?
Usually no for current Ubuntu Desktop releases on UEFI. Keep Secure Boot on unless a specific driver/MOK flow requires a temporary change documented by Ubuntu.
WSL vs dual boot?
WSL runs Linux tools inside Windows. Dual boot gives a full native Linux desktop and different hardware/driver behavior. Use WSL for light CLI work; dual boot when you need full Linux graphics/desktop control.
Can I keep BitLocker on during Ubuntu install?
For Canonical’s guided “alongside Windows” path, BitLocker must be off so the installer can read the disk layout. Advanced encrypted setups exist but are not the beginner procedure.
How much disk space should I give Linux?
25 GB is a documented minimum for Ubuntu Desktop; 40–80 GB+ is more realistic if you install apps and keep local files.
What if I only have legacy BIOS/MBR?
Dual boot is still possible but fiddlier. Prefer UEFI/GPT on modern hardware when you can.

'%3e%3cpath%20d='M19.9911%204.11386V6.471H18.5894C18.0775%206.471%2017.7322%206.57814%2017.5536%206.79243C17.3751%207.00671%2017.2858%207.32814%2017.2858%207.75671V9.44421H19.9019L19.5536%2012.0871H17.2858V18.8639H14.5536V12.0871H12.2769V9.44421H14.5536V7.49779C14.5536%206.39064%2014.8632%205.53201%2015.4822%204.92189C16.1013%204.31177%2016.9257%204.00671%2017.9554%204.00671C18.8304%204.00671%2019.509%204.04243%2019.9911%204.11386Z'%20fill='%23333333'/%3e%3c/g%3e%3cdefs%3e%3cclipPath%20id='clip0_2938_8199'%3e%3crect%20width='16'%20height='16'%20fill='white'%20transform='translate(8%204.00671)'/%3e%3c/clipPath%3e%3c/defs%3e%3c/svg%3e)
'%3e%3cpath%20d='M17.5237%2010.7813L23.4811%204H22.0699L16.8949%209.88693L12.7648%204H8L14.2469%2012.9029L8%2020.0133H9.4112L14.8725%2013.7952L19.2352%2020.0133H24M9.92053%205.04213H12.0885L22.0688%2019.0224H19.9003'%20fill='%23333333'/%3e%3c/g%3e%3cdefs%3e%3cclipPath%20id='clip0_2938_8200'%3e%3crect%20width='16'%20height='16.0134'%20fill='white'%20transform='translate(8%204)'/%3e%3c/clipPath%3e%3c/defs%3e%3c/svg%3e)


