

'%3e%3cpath%20d='M8%200C12.4183%200%2016%203.58172%2016%208C16%2012.4183%2012.4183%2016%208%2016C3.58172%2016%200%2012.4183%200%208C0%203.58172%203.58172%200%208%200ZM11.6162%204.38379C11.2257%203.99337%2010.5927%203.99338%2010.2021%204.38379L8%206.58594L5.79785%204.38379C5.40732%203.99334%204.77429%203.99329%204.38379%204.38379C3.99331%204.77429%203.99335%205.40733%204.38379%205.79785L6.58594%208L4.38379%2010.2021C3.99348%2010.5927%203.99341%2011.2257%204.38379%2011.6162C4.77426%2012.0066%205.40734%2012.0065%205.79785%2011.6162L8%209.41406L10.2021%2011.6162C10.5927%2012.0066%2011.2257%2012.0067%2011.6162%2011.6162C12.0067%2011.2257%2012.0066%2010.5927%2011.6162%2010.2021L9.41406%208L11.6162%205.79785C12.0066%205.40735%2012.0066%204.77429%2011.6162%204.38379Z'%20fill='%23080E17'%20fill-opacity='0.46'/%3e%3c/g%3e%3cdefs%3e%3cclipPath%20id='clip0_3761_713'%3e%3crect%20width='16'%20height='16'%20fill='white'/%3e%3c/clipPath%3e%3c/defs%3e%3c/svg%3e)




'%3e%3cpath%20fill-rule='evenodd'%20clip-rule='evenodd'%20d='M21.4999%2010.9993C21.4999%205.20009%2016.7986%200.498901%2010.9993%200.498901C5.19994%200.498901%200.498657%205.20009%200.498657%2010.9993C0.498657%2016.2404%204.33858%2020.5844%209.35855%2021.3722V14.0346H6.69238V10.9993H9.35855V8.68594C9.35855%206.05427%2010.9262%204.60062%2013.3248%204.60062C14.4736%204.60062%2015.6753%204.80571%2015.6753%204.80571V7.38979H14.3512C13.0468%207.38979%2012.64%208.19921%2012.64%209.0296V10.9993H15.5523L15.0867%2014.0346H12.64V21.3722C17.66%2020.5844%2021.4999%2016.2404%2021.4999%2010.9993Z'%20fill='%231568EA'/%3e%3c/g%3e%3c/svg%3e)


'%3e%3cpath%20d='M2.42045%2022.1876H6.31818V12.7217L0.75%208.54553V20.5171C0.75%2021.4414%201.49892%2022.1876%202.42045%2022.1876Z'%20fill='%234285F4'/%3e%3cpath%20d='M19.682%2022.1876H23.5797C24.5041%2022.1876%2025.2502%2021.4387%2025.2502%2020.5171V8.54553L19.682%2012.7217'%20fill='%2334A853'/%3e%3cpath%20d='M19.682%205.48293V12.7216L25.2502%208.54543V6.31816C25.2502%204.25236%2022.8921%203.07469%2021.2411%204.31361'%20fill='%23FBBC04'/%3e%3cpath%20d='M6.31824%2012.7217V5.48303L13.0001%2010.4944L19.6819%205.48303V12.7217L13.0001%2017.733'%20fill='%23EA4335'/%3e%3cpath%20d='M0.75%206.31816V8.54543L6.31818%2012.7216V5.48293L4.75909%204.31361C3.10534%203.07469%200.75%204.25236%200.75%206.31816Z'%20fill='%23C5221F'/%3e%3c/g%3e%3cdefs%3e%3cclipPath%20id='clip0_2954_7305'%3e%3crect%20width='24.5'%20height='18.375'%20fill='white'%20transform='translate(0.75%203.8125)'/%3e%3c/clipPath%3e%3c/defs%3e%3c/svg%3e)


To install Linux Mint, download an official ISO (Cinnamon, MATE, or Xfce), write it to a USB stick with an image tool, boot that stick into a live session, then run Install Linux Mint. The shortest reliable path is: back up → download & verify ISO → flash USB (Etcher or USB Image Writer) → boot USB → Try live desktop → Install → erase disk or install alongside → reboot without the stick.
Critical rules: writing the ISO erases the USB; Erase disk and install Linux Mint wipes the selected hard drive; for dual-boot, install Windows first (Linux Mint’s guide is explicit). Success means you can log into Mint and open Update Manager.
Official reference: the Linux Mint Installation Guide. If you already know your blocker, jump to: choose edition, USB won’t boot, dual boot with Windows, or EFI/GRUB repair.
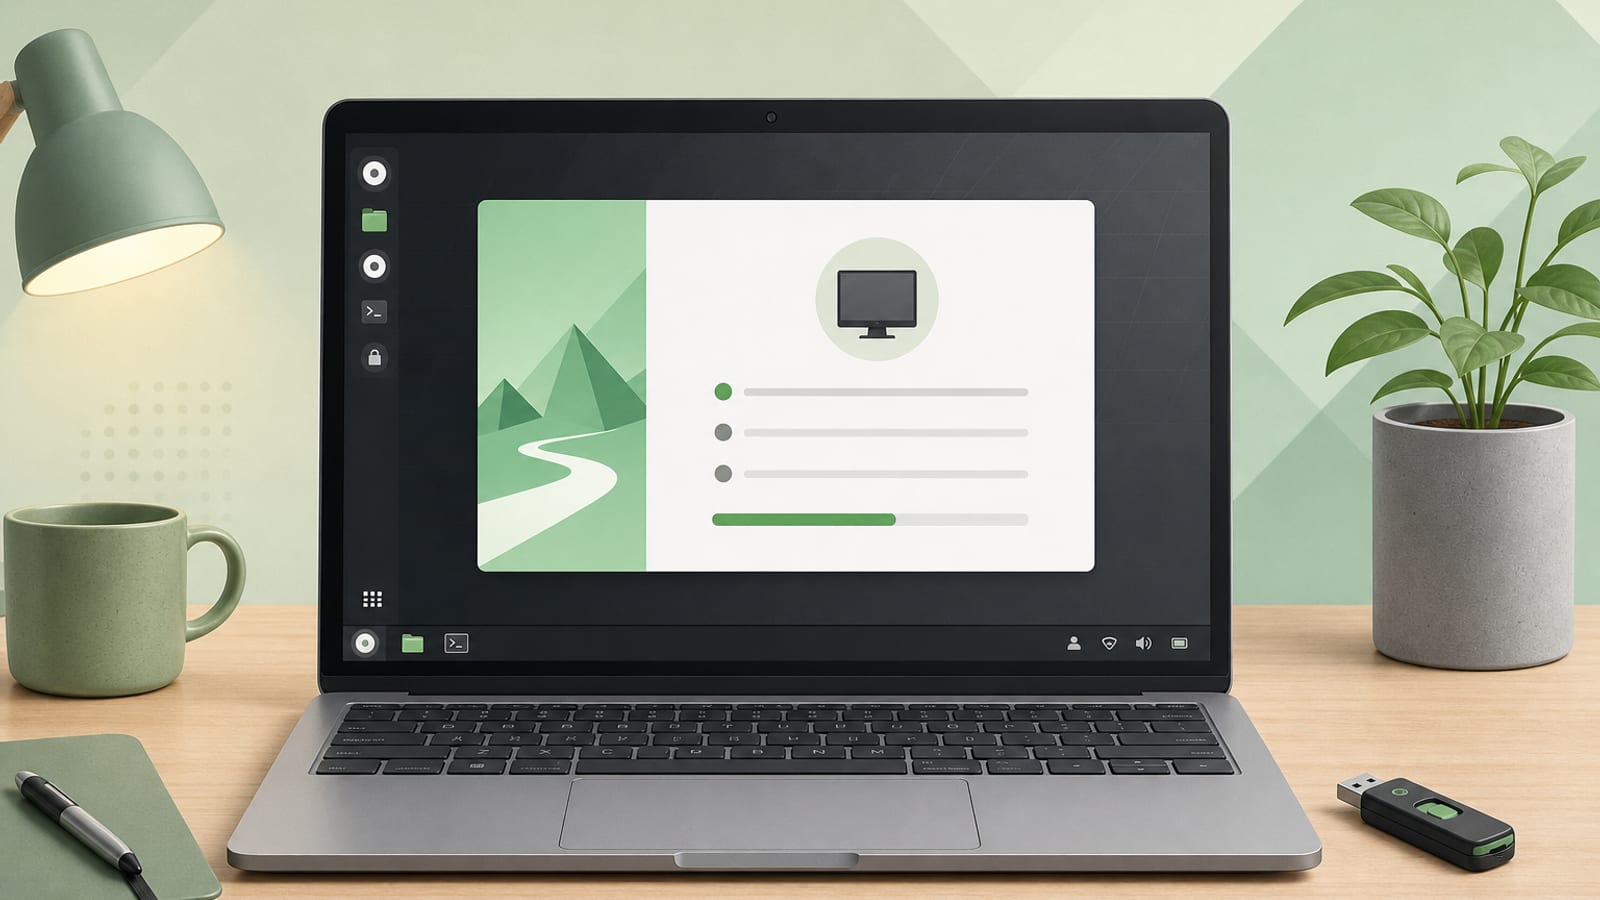
For the full PC install overview with Ubuntu, start with how to install Linux on a PC.
Step 0: Choose Cinnamon, MATE, or Xfce
Download from the official Linux Mint download page (current line is Linux Mint 22.3 “Zena” at time of writing—always take the latest from the site).
| Edition | Best for |
|---|---|
| Cinnamon | Most users; modern Mint desktop (default recommendation if unsure) |
| MATE | More traditional desktop; often lighter than Cinnamon |
| Xfce | Oldest/low-spec PCs; lightest option |
From Mint 20 onward, only 64-bit ISOs are offered. If very new hardware fails to detect correctly, check Mint’s Edge ISO notes in the User Guide.
Optional but smart: verify the ISO with the published checksums before flashing.
What You Need
- A PC/laptop and a full backup of files you care about
- USB stick large enough for the current Mint ISO (8 GB+ is a safe practical size; the write destroys USB data)
- Internet during install if you want multimedia codecs and later driver updates
- For dual-boot: free disk space (shrink Windows first) and BitLocker/Fast Startup handled if Windows is present
Mint’s installer notes the base OS is roughly ~15 GB without extras—give the root partition far more room for apps and files (their partitioning FAQ suggests 100 GB or more when sizing / yourself).
Step 1: Create a Bootable USB (Do Not Just Copy the ISO)
Official Mint guidance:
On Windows, macOS, or other Linux: balenaEtcher
- Download and install Etcher.
- Select image → Linux Mint
.iso. - Select drive → your USB stick.
- Flash! and wait until finished.
Already on Linux Mint: USB Image Writer
- Right-click the ISO → Make Bootable USB Stick, or open Menu → Accessories → USB Image Writer.
- Select the ISO and USB device → Write.
Copying the .iso into a folder will not boot. Rufus can work on Windows, but Mint’s install guide points newcomers to Etcher.
Step 2: Boot the Live Session
- Insert the USB into the target PC.
- Restart and open the one-time boot menu (common keys: F12, Esc, F2, F10, Del—OEM specific).
- Select the USB device (prefer the UEFI entry if both UEFI and Legacy appear).
- On Macs, hold Option/Alt after the boot chime and pick the USB/EFI entry.
Mint boots in EFI (GRUB menu) or BIOS (isolinux menu). Press Enter to start the live desktop.
You are logged in as user mint. If a password is requested, press Enter (live session default).
Use the live desktop to check Wi‑Fi, display, and keyboard before you commit to install.
Step 3: Run the Linux Mint Installer
- Double-click Install Linux Mint.
- Choose language.
- Connect to the internet when possible.
- If online, tick install multimedia codecs.
- Choose installation type carefully:
- Erase disk and install Linux Mint — Mint alone on that drive (destructive).
- Install Linux Mint alongside… — keeps another OS when detected; installer can resize and add a boot menu.
- Something else — manual partitions (advanced).
- Set timezone and keyboard.
- Create user details:
- Use lowercase username/hostname only (no punctuation)—Mint warns about bugs otherwise.
- Optional: Encrypt my home folder (Mint suggests this over full-disk encryption for many beginners; full-disk encryption notes en_US keyboard and NVIDIA caveats in the guide).
- Wait for the slideshow → Restart Now → remove the USB when prompted.
Manual Partitioning Notes (If You Choose “Something Else”)
From Mint’s install guide:
- Mount one partition on
/(recommend ext4; size generously—100 GB+ if possible). - Create a swap partition about equal to RAM (hibernation / safety buffer).
- Do not wipe the wrong disk if Windows or data partitions exist.
Dual Boot with Windows
Mint’s multi-boot FAQ:
- Always install Windows first, then Linux Mint (Windows does not build a friendly multi-OS menu; Mint does).
- In Windows: shrink the volume to free unallocated space; turn off Fast Startup; address BitLocker if the installer cannot see Windows safely.
- Boot the Mint USB in the same mode as Windows (usually UEFI).
- Choose install alongside when offered.
If Windows later overwrites the boot menu, Mint documents a live-USB repair: identify the Mint ext4 partition with lsblk -f, mount it, and reinstall GRUB to the correct disk (replace device names carefully):
sudo mount /dev/sdXN /mnt
sudo grub-install --root-directory=/mnt /dev/sdX
After Mint Runs: Everyday Documents on Linux
After Linux Mint is installed, the next real task is usually not firmware or GRUB anymore. It is opening office attachments, writing setup notes, and sharing files with people on Windows.
WPS Office for Linux gives Mint a desktop suite for Writer, spreadsheets, slides, and PDFs with a familiar workflow for switchers.
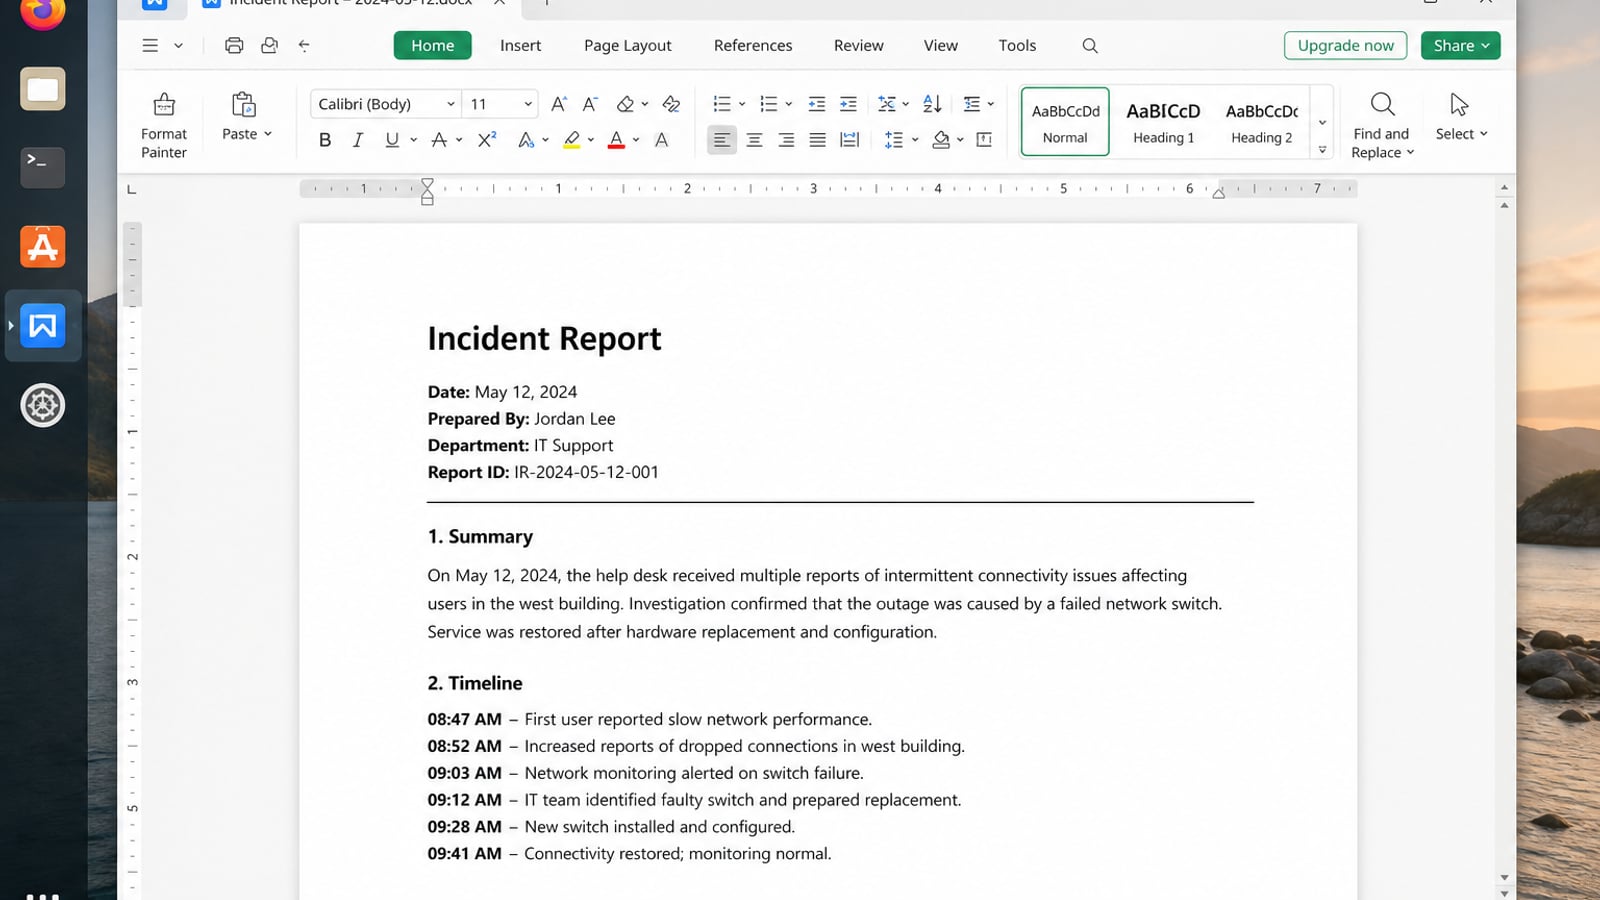
| What you need next | What WPS gives you |
|---|---|
| Open and share Microsoft-style files on Linux Mint | Strong .docx / .xlsx / .pptx layout fidelity when files move between Linux, Windows, and macOS |
| One place for notes, sheets, slides, and PDFs | Free core suite: Writer, Spreadsheet, Presentation, plus PDF view/edit/convert tools |
| A familiar desktop UI for switchers | Ribbon-style apps with a lighter footprint than many heavy suites |
| A trusted install path | Official DEB (Ubuntu/Debian/Mint) and RPM packages from the vendor |
Use the official WPS Office for Linux download page and install the local package with sudo apt install ./wps-office_VERSION_amd64.deb. That makes it easier to turn post-install notes and downloaded attachments into DOCX, XLSX, or PDF files without leaving Mint.
Fix Common “Install Linux Mint” Problems
USB ignored; Windows boots instead
Use the one-time boot menu; pick the UEFI USB entry; re-flash with Etcher; try another port/stick.
You only copied the ISO file
That will not boot. Rewrite with Etcher or USB Image Writer.
Live session works, installer fails on disks
Wrong boot mode (UEFI vs Legacy), Intel RST/RAID storage mode, or encrypted Windows volumes. Fix firmware/storage and free space first.
After install, only Windows starts
Boot Mint live USB and repair GRUB per Mint’s multi-boot guide; set the Ubuntu/Mint EFI entry first in firmware if needed.
New hardware not detected
Try Mint’s Edge ISO guidance for newer chipsets/kernels.
Full-disk encryption surprises
Remember Mint’s warning: encryption passphrase entry may assume en_US until layout is set; NVIDIA + FDE can be problematic—prefer home-folder encryption if you are new.
Virtual Machine Alternative
To try Mint without touching the internal disk, create a VirtualBox/VMware/KVM VM, attach the Mint ISO, and install inside the guest. Same installer steps; allocate ~4–8 GB RAM and 25 GB+ disk if you can.
After Mint Runs: Open Office Files
Once Linux Mint is installed, use it for everyday DOCX, spreadsheets, and PDFs. Install WPS Office for Linux from the official WPS Linux download page when you need Microsoft Office–compatible documents on Mint without leaving Linux.
FAQ
How do I install Linux Mint quickly?
Download the Cinnamon ISO, flash it with Etcher, boot the USB, run Install Linux Mint, choose erase disk or alongside, then reboot without the stick.
Which edition should beginners pick?
Cinnamon, unless the PC is very old—then try Xfce or MATE.
Will installing Mint delete Windows?
Only if you choose Erase disk. Install alongside keeps Windows when the installer can see it.
Is Etcher required?
On Windows/macOS/other Linux, Mint’s guide recommends Etcher. On Mint itself, use USB Image Writer.
Do I need to disable Secure Boot?
Many modern Mint installs work with Secure Boot on; if the stick won’t start, fix UEFI USB selection and ISO writing first, then adjust Secure Boot only if still blocked.
How much disk space does Mint need?
The base system is about 15 GB, but plan much more for apps and files; Mint suggests sizing / to 100 GB+ when partitioning manually.

'%3e%3cpath%20d='M19.9911%204.11386V6.471H18.5894C18.0775%206.471%2017.7322%206.57814%2017.5536%206.79243C17.3751%207.00671%2017.2858%207.32814%2017.2858%207.75671V9.44421H19.9019L19.5536%2012.0871H17.2858V18.8639H14.5536V12.0871H12.2769V9.44421H14.5536V7.49779C14.5536%206.39064%2014.8632%205.53201%2015.4822%204.92189C16.1013%204.31177%2016.9257%204.00671%2017.9554%204.00671C18.8304%204.00671%2019.509%204.04243%2019.9911%204.11386Z'%20fill='%23333333'/%3e%3c/g%3e%3cdefs%3e%3cclipPath%20id='clip0_2938_8199'%3e%3crect%20width='16'%20height='16'%20fill='white'%20transform='translate(8%204.00671)'/%3e%3c/clipPath%3e%3c/defs%3e%3c/svg%3e)
'%3e%3cpath%20d='M17.5237%2010.7813L23.4811%204H22.0699L16.8949%209.88693L12.7648%204H8L14.2469%2012.9029L8%2020.0133H9.4112L14.8725%2013.7952L19.2352%2020.0133H24M9.92053%205.04213H12.0885L22.0688%2019.0224H19.9003'%20fill='%23333333'/%3e%3c/g%3e%3cdefs%3e%3cclipPath%20id='clip0_2938_8200'%3e%3crect%20width='16'%20height='16.0134'%20fill='white'%20transform='translate(8%204)'/%3e%3c/clipPath%3e%3c/defs%3e%3c/svg%3e)


