

'%3e%3cpath%20d='M8%200C12.4183%200%2016%203.58172%2016%208C16%2012.4183%2012.4183%2016%208%2016C3.58172%2016%200%2012.4183%200%208C0%203.58172%203.58172%200%208%200ZM11.6162%204.38379C11.2257%203.99337%2010.5927%203.99338%2010.2021%204.38379L8%206.58594L5.79785%204.38379C5.40732%203.99334%204.77429%203.99329%204.38379%204.38379C3.99331%204.77429%203.99335%205.40733%204.38379%205.79785L6.58594%208L4.38379%2010.2021C3.99348%2010.5927%203.99341%2011.2257%204.38379%2011.6162C4.77426%2012.0066%205.40734%2012.0065%205.79785%2011.6162L8%209.41406L10.2021%2011.6162C10.5927%2012.0066%2011.2257%2012.0067%2011.6162%2011.6162C12.0067%2011.2257%2012.0066%2010.5927%2011.6162%2010.2021L9.41406%208L11.6162%205.79785C12.0066%205.40735%2012.0066%204.77429%2011.6162%204.38379Z'%20fill='%23080E17'%20fill-opacity='0.46'/%3e%3c/g%3e%3cdefs%3e%3cclipPath%20id='clip0_3761_713'%3e%3crect%20width='16'%20height='16'%20fill='white'/%3e%3c/clipPath%3e%3c/defs%3e%3c/svg%3e)




'%3e%3cpath%20fill-rule='evenodd'%20clip-rule='evenodd'%20d='M21.4999%2010.9993C21.4999%205.20009%2016.7986%200.498901%2010.9993%200.498901C5.19994%200.498901%200.498657%205.20009%200.498657%2010.9993C0.498657%2016.2404%204.33858%2020.5844%209.35855%2021.3722V14.0346H6.69238V10.9993H9.35855V8.68594C9.35855%206.05427%2010.9262%204.60062%2013.3248%204.60062C14.4736%204.60062%2015.6753%204.80571%2015.6753%204.80571V7.38979H14.3512C13.0468%207.38979%2012.64%208.19921%2012.64%209.0296V10.9993H15.5523L15.0867%2014.0346H12.64V21.3722C17.66%2020.5844%2021.4999%2016.2404%2021.4999%2010.9993Z'%20fill='%231568EA'/%3e%3c/g%3e%3c/svg%3e)


'%3e%3cpath%20d='M2.42045%2022.1876H6.31818V12.7217L0.75%208.54553V20.5171C0.75%2021.4414%201.49892%2022.1876%202.42045%2022.1876Z'%20fill='%234285F4'/%3e%3cpath%20d='M19.682%2022.1876H23.5797C24.5041%2022.1876%2025.2502%2021.4387%2025.2502%2020.5171V8.54553L19.682%2012.7217'%20fill='%2334A853'/%3e%3cpath%20d='M19.682%205.48293V12.7216L25.2502%208.54543V6.31816C25.2502%204.25236%2022.8921%203.07469%2021.2411%204.31361'%20fill='%23FBBC04'/%3e%3cpath%20d='M6.31824%2012.7217V5.48303L13.0001%2010.4944L19.6819%205.48303V12.7217L13.0001%2017.733'%20fill='%23EA4335'/%3e%3cpath%20d='M0.75%206.31816V8.54543L6.31818%2012.7216V5.48293L4.75909%204.31361C3.10534%203.07469%200.75%204.25236%200.75%206.31816Z'%20fill='%23C5221F'/%3e%3c/g%3e%3cdefs%3e%3cclipPath%20id='clip0_2954_7305'%3e%3crect%20width='24.5'%20height='18.375'%20fill='white'%20transform='translate(0.75%203.8125)'/%3e%3c/clipPath%3e%3c/defs%3e%3c/svg%3e)


The safest way to install Linux on a Chromebook is Google’s built-in Linux development environment (Crostini): turn it on in Settings, wait for setup, then use a Debian terminal and apt—no USB wipe of ChromeOS and no Developer Mode. That is the right first path for coding, CLI tools, and many Linux apps beside ChromeOS.
Only go further if you need a full Ubuntu desktop that replaces ChromeOS on a supported Intel/AMD Chromebook. That route can require Developer Mode, firmware changes, and a data wipe. Success for most people means Terminal opens, sudo apt update works, and Linux apps appear in the launcher—while ChromeOS still boots normally.
If you already know your case: school/work managed device → check admin policy; want Linux apps without wiping → Crostini; want Ubuntu as the only OS → full install branch (destructive).
For the full PC install overview with Ubuntu, start with how to install Linux on a PC.
Pick Your Path Before You Touch Firmware
| Goal | Method | Wipes ChromeOS data? | Best for |
|---|---|---|---|
| Linux apps + terminal beside ChromeOS | Official Linux (Crostini) | No | Most users |
| Full Ubuntu/Linux as primary OS (x86_64) | Firmware + Ubuntu USB (community) | Yes (plan a wipe) | Power users on supported Intel/AMD models |
| ARM Chromebook full Ubuntu | Model-specific / often limited | Often yes | Advanced only—verify board support first |
| Managed school/work Chromebook | May be blocked | — | Ask your admin |
Ask Ubuntu’s current Intel/AMD Chromebook answers say the same thing up front: if you do not want to remove ChromeOS, use Set up Linux on Chromebook instead of a classic USB install.
Obsolete “ChrUbuntu / GalliumOS only” tutorials are not the default for modern devices.
Method 1 (Recommended): Turn On Linux on ChromeOS (Crostini)
This is Google’s supported feature. Official help: Set up Linux on your Chromebook.
Requirements
- A Chromebook that lists Linux support (check Google’s device list / Settings—if Linux development environment is missing, your model or policy may not support it)
- Free storage for the Linux disk image (you choose size during setup; you can expand later)
- Not blocked by school/work admin policy
Steps
- Back up important ChromeOS files to Google Drive or external storage (always wise before system changes).
- Sign in to ChromeOS (non-guest).
- Bottom right → time → Settings.
- Open About ChromeOS → Developers (labels can vary slightly by ChromeOS version).
- Beside Linux development environment, select Set up / Turn on.
- Choose a Linux username and disk size.
- Select Install and wait (often 10+ minutes).
- When finished, a Terminal window opens with a Debian environment.
Pin Terminal to the shelf for quick access.
First commands inside Linux
Update packages (Google’s troubleshooting path uses this family of commands):
sudo apt-get update && sudo apt-get dist-upgradeOr the common modern form:
sudo apt update
sudo apt upgrade
Install tools with APT, for example:
sudo apt install git build-essentialLinux GUI apps you install typically appear in the ChromeOS launcher. Share folders with Linux from ChromeOS Files when you need project access (enable sharing for the folders you choose).
What Crostini is (and is not)
- Is: a Debian Linux environment in a VM/container on top of ChromeOS
- Is not: replacing ChromeOS, dual-booting a separate Ubuntu partition by default, or giving unrestricted hardware access
- Google notes limits such as cameras, many USB devices, Android emulators, and hardware GPU acceleration not being fully supported yet—verify current Help Center limits if you need those features
Turn Linux off later
Settings → About ChromeOS → Developers → Linux development environment → Remove. This deletes the Linux environment and its apps/files inside it—back up first.
Method 2: Full Ubuntu Install (Replace ChromeOS) — Advanced
Use this only if Crostini is not enough and you accept losing ChromeOS as the daily driver (or need a true bare-metal Linux desktop).
Critical warnings (read before Developer Mode)
- Enabling Developer Mode wipes local user data on the Chromebook. Back up everything first.
- Full ROM / replacing stock firmware can remove ChromeOS recovery paths and carries brick risk if flashing fails—follow current docs for your exact board.
- Intel/AMD (x86_64) Chromebooks are the realistic target for mainstream Ubuntu USB installs. ARM Chromebooks need separate, board-specific guidance—do not follow an x86 guide on ARM.
- Managed devices may block Developer Mode entirely.
Ask Ubuntu’s Intel/AMD Chromebook Ubuntu guide states clearly: installing Ubuntu this way removes ChromeOS; if you do not want that, use ChromeOS Linux setup instead.
High-level workflow (x86_64)
Exact key combos and firmware options depend on model year. Treat this as a map, then follow current documentation for your board name (for example from chrome://version / recovery label):
- Backup all ChromeOS data.
- Create ChromeOS Recovery media for your model (so you can restore ChromeOS later if needed).
- Enable Developer Mode from Recovery (typically Ctrl+D flow)—expect a data wipe and a boot warning screen.
- For many devices, community firmware helpers (commonly discussed as MrChromebox utilities) update RW_LEGACY (boot USB/Linux while keeping more stock behavior) or install UEFI Full ROM (device behaves more like a normal PC; ChromeOS usually will not boot afterward).
- Run firmware tools from the environment those projects document (often a VT2
chronosshell—not from Crostini, which cannot flash firmware). - Full ROM typically requires disabling hardware write-protect—model-specific hardware step.
- Run firmware tools from the environment those projects document (often a VT2
- Write an official Ubuntu Desktop ISO to USB with a UEFI-capable tool (avoid known-broken writers called out by firmware docs).
- Boot the USB (often Ctrl+L on Developer Mode screens for legacy/RW_LEGACY paths, or direct UEFI boot after Full ROM).
- Install Ubuntu to internal storage. Expect keyboard, trackpad, audio, or firmware quirks—community sound/kernel notes are model-specific; verify for your board before assuming “it just works.”
- Only after Ubuntu boots cleanly, remove recovery media and set firmware boot options carefully.
If anything fails mid-flash, stop and use your recovery plan—do not keep reflashing randomly.
Safer alternative if you only need “real Ubuntu” sometimes
- Keep ChromeOS + Crostini for daily work
- Or boot Ubuntu from USB without wiping (where your firmware path allows USB boot) for try-before-replace testing
School and Work Chromebooks
Google’s Help page warns: if the Chromebook is managed, Linux may be disabled. Contact your administrator. Do not try firmware/Developer Mode bypasses on devices you do not own—that can violate policy and brick enrollment.
Fix Common Problems
“Linux development environment” missing in Settings
Model unsupported, ChromeOS too old, or admin policy. Update ChromeOS first; if still missing, Crostini is not available—full Linux is a different, riskier project.
Terminal / penguin container fails to start
Restart the Chromebook. From Terminal’s shelf icon, try shutting down Linux, then reopen. Update packages when Terminal works again. If corruption persists, back up Linux files and remove/recreate the Linux environment.
apt errors after setup
Run Google’s update command pair, restart, retry. Check network permissions for Linux.
Need microphone in Linux apps
Enable Allow Linux to access your microphone under Linux settings (per Google Help).
Full Ubuntu: no USB boot / no keyboard
Default Chromebook firmware blocks normal USB installs—that is why firmware/Developer Mode paths exist. Keyboard/audio regressions after custom firmware are model-specific; keep Recovery media ready.
Want ChromeOS back after Full ROM
Restore stock firmware per the firmware project’s recovery docs, then use official ChromeOS Recovery—order matters; do not skip documented restore steps.
After Linux Works on Chromebook: Notes, Docs, and PDFs
After Crostini or a full Ubuntu install starts correctly, the next task is often school notes, lightweight office files, or PDFs that still have to move between ChromeOS, Linux, and Windows classrooms.
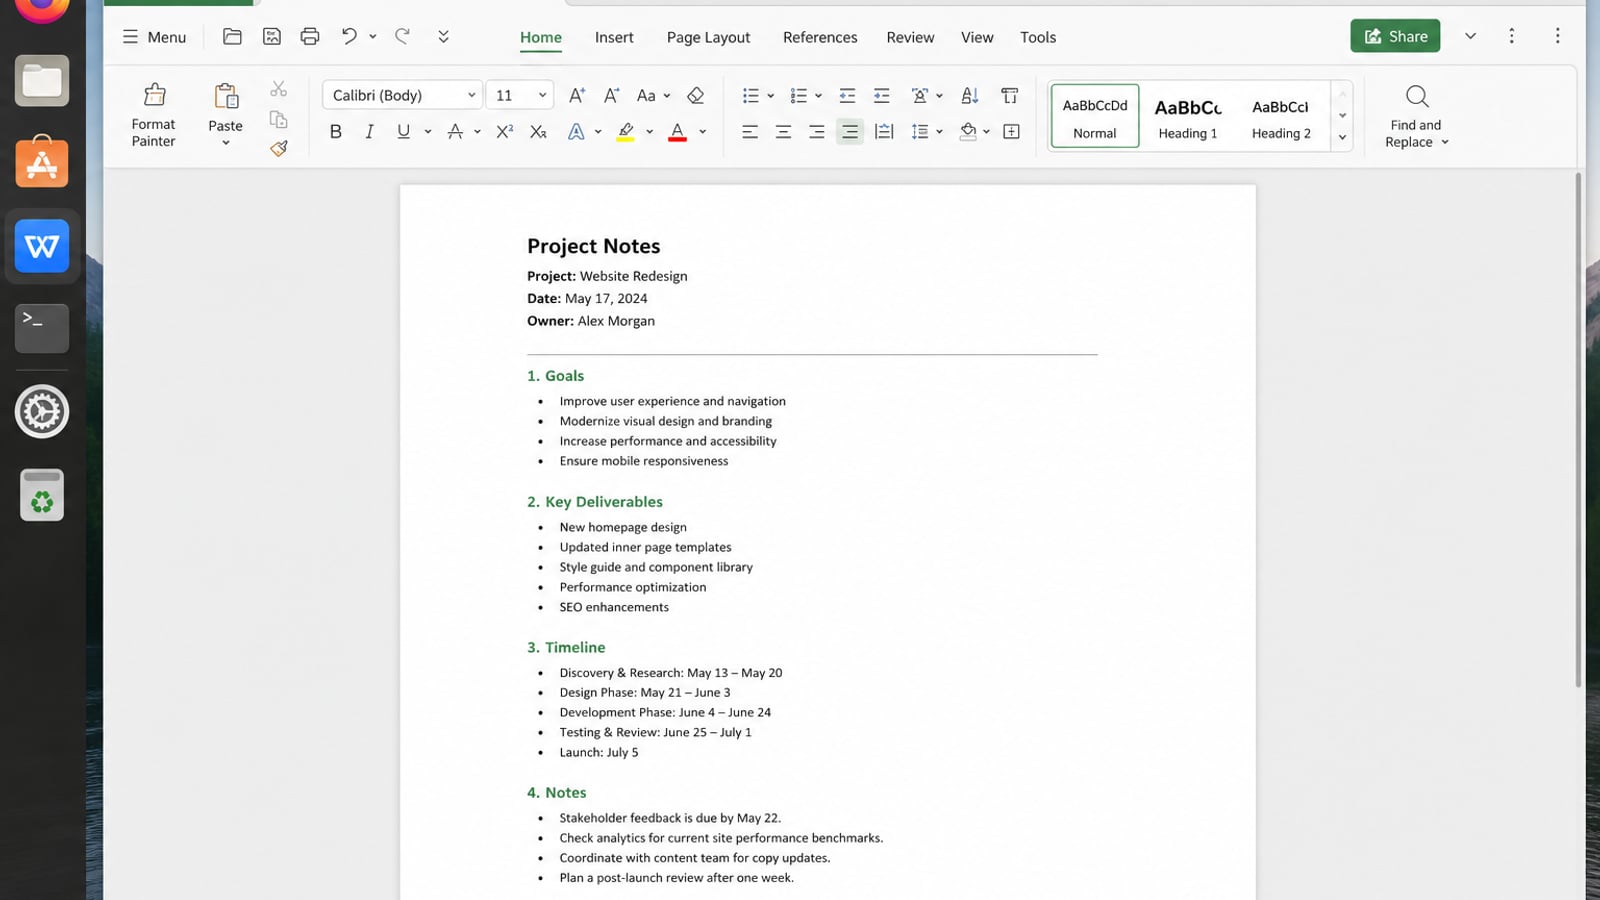
WPS Office for Linux gives that Linux side a familiar desktop suite for Writer, spreadsheets, slides, and PDFs.
| What you need next | What WPS gives you |
|---|---|
| Turn Chromebook Linux work into Office-compatible files | Strong .docx / .xlsx / .pptx layout fidelity when files move between Linux, Windows, and macOS |
| One place for notes, sheets, slides, and PDFs | Free core suite: Writer, Spreadsheet, Presentation, plus PDF view/edit/convert tools |
| A familiar desktop UI for switchers | Ribbon-style apps with a lighter footprint than many heavy suites |
| A trusted install path | Official DEB (Ubuntu/Debian/Mint) and RPM packages from the vendor |
Use the official WPS Office for Linux download page, then install the local package with sudo apt install ./wps-office_VERSION_amd64.deb on a full Ubuntu setup. Once Linux is ready, you can move plain notes into DOCX or export PDF for teachers, teammates, or classmates who are not using the same apps.
FAQ
What is the easiest way to install Linux on a Chromebook?
Turn on Linux development environment in ChromeOS Settings (Crostini). No Developer Mode required.
Does enabling Linux wipe my Chromebook?
Official Crostini setup does not wipe ChromeOS the way Developer Mode does. Developer Mode and full OS replacement do wipe or replace data—back up first.
Can I dual boot ChromeOS and Ubuntu?
Possible on some Intel/AMD devices with community firmware (for example RW_LEGACY + USB/internal Linux), but it is advanced. Most users should start with Crostini.
Is ChrUbuntu still the method I should follow?
Treat old ChrUbuntu guides as historical. Prefer Google’s Linux feature first; use current board-specific firmware + Ubuntu docs only if you need bare metal.
Will Linux apps see my GPU and camera?
Crostini still has official limitations (camera and hardware acceleration among them). Check Google’s current “what’s not supported” list.
ARM vs Intel Chromebook—does it matter?
Yes. Full Ubuntu USB installs are mainly practical on Intel/AMD. ARM needs board-specific images and expectations.

'%3e%3cpath%20d='M19.9911%204.11386V6.471H18.5894C18.0775%206.471%2017.7322%206.57814%2017.5536%206.79243C17.3751%207.00671%2017.2858%207.32814%2017.2858%207.75671V9.44421H19.9019L19.5536%2012.0871H17.2858V18.8639H14.5536V12.0871H12.2769V9.44421H14.5536V7.49779C14.5536%206.39064%2014.8632%205.53201%2015.4822%204.92189C16.1013%204.31177%2016.9257%204.00671%2017.9554%204.00671C18.8304%204.00671%2019.509%204.04243%2019.9911%204.11386Z'%20fill='%23333333'/%3e%3c/g%3e%3cdefs%3e%3cclipPath%20id='clip0_2938_8199'%3e%3crect%20width='16'%20height='16'%20fill='white'%20transform='translate(8%204.00671)'/%3e%3c/clipPath%3e%3c/defs%3e%3c/svg%3e)
'%3e%3cpath%20d='M17.5237%2010.7813L23.4811%204H22.0699L16.8949%209.88693L12.7648%204H8L14.2469%2012.9029L8%2020.0133H9.4112L14.8725%2013.7952L19.2352%2020.0133H24M9.92053%205.04213H12.0885L22.0688%2019.0224H19.9003'%20fill='%23333333'/%3e%3c/g%3e%3cdefs%3e%3cclipPath%20id='clip0_2938_8200'%3e%3crect%20width='16'%20height='16.0134'%20fill='white'%20transform='translate(8%204)'/%3e%3c/clipPath%3e%3c/defs%3e%3c/svg%3e)


