

'%3e%3cpath%20d='M8%200C12.4183%200%2016%203.58172%2016%208C16%2012.4183%2012.4183%2016%208%2016C3.58172%2016%200%2012.4183%200%208C0%203.58172%203.58172%200%208%200ZM11.6162%204.38379C11.2257%203.99337%2010.5927%203.99338%2010.2021%204.38379L8%206.58594L5.79785%204.38379C5.40732%203.99334%204.77429%203.99329%204.38379%204.38379C3.99331%204.77429%203.99335%205.40733%204.38379%205.79785L6.58594%208L4.38379%2010.2021C3.99348%2010.5927%203.99341%2011.2257%204.38379%2011.6162C4.77426%2012.0066%205.40734%2012.0065%205.79785%2011.6162L8%209.41406L10.2021%2011.6162C10.5927%2012.0066%2011.2257%2012.0067%2011.6162%2011.6162C12.0067%2011.2257%2012.0066%2010.5927%2011.6162%2010.2021L9.41406%208L11.6162%205.79785C12.0066%205.40735%2012.0066%204.77429%2011.6162%204.38379Z'%20fill='%23080E17'%20fill-opacity='0.46'/%3e%3c/g%3e%3cdefs%3e%3cclipPath%20id='clip0_3761_713'%3e%3crect%20width='16'%20height='16'%20fill='white'/%3e%3c/clipPath%3e%3c/defs%3e%3c/svg%3e)




'%3e%3cpath%20fill-rule='evenodd'%20clip-rule='evenodd'%20d='M21.4999%2010.9993C21.4999%205.20009%2016.7986%200.498901%2010.9993%200.498901C5.19994%200.498901%200.498657%205.20009%200.498657%2010.9993C0.498657%2016.2404%204.33858%2020.5844%209.35855%2021.3722V14.0346H6.69238V10.9993H9.35855V8.68594C9.35855%206.05427%2010.9262%204.60062%2013.3248%204.60062C14.4736%204.60062%2015.6753%204.80571%2015.6753%204.80571V7.38979H14.3512C13.0468%207.38979%2012.64%208.19921%2012.64%209.0296V10.9993H15.5523L15.0867%2014.0346H12.64V21.3722C17.66%2020.5844%2021.4999%2016.2404%2021.4999%2010.9993Z'%20fill='%231568EA'/%3e%3c/g%3e%3c/svg%3e)


'%3e%3cpath%20d='M2.42045%2022.1876H6.31818V12.7217L0.75%208.54553V20.5171C0.75%2021.4414%201.49892%2022.1876%202.42045%2022.1876Z'%20fill='%234285F4'/%3e%3cpath%20d='M19.682%2022.1876H23.5797C24.5041%2022.1876%2025.2502%2021.4387%2025.2502%2020.5171V8.54553L19.682%2012.7217'%20fill='%2334A853'/%3e%3cpath%20d='M19.682%205.48293V12.7216L25.2502%208.54543V6.31816C25.2502%204.25236%2022.8921%203.07469%2021.2411%204.31361'%20fill='%23FBBC04'/%3e%3cpath%20d='M6.31824%2012.7217V5.48303L13.0001%2010.4944L19.6819%205.48303V12.7217L13.0001%2017.733'%20fill='%23EA4335'/%3e%3cpath%20d='M0.75%206.31816V8.54543L6.31818%2012.7216V5.48293L4.75909%204.31361C3.10534%203.07469%200.75%204.25236%200.75%206.31816Z'%20fill='%23C5221F'/%3e%3c/g%3e%3cdefs%3e%3cclipPath%20id='clip0_2954_7305'%3e%3crect%20width='24.5'%20height='18.375'%20fill='white'%20transform='translate(0.75%203.8125)'/%3e%3c/clipPath%3e%3c/defs%3e%3c/svg%3e)


To install Linux on a Mac, first identify your chip: Apple Silicon (M1/M2/M3…) or Intel. The safe beginner path on any Mac is a virtual machine (Multipass, UTM, or Parallels). For a native desktop, Apple Silicon uses the community Ubuntu Asahi installer; Intel Macs can still use a standard Ubuntu USB and the Option/Alt boot menu.
Canonical’s Desktop docs are explicit: standard Ubuntu USB installs target typical PCs; for Apple Silicon they point you to Ubuntu Asahi (community, not Canonical-supported), and they also recommend Multipass if you only need Ubuntu in a VM. Success means you can boot Ubuntu (native or VM), log in, and run sudo apt update.
If you already know your path, jump to: Apple Silicon Asahi, Intel Mac USB dual boot, Multipass VM, or Wi‑Fi/boot problems.
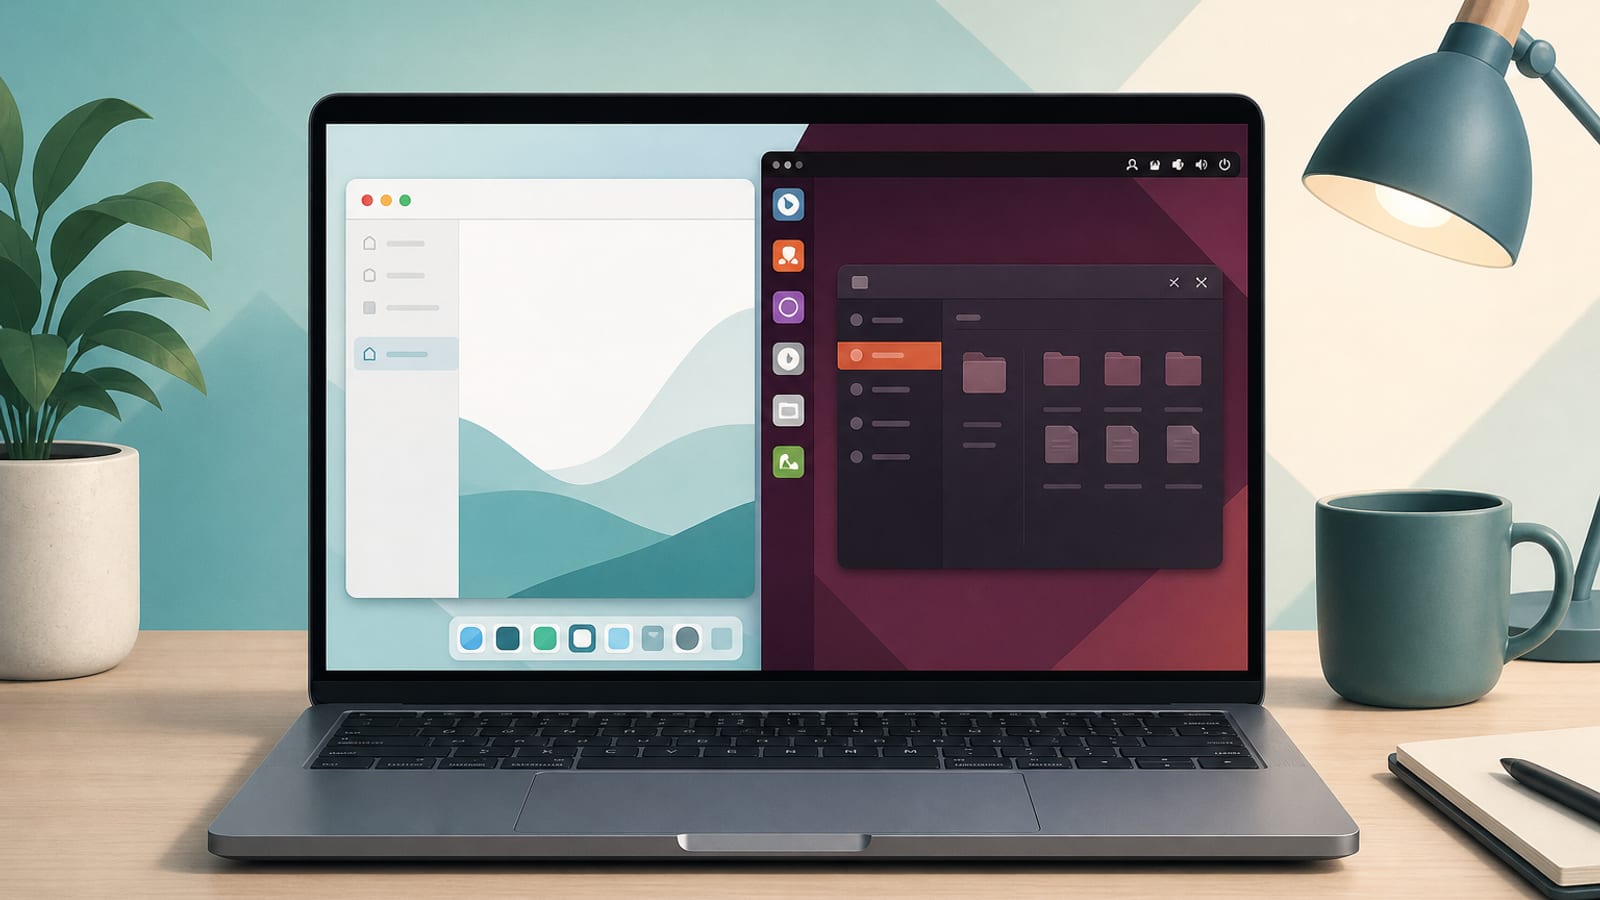
For the full PC install overview with Ubuntu, start with how to install Linux on a PC.
Pick Your Path First
| Mac type / goal | Best approach |
|---|---|
| Try Linux without touching macOS disks | Multipass, UTM, or Parallels VM |
| Native Ubuntu on M1/M2 (and other supported Asahi models) | Ubuntu Asahi from macOS |
| Native Ubuntu on Intel Mac | Bootable Ubuntu USB → install alongside or erase |
| Need only a Linux shell for coding | Multipass (multipass launch) |
Do not flash a normal amd64 Ubuntu Desktop ISO and expect it to replace macOS on Apple Silicon. That flow is for Intel/AMD PCs (and older Intel Macs).
What You Need
- A full Time Machine / external backup before resizing or erasing disks
- Free space (Ubuntu Desktop guidance is about 25 GB minimum for a real install; give a VM more if you can)
- Internet for downloads and updates
- For USB installs: an 8 GB+ flash drive (writing the image erases it)
Option A: Safest — Run Ubuntu in a VM on macOS
Use this if you want Linux tools or a desktop guest without dual-boot risk.
Multipass (Canonical’s recommended lightweight Ubuntu VMs)
- Install Multipass from Canonical’s Mac installer (or their documented macOS path).
- Launch an instance, for example:
multipass launch --name ubuntu-dev --cpus 2 --memory 4G --disk 30G
multipass shell ubuntu-dev- Update inside the guest:
sudo apt update && sudo apt upgradeMultipass is ideal for developers who need Ubuntu CLI/cloud-like instances. For a full GUI desktop in a window, many Mac users prefer UTM (Apple Silicon friendly) or Parallels with an ARM64 Ubuntu image—Ask Ubuntu’s high-traffic Apple Silicon threads often center on Parallels/ARM64 guests rather than VirtualBox.
VirtualBox note: classic VirtualBox + amd64 ISO is mainly an Intel Mac story. On Apple Silicon, prefer ARM guests and ARM-capable hypervisors.
Option B: Apple Silicon — Native Ubuntu with Ubuntu Asahi
Canonical’s install tutorial redirects Apple Silicon users to the Ubuntu Asahi community project. Hardware support depends on your model; Ubuntu’s docs note limits such as Ubuntu Asahi 25.10 only targeting M1/M2 in their example—check current Asahi/Ubuntu Asahi support lists for your Mac before you resize disks.
Install from macOS (official Ubuntu Asahi flow)
From Terminal on macOS, the project documents:
curl -sL https://ubuntuasahi.org/install > install.sh
less install.sh    # review the script
sh install.sh
Or the one-liner they also publish:
curl -sL https://ubuntuasahi.org/install | shThen follow the interactive installer: choose a supported Ubuntu build, free space from macOS, and finish setup.
Dual boot and firmware rules (important)
Ubuntu Asahi’s README states you can dual-boot with macOS, and that removing macOS is not supported because macOS is still required for system firmware updates. Plan to keep a working macOS partition.
Switch OS at boot
Hold the power button at startup until you see startup options, then pick macOS or Ubuntu. To change the default, use the Option/Always Use flow described in the Ubuntu Asahi docs.
Expect incomplete hardware features on some models (speakers, cameras, GPU acceleration, etc. evolve over time). Read the current Asahi feature matrix for your Mac before treating this as a daily driver.
Option C: Intel Mac — Ubuntu from a Bootable USB
Older Intel Macs can follow the classic Ubuntu Desktop USB path more closely.
1) Download Ubuntu Desktop (amd64)
Get the Intel/AMD 64-bit Desktop ISO from the official Ubuntu Desktop download page. Save it to Downloads—not onto the USB stick.
2) Create the USB on macOS (balenaEtcher)
Canonical’s create-USB guide for macOS:
- Insert an 8 GB+ USB stick.
- Download balenaEtcher for Intel Mac (or the arm64 Etcher build if you are only writing media on Apple Silicon for an Intel target).
- Flash from file → select the Ubuntu ISO → select the USB → Flash!
Ask Ubuntu’s classic “create live USB on Mac” answers agree: you must write the image, not copy the ISO file.
3) Boot the Mac from USB
Ubuntu’s installer tutorial for Apple hardware:
- Insert the stick.
- Restart or power on while holding Option / Alt (⌥).
- In Startup Manager, choose the gold/yellow EFI Boot USB entry.
- Continue into Try or Install Ubuntu.
Ask Ubuntu’s long-running “boot Ubuntu from USB on Mac” threads match this Option-key Startup Manager pattern.
4) Install (alongside macOS or replace)
- Prefer Try Ubuntu first to check Wi‑Fi, trackpad, and display.
- Start Install Ubuntu.
- Disk choices:
- Install alongside — keep macOS when the installer offers it (free space required)
- Erase disk — removes macOS on that drive (destructive)
- Manual — advanced only
- Create your user, finish, remove the USB when prompted, reboot.
After install, update:
sudo apt update && sudo apt upgradeCommon Mac + Linux Problems
Wrong ISO / wrong chip
Apple Silicon needs Asahi-based ARM images or an ARM VM. An amd64 Desktop ISO will not give you a normal native install on M-series Macs.
USB never appears in Startup Manager (Intel)
Re-flash with Etcher, try another port/stick, hold Option longer, confirm the stick shows as EFI Boot.
Wi‑Fi missing after install (especially older MacBooks)
A frequent Ask Ubuntu MacBook theme: Broadcom/wireless needs extra drivers or a temporary Ethernet/phone tether so you can install firmware packages. Get online first, then fix wireless—don’t assume the live session and installed system behave identically.
Asahi install feels “incomplete”
That can be normal for your model/generation. Check the Asahi feature support list; keep macOS for firmware and recovery.
VM is slow or won’t start
Give the guest more RAM/CPU if the host can spare it; on Apple Silicon use ARM Ubuntu images; close heavy macOS apps before launching.
You only need Linux packages, not a second desktop
Use Multipass or a container workflow instead of dual-boot.
After Ubuntu Boots on Mac: Finish the Documents You Still Share
Getting Linux onto a Mac is only the platform step. The daily workflow usually continues with Word files, spreadsheets, project notes, and PDFs shared back to macOS or Windows users.
WPS Office for Linux gives the Ubuntu side of that Mac workflow a desktop suite that stays close to the file formats people already exchange.
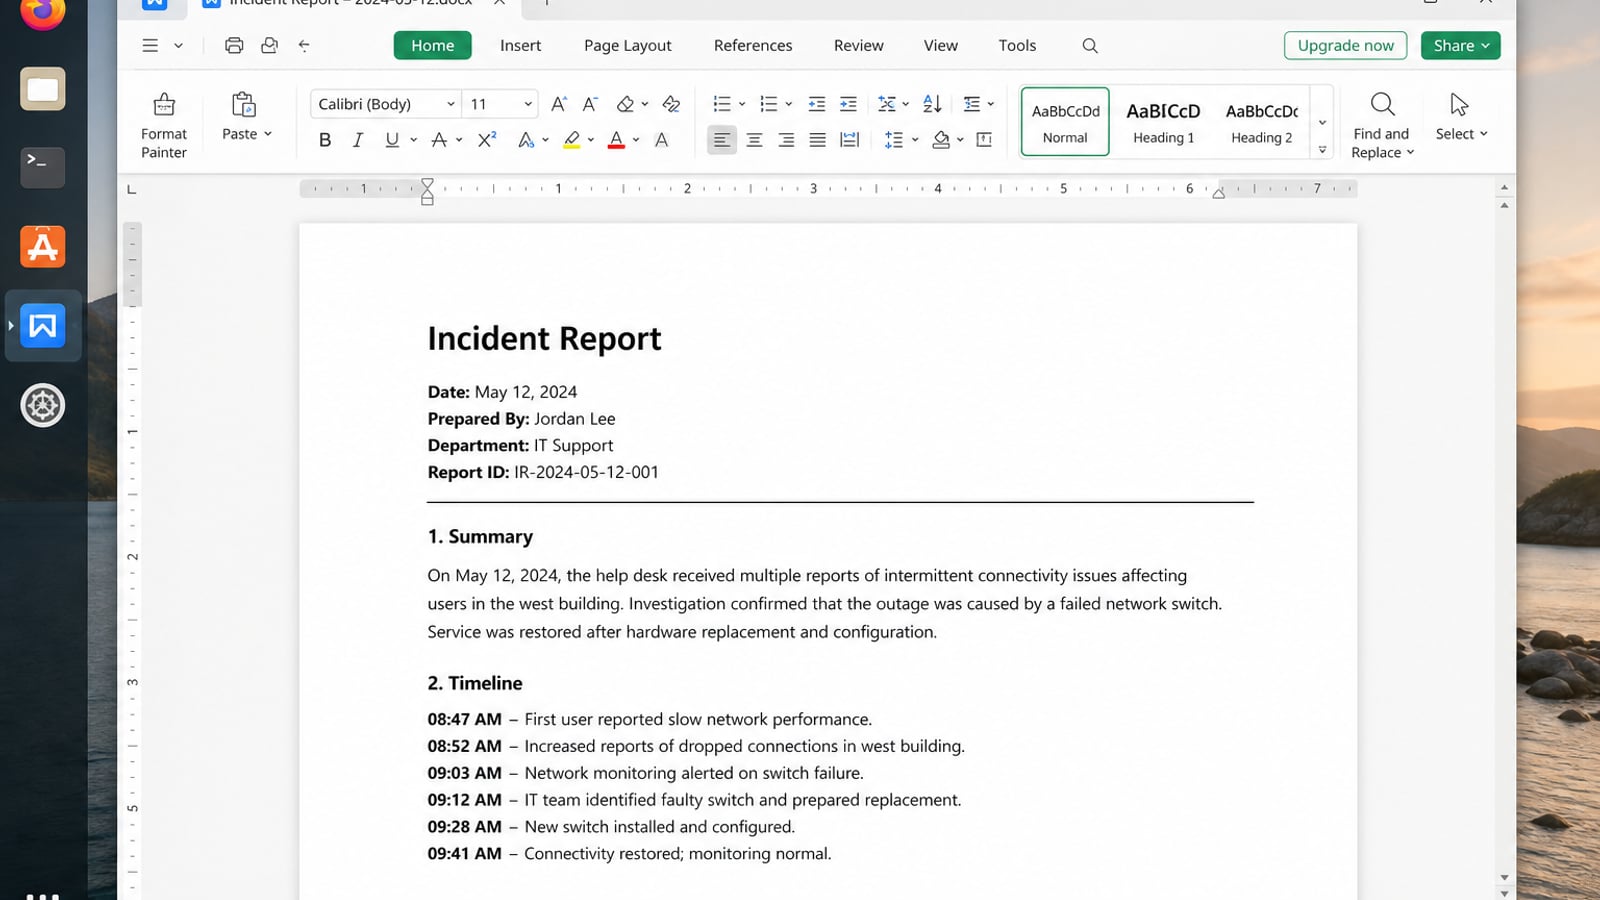
| What you need next | What WPS gives you |
|---|---|
| Keep Mac/Linux/Windows document handoff predictable | Strong .docx / .xlsx / .pptx layout fidelity when files move between Linux, Windows, and macOS |
| One place for notes, sheets, slides, and PDFs | Free core suite: Writer, Spreadsheet, Presentation, plus PDF view/edit/convert tools |
| A familiar desktop UI for switchers | Ribbon-style apps with a lighter footprint than many heavy suites |
| A trusted install path | Official DEB (Ubuntu/Debian/Mint) and RPM packages from the vendor |
Download the current package from the official WPS Office for Linux download page, then install it locally with sudo apt install ./wps-office_VERSION_amd64.deb. Once Ubuntu is running on your Mac, use WPS to turn quick setup notes or shared files into DOCX and PDF outputs that teammates can open without layout surprises.
FAQ
Can I install Linux on a MacBook Air/Pro with M1/M2/M3?
For a native desktop, use Ubuntu Asahi on supported models (community project). Otherwise run Ubuntu in UTM/Parallels/Multipass. Do not expect the standard PC USB amd64 installer to replace macOS on Apple Silicon.
Is Ubuntu Asahi officially supported by Canonical?
No. Canonical’s docs send you there, but call it a community project with model-dependent support.
What is the safest way to install Linux on a Mac?
A virtual machine (Multipass for CLI Ubuntu; UTM/Parallels for a desktop guest) so macOS disks stay untouched.
How do I dual boot Ubuntu and macOS on Intel?
Create a bootable Ubuntu USB with Etcher, boot with Option/Alt, then choose install alongside macOS after freeing disk space.
Do I need to delete macOS on Apple Silicon?
Ubuntu Asahi says removing macOS is not supported; keep macOS for firmware updates.
Can I try Ubuntu without installing?
Yes—Intel Macs can Try Ubuntu from USB; any Mac can try Ubuntu inside a VM first.

'%3e%3cpath%20d='M19.9911%204.11386V6.471H18.5894C18.0775%206.471%2017.7322%206.57814%2017.5536%206.79243C17.3751%207.00671%2017.2858%207.32814%2017.2858%207.75671V9.44421H19.9019L19.5536%2012.0871H17.2858V18.8639H14.5536V12.0871H12.2769V9.44421H14.5536V7.49779C14.5536%206.39064%2014.8632%205.53201%2015.4822%204.92189C16.1013%204.31177%2016.9257%204.00671%2017.9554%204.00671C18.8304%204.00671%2019.509%204.04243%2019.9911%204.11386Z'%20fill='%23333333'/%3e%3c/g%3e%3cdefs%3e%3cclipPath%20id='clip0_2938_8199'%3e%3crect%20width='16'%20height='16'%20fill='white'%20transform='translate(8%204.00671)'/%3e%3c/clipPath%3e%3c/defs%3e%3c/svg%3e)
'%3e%3cpath%20d='M17.5237%2010.7813L23.4811%204H22.0699L16.8949%209.88693L12.7648%204H8L14.2469%2012.9029L8%2020.0133H9.4112L14.8725%2013.7952L19.2352%2020.0133H24M9.92053%205.04213H12.0885L22.0688%2019.0224H19.9003'%20fill='%23333333'/%3e%3c/g%3e%3cdefs%3e%3cclipPath%20id='clip0_2938_8200'%3e%3crect%20width='16'%20height='16.0134'%20fill='white'%20transform='translate(8%204)'/%3e%3c/clipPath%3e%3c/defs%3e%3c/svg%3e)


