

'%3e%3cpath%20d='M8%200C12.4183%200%2016%203.58172%2016%208C16%2012.4183%2012.4183%2016%208%2016C3.58172%2016%200%2012.4183%200%208C0%203.58172%203.58172%200%208%200ZM11.6162%204.38379C11.2257%203.99337%2010.5927%203.99338%2010.2021%204.38379L8%206.58594L5.79785%204.38379C5.40732%203.99334%204.77429%203.99329%204.38379%204.38379C3.99331%204.77429%203.99335%205.40733%204.38379%205.79785L6.58594%208L4.38379%2010.2021C3.99348%2010.5927%203.99341%2011.2257%204.38379%2011.6162C4.77426%2012.0066%205.40734%2012.0065%205.79785%2011.6162L8%209.41406L10.2021%2011.6162C10.5927%2012.0066%2011.2257%2012.0067%2011.6162%2011.6162C12.0067%2011.2257%2012.0066%2010.5927%2011.6162%2010.2021L9.41406%208L11.6162%205.79785C12.0066%205.40735%2012.0066%204.77429%2011.6162%204.38379Z'%20fill='%23080E17'%20fill-opacity='0.46'/%3e%3c/g%3e%3cdefs%3e%3cclipPath%20id='clip0_3761_713'%3e%3crect%20width='16'%20height='16'%20fill='white'/%3e%3c/clipPath%3e%3c/defs%3e%3c/svg%3e)




'%3e%3cpath%20fill-rule='evenodd'%20clip-rule='evenodd'%20d='M21.4999%2010.9993C21.4999%205.20009%2016.7986%200.498901%2010.9993%200.498901C5.19994%200.498901%200.498657%205.20009%200.498657%2010.9993C0.498657%2016.2404%204.33858%2020.5844%209.35855%2021.3722V14.0346H6.69238V10.9993H9.35855V8.68594C9.35855%206.05427%2010.9262%204.60062%2013.3248%204.60062C14.4736%204.60062%2015.6753%204.80571%2015.6753%204.80571V7.38979H14.3512C13.0468%207.38979%2012.64%208.19921%2012.64%209.0296V10.9993H15.5523L15.0867%2014.0346H12.64V21.3722C17.66%2020.5844%2021.4999%2016.2404%2021.4999%2010.9993Z'%20fill='%231568EA'/%3e%3c/g%3e%3c/svg%3e)


'%3e%3cpath%20d='M2.42045%2022.1876H6.31818V12.7217L0.75%208.54553V20.5171C0.75%2021.4414%201.49892%2022.1876%202.42045%2022.1876Z'%20fill='%234285F4'/%3e%3cpath%20d='M19.682%2022.1876H23.5797C24.5041%2022.1876%2025.2502%2021.4387%2025.2502%2020.5171V8.54553L19.682%2012.7217'%20fill='%2334A853'/%3e%3cpath%20d='M19.682%205.48293V12.7216L25.2502%208.54543V6.31816C25.2502%204.25236%2022.8921%203.07469%2021.2411%204.31361'%20fill='%23FBBC04'/%3e%3cpath%20d='M6.31824%2012.7217V5.48303L13.0001%2010.4944L19.6819%205.48303V12.7217L13.0001%2017.733'%20fill='%23EA4335'/%3e%3cpath%20d='M0.75%206.31816V8.54543L6.31818%2012.7216V5.48293L4.75909%204.31361C3.10534%203.07469%200.75%204.25236%200.75%206.31816Z'%20fill='%23C5221F'/%3e%3c/g%3e%3cdefs%3e%3cclipPath%20id='clip0_2954_7305'%3e%3crect%20width='24.5'%20height='18.375'%20fill='white'%20transform='translate(0.75%203.8125)'/%3e%3c/clipPath%3e%3c/defs%3e%3c/svg%3e)


To install Linux on VirtualBox, install Oracle VM VirtualBox on your host PC, download an official Ubuntu Desktop ISO, create a new VM, attach that ISO as the virtual DVD, then finish the Ubuntu installer inside the VM. You do not need a physical USB stick—the ISO is mounted as virtual install media.
Critical prerequisites: leave enough RAM/CPU for the host OS, enable hardware virtualization (Intel VT-x / AMD-V) in firmware if 64-bit Ubuntu is greyed out or the VM blacks out, and back up important host files before allocating a large virtual disk. Success means you can log into Ubuntu in the VirtualBox window, resize the display, and run sudo apt update.
If you already know your blocker, jump to: enable virtualization, black screen after Guest Additions, shared folder permissions, or attach the ISO correctly.
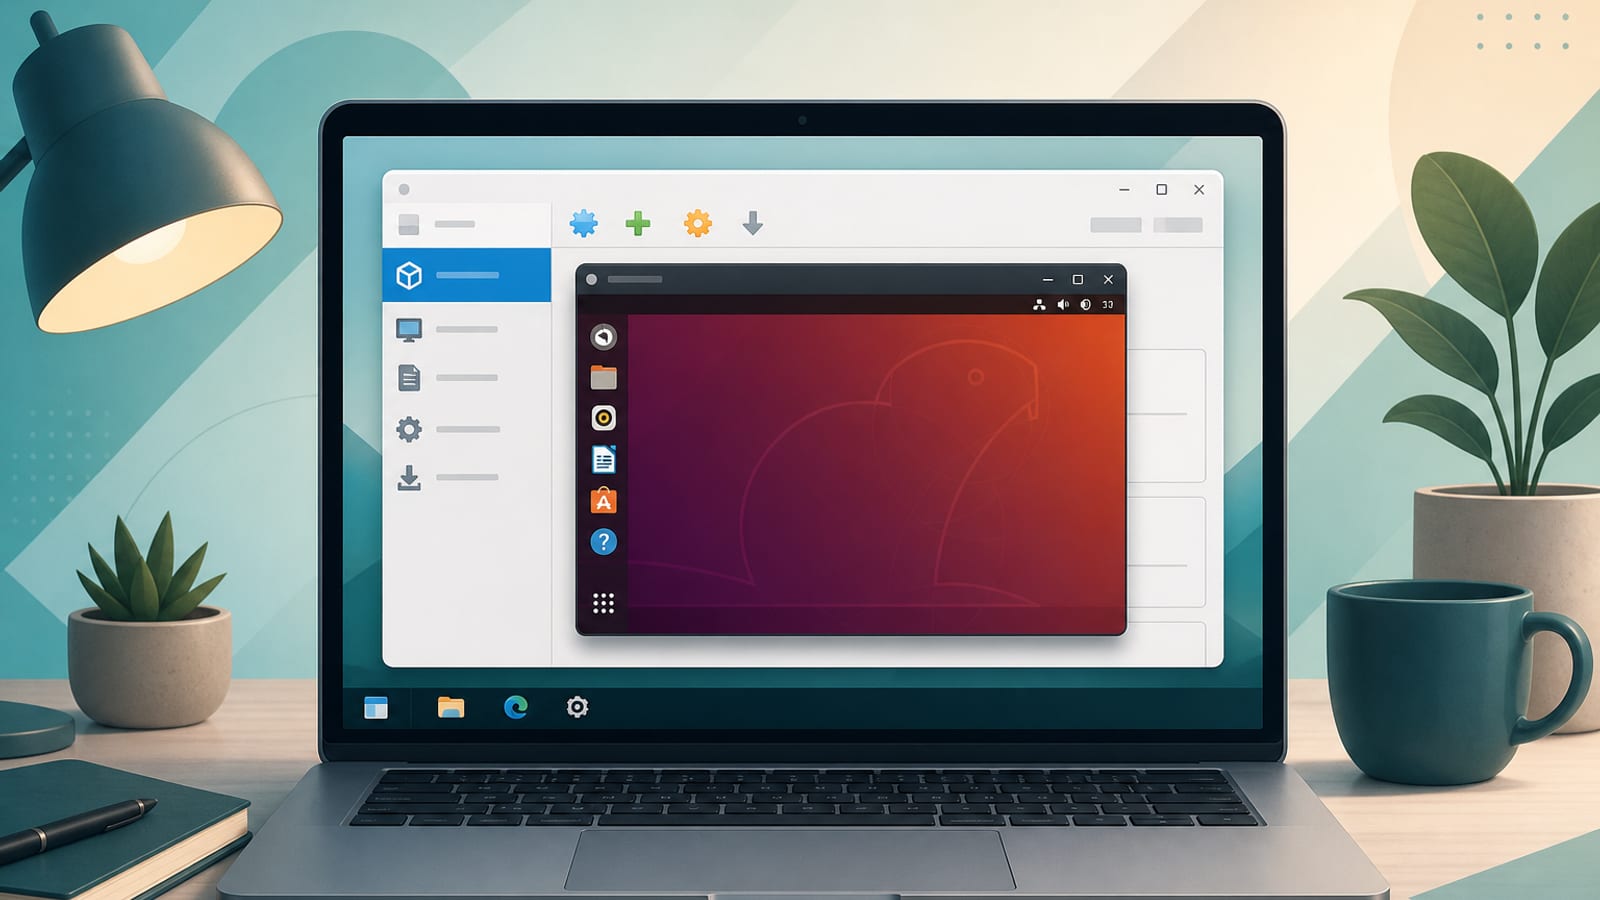
For the full PC install overview with Ubuntu, start with how to install Linux on a PC.
What You Need
- A Windows, macOS, or Linux host with free disk space
- Internet to download VirtualBox and the Ubuntu ISO
- Rough resource budget (Ubuntu’s VirtualBox tutorial guidance):
- RAM: about 8 GB for good performance (4 GB still usable)
- CPUs: up to about 4 vCPUs if your host can spare them (stay in VirtualBox’s “green” range)
- Disk: about 25 GB minimum for Ubuntu Desktop
VirtualBox runs the guest; Ubuntu (or another distro) is what you install inside the VM.
Step 1: Download VirtualBox and the Ubuntu ISO
- Download VirtualBox for your host from the official VirtualBox downloads page.
- Install VirtualBox using the vendor instructions for Windows, macOS, or your Linux distro.
- Download Ubuntu Desktop from the official Ubuntu Desktop download page.
- Save the
.isoto a memorable folder on the host (for example Downloads). Do not rename it oddly or store it only on a flaky network share.
Optional: also keep the matching Guest Additions ISO that VirtualBox provides (Ubuntu’s tutorial recommends enabling Guest Additions during VM creation when offered).
Step 2: Enable Hardware Virtualization on the Host
Ask Ubuntu black-screen / “only 32-bit” reports often trace back to disabled CPU virtualization.
- Reboot the host into firmware setup (common keys: Del, F2, F10, Esc—OEM specific).
- Enable Intel VT-x, AMD-V, SVM, or similarly named virtualization options.
- Save, reboot, then reopen VirtualBox.
On Windows hosts, also avoid conflicting Hyper-V / Virtual Machine Platform setups if VirtualBox cannot start 64-bit guests—fix host virtualization conflicts before blaming the Ubuntu ISO.
Step 3: Create a New Virtual Machine
Canonical’s current VirtualBox 7 tutorial flow:
- Open VirtualBox → click New.
- Set a Name that includes “Ubuntu” so Type/Version auto-detect when possible.
- Choose a Machine Folder with enough free space.
- Select the downloaded ISO Image.
- Decide install style:
- Unattended Guest OS Install (VirtualBox 7+): fill username/password/hostname now. Change defaults—Ubuntu’s tutorial warns default
vboxuser/changemecan create a weak/no-sudo setup if left unchanged. Hostname must have no spaces. - Manual install: skip unattended options and use the normal Ubuntu installer on first boot.
- Unattended Guest OS Install (VirtualBox 7+): fill username/password/hostname now. Change defaults—Ubuntu’s tutorial warns default
- Check Guest Additions when the wizard offers it (recommended for resolution and integration).
- Assign memory and CPUs (stay within green/safe host limits).
- Create a virtual hard disk (~25 GB+), usually dynamically allocated unless you want full preallocation for speed.
- Review the summary → Finish.
Classic “attach ISO” method (Ask Ubuntu favorite)
If you already created a blank VM:
- Select the VM → Settings → Storage.
- Under the optical controller, add/choose a disc → Choose a disk file → pick the Ubuntu
.iso. - Confirm the optical drive is in the boot order (System → Motherboard/Boot Order as needed).
- Start the VM.
You only need to mount the ISO in the VM—Ask Ubuntu’s top ISO answer stresses not overcomplicating this with extra host ISO tools.
Step 4: Install Ubuntu Inside the VM
- Select the VM → Start.
- If using unattended install, let it proceed without interrupting early “Try or Install” prompts so automation can continue.
- If installing manually:
- Choose language/keyboard/network
- Prefer erase virtual disk (safe—this only wipes the virtual disk, not your host, unless you attached a real physical disk by mistake)
- Create your user account
- Finish and reboot
- When asked to remove install media, ensure the ISO is no longer required; VirtualBox usually disconnects it after install, or you can remove it under Devices → Optical Drives.
After login, update:
sudo apt update && sudo apt upgrade -y
sudo snap refresh
Early resolution may stay low (for example 800×600) until Guest Additions finish installing—Ubuntu’s tutorial calls this expected.
Step 5: Install Guest Additions (Better Display, Clipboard, Shared Folders)
Guest Additions improve display resizing, mouse integration, clipboard, and shared folders (VirtualBox Manual: Guest Additions).
Option A: Insert the Guest Additions CD (matches your VirtualBox version)
- In the running Ubuntu guest, install build tools:
sudo apt update
sudo apt install build-essential dkms linux-headers-$(uname -r)- VirtualBox menu → Devices → Insert Guest Additions CD image.
- Run the installer from the mounted CD (path version varies), for example:
cd /media/$USER/VBox_GAs_*
sudo ./VBoxLinuxAdditions.run- Reboot the guest.
Option B: Ubuntu package path
Some guests install virtualbox-guest-utils / related packages from Ubuntu repos. That can work, but version skew with the host VirtualBox release is a common Ask Ubuntu pain—prefer the CD matching your host VirtualBox when features break.
If the screen goes black after Guest Additions, boot recovery/old kernel as needed, remove mismatched additions, and reinstall the CD build that matches the host.
Step 6: Shared Folders (Optional but Useful)
- Power off or leave running per your VirtualBox version’s shared-folder rules; usually configure under VM Settings → Shared Folders or Devices → Shared Folders.
- Add a host folder, set a share name, enable Auto-mount / Make Permanent as needed.
- In Ubuntu, grant access:
sudo usermod -aG vboxsf $USER- Log out/in or reboot. Auto-mounted shares often appear under
/media/sf_.
Ask Ubuntu’s standard fix for “can’t access shared folder” is exactly the vboxsf group membership.
Power Off vs Save State
When closing the VM window:
- Save state freezes the session like sleep (fast resume)
- Send shutdown signal / Power off does a cleaner OS shutdown
Use shutdown before changing CPU/RAM settings.
Fix Common VirtualBox Linux Install Problems
64-bit Ubuntu not available / install fails oddly
Enable VT-x/AMD-V in host firmware. Confirm you created a 64-bit Ubuntu VM type.
Black screen during or after install
Check virtualization enabled; try increasing video memory slightly; boot Ubuntu recovery; if Guest Additions caused it, remove/reinstall matching additions.
ISO won’t boot / stuck on boot logo
Re-download the ISO, remount under Storage, ensure optical drive is attached and bootable. Try a different VirtualBox version only after verifying the ISO checksum.
Guest Additions features don’t work
Install kernel headers/DKMS first, use the Additions CD for your exact VirtualBox build, reboot, and confirm modules loaded.
Shared folder permission denied
sudo usermod -aG vboxsf $USER then reboot.
Host runs out of memory
Lower VM RAM/CPU; close host apps; avoid assigning most of the host’s cores/RAM to the guest.
After Ubuntu Runs in VirtualBox: Office Files Inside the Guest
A VirtualBox Ubuntu guest quickly becomes more than a test box. Many people end up writing lab notes, training docs, or spreadsheet-style checklists inside the VM itself.
WPS Office for Linux adds a familiar Writer/Spreadsheet/Presentation layer inside that guest so your files still look right when you move them back to the host.
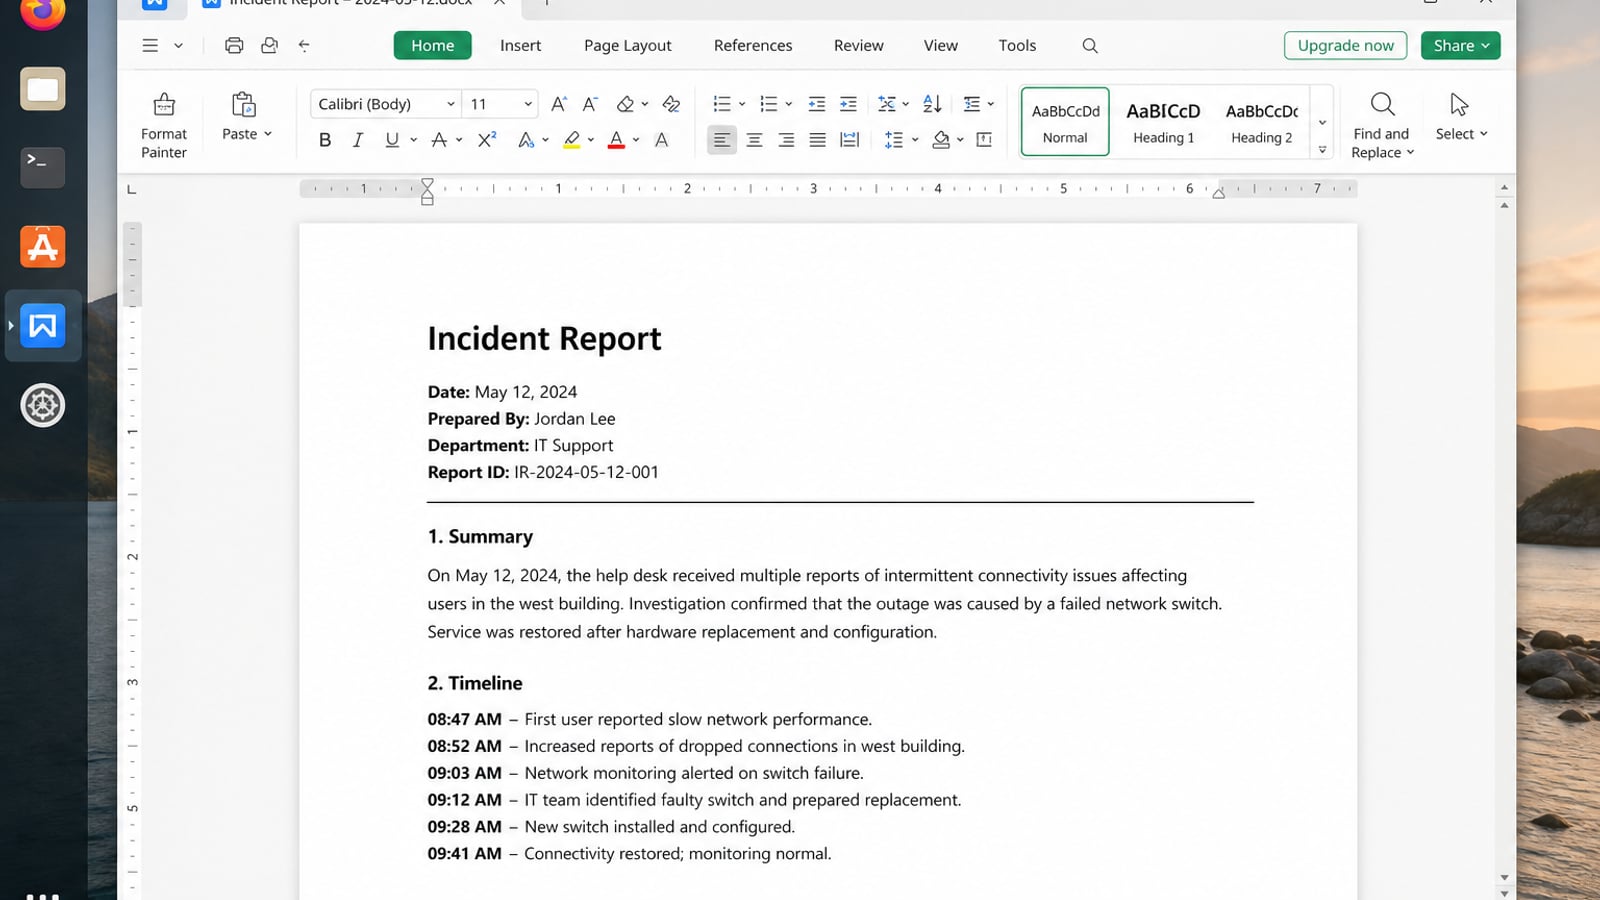
| What you need next | What WPS gives you |
|---|---|
| Create Office-compatible files inside the VM | Strong .docx / .xlsx / .pptx layout fidelity when files move between Linux, Windows, and macOS |
| One place for notes, sheets, slides, and PDFs | Free core suite: Writer, Spreadsheet, Presentation, plus PDF view/edit/convert tools |
| A familiar desktop UI for switchers | Ribbon-style apps with a lighter footprint than many heavy suites |
| A trusted install path | Official DEB (Ubuntu/Debian/Mint) and RPM packages from the vendor |
Download the package from the official WPS Office for Linux download page, install it with sudo apt install ./wps-office_VERSION_amd64.deb, and use a shared folder to move the resulting DOCX, XLSX, or PDF files between host and guest safely.
FAQ
How do I install Linux on VirtualBox quickly?
Install VirtualBox, download Ubuntu ISO, create a VM with that ISO attached, finish the Ubuntu installer, then add Guest Additions.
Do I need a USB stick?
No. VirtualBox installs from the ISO file mounted as a virtual DVD.
How much RAM should I give Ubuntu?
Ubuntu’s VirtualBox tutorial suggests about 8 GB when possible; 4 GB can still work for lighter use. Leave RAM for the host.
What are Guest Additions?
Oracle’s guest drivers/tools for better display, mouse, clipboard, and shared folders.
Is VirtualBox free?
The VirtualBox base packages are freely available under GPLv3 from Oracle’s VirtualBox downloads. Extension Pack licensing can differ—read current Oracle terms if you need it.
Can I install other Linux distros the same way?
Yes—same pattern: create VM → attach distro ISO → install. Ubuntu’s tutorial notes the flow works for Ubuntu flavors too.

'%3e%3cpath%20d='M19.9911%204.11386V6.471H18.5894C18.0775%206.471%2017.7322%206.57814%2017.5536%206.79243C17.3751%207.00671%2017.2858%207.32814%2017.2858%207.75671V9.44421H19.9019L19.5536%2012.0871H17.2858V18.8639H14.5536V12.0871H12.2769V9.44421H14.5536V7.49779C14.5536%206.39064%2014.8632%205.53201%2015.4822%204.92189C16.1013%204.31177%2016.9257%204.00671%2017.9554%204.00671C18.8304%204.00671%2019.509%204.04243%2019.9911%204.11386Z'%20fill='%23333333'/%3e%3c/g%3e%3cdefs%3e%3cclipPath%20id='clip0_2938_8199'%3e%3crect%20width='16'%20height='16'%20fill='white'%20transform='translate(8%204.00671)'/%3e%3c/clipPath%3e%3c/defs%3e%3c/svg%3e)
'%3e%3cpath%20d='M17.5237%2010.7813L23.4811%204H22.0699L16.8949%209.88693L12.7648%204H8L14.2469%2012.9029L8%2020.0133H9.4112L14.8725%2013.7952L19.2352%2020.0133H24M9.92053%205.04213H12.0885L22.0688%2019.0224H19.9003'%20fill='%23333333'/%3e%3c/g%3e%3cdefs%3e%3cclipPath%20id='clip0_2938_8200'%3e%3crect%20width='16'%20height='16.0134'%20fill='white'%20transform='translate(8%204)'/%3e%3c/clipPath%3e%3c/defs%3e%3c/svg%3e)


