How to Remove Background in PowerPoint
Learn the two built-in PowerPoint methods for removing image backgrounds, then see when Toolsmart’s faster AI workflow gives you cleaner results with less manual cleanup.
Cleaner cutouts, stronger slides
PowerPoint’s built-in tools isolate subjects in the file—sharper focal hierarchy and a more cohesive deck.
Lead with the subject
Drop the busy backdrop so the focal element reads first—less visual noise, faster scanning.
Cleaner, more polished slides
Transparent assets sit cleanly on templates across reports, pitches, and training decks.
Layer without white blocks
Stack cutouts over type, shapes, or charts without default rectangular backgrounds breaking the layout.
Edit inside PowerPoint
Crop, refine, and export in one place—no round-trip through a dedicated photo editor for routine fixes.
Wide version support
Background removal ships in PowerPoint 2010 and later on both Windows and Mac.
Fast under pressure
When the deck is already open, a short cleanup pass beats rebuilding the slide from scratch.
Two ways to remove a background
Use Remove Background for precise cutouts on busy edges; use Set Transparent Color when the backdrop is one flat color.
Choose your method
| Method | Best for | How it works | Trade-off |
|---|---|---|---|
| Remove Background | Busy edges—products, portraits, detailed photos | Manual marks for keep vs. remove regions | Fine edges often need extra passes |
| Set Transparent Color | Logos and icons on a single flat fill | One click removes the sampled color | Poor fit for shadows, gradients, or mixed tones |
| Toolsmart Background Remover | Shadows, color transitions, intricate artwork | AI auto-detects the subject | Browser workflow outside PowerPoint |
Method 1: Use PowerPoint’s Remove Background tool
This method is best when your image has more detailed edges and needs manual refinement.
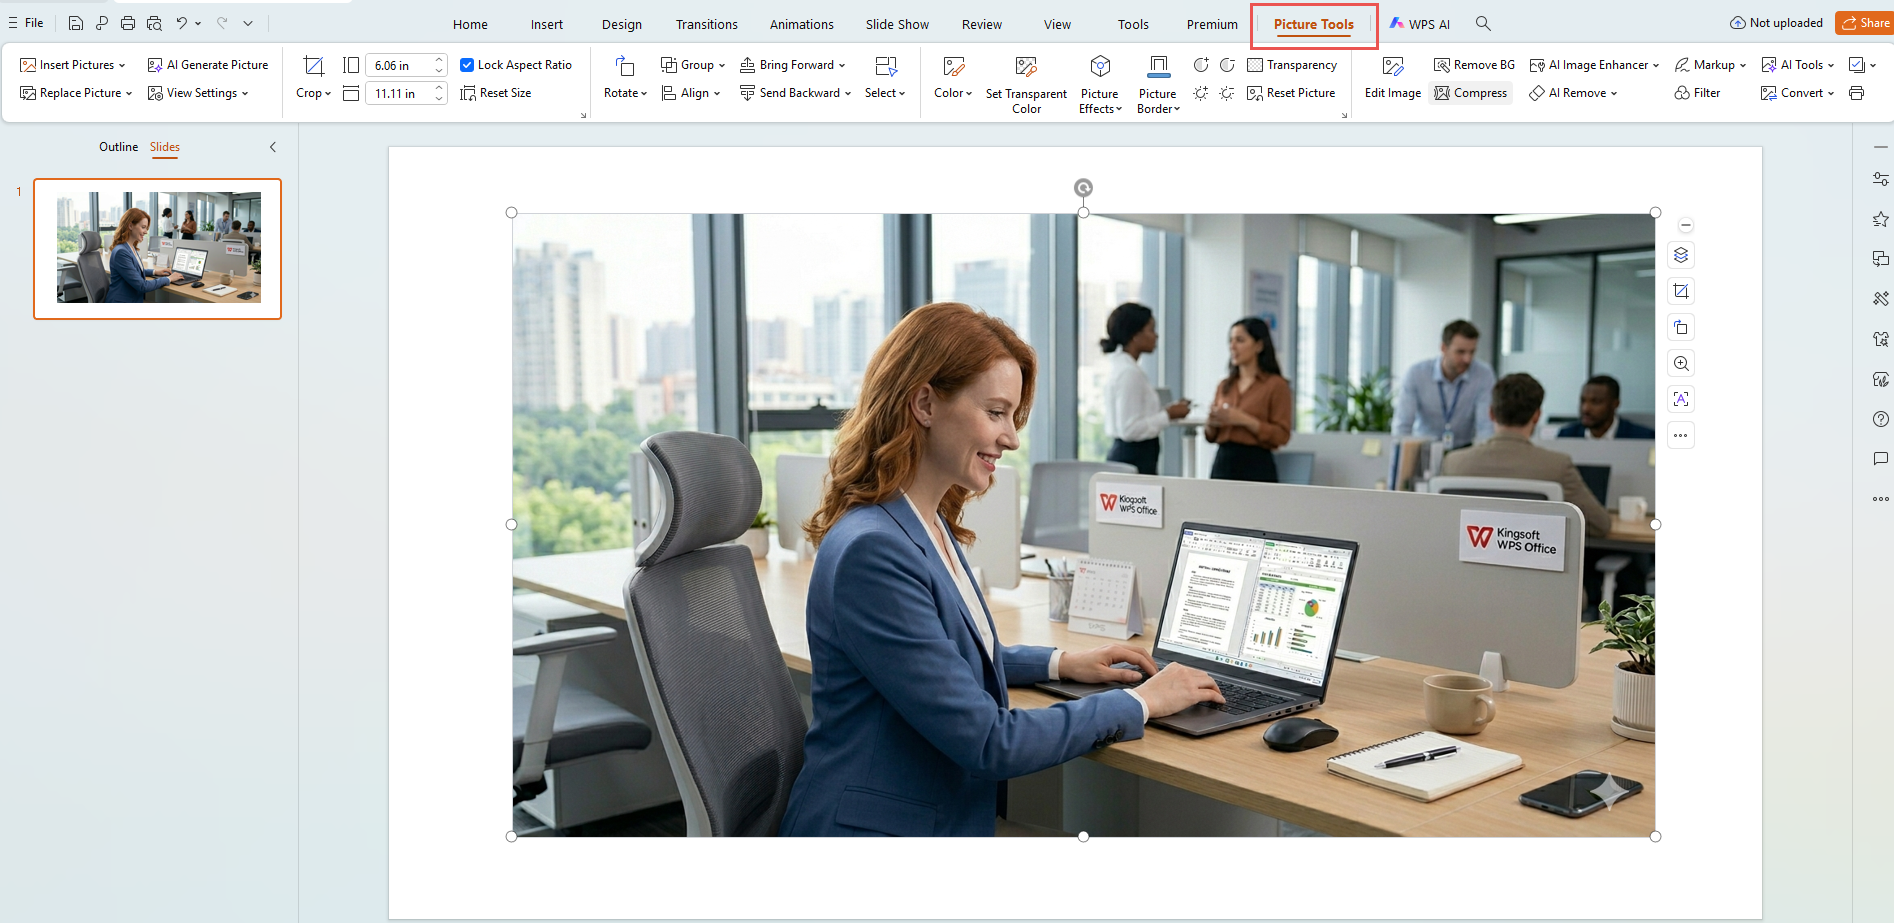
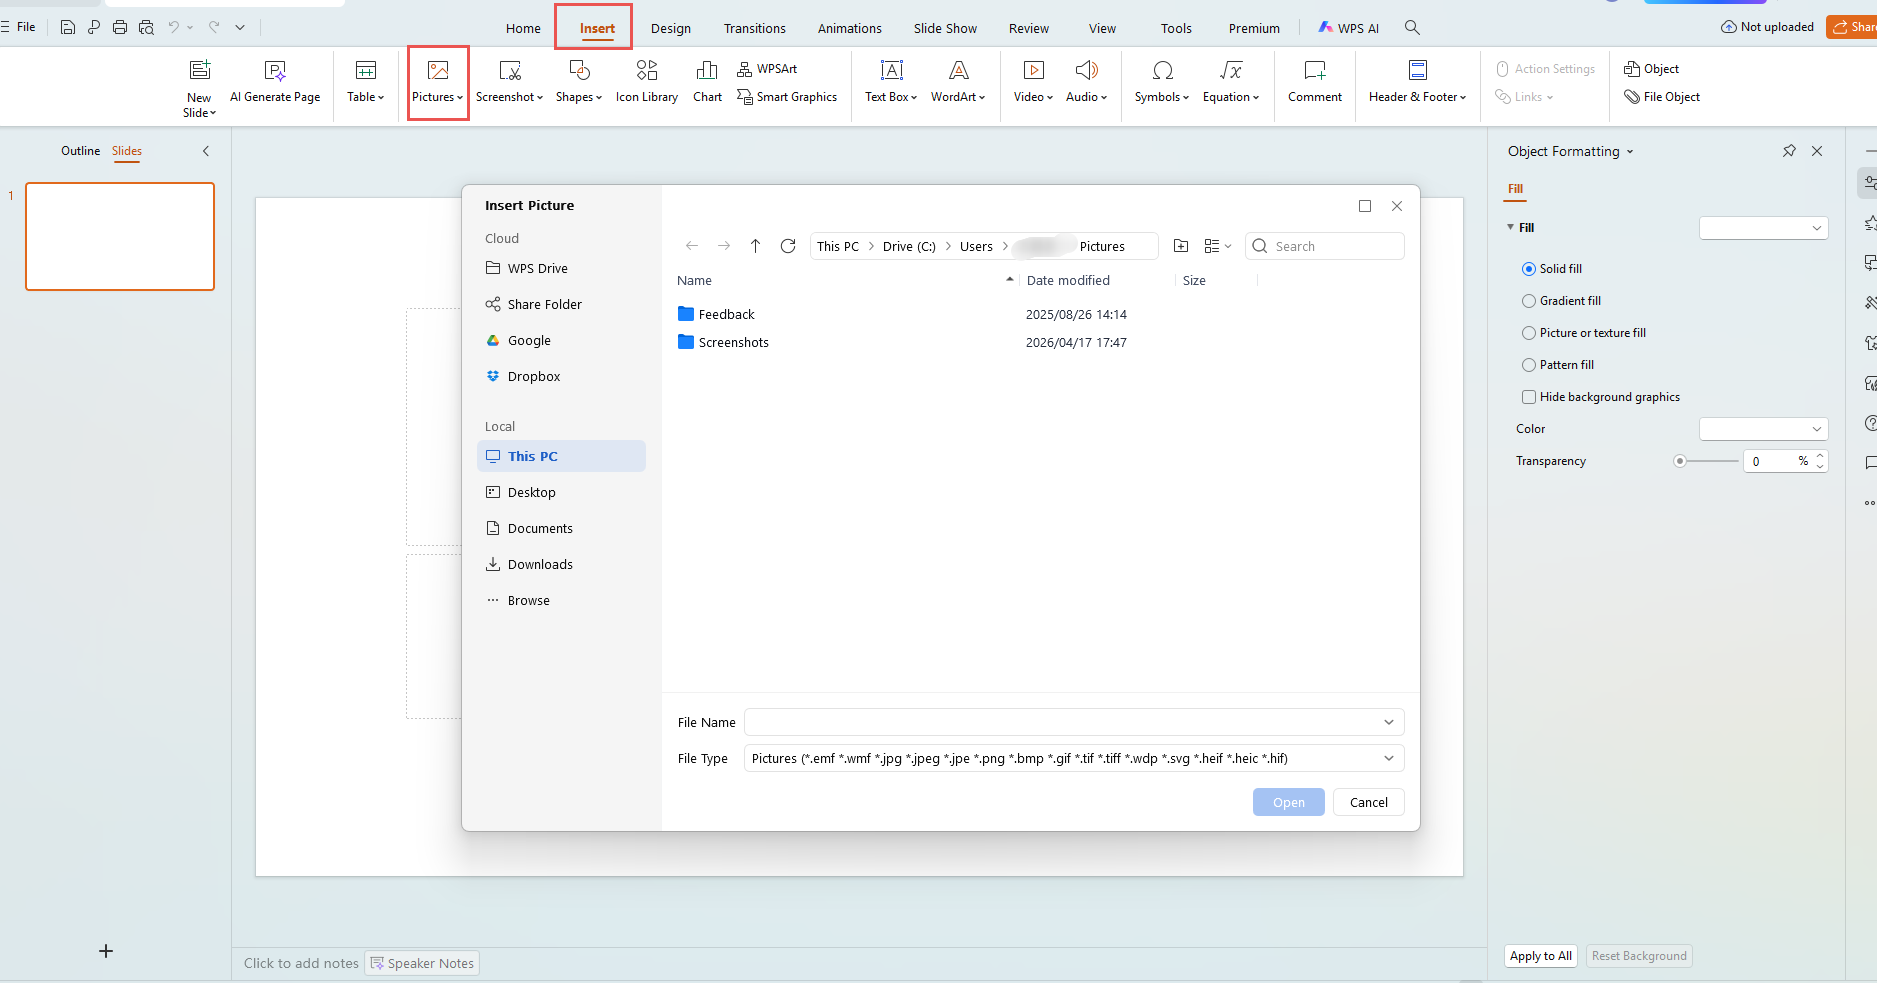
Insert your picture
Go to the Insert tab, click Picture, and choose the image you want to edit on your slide.
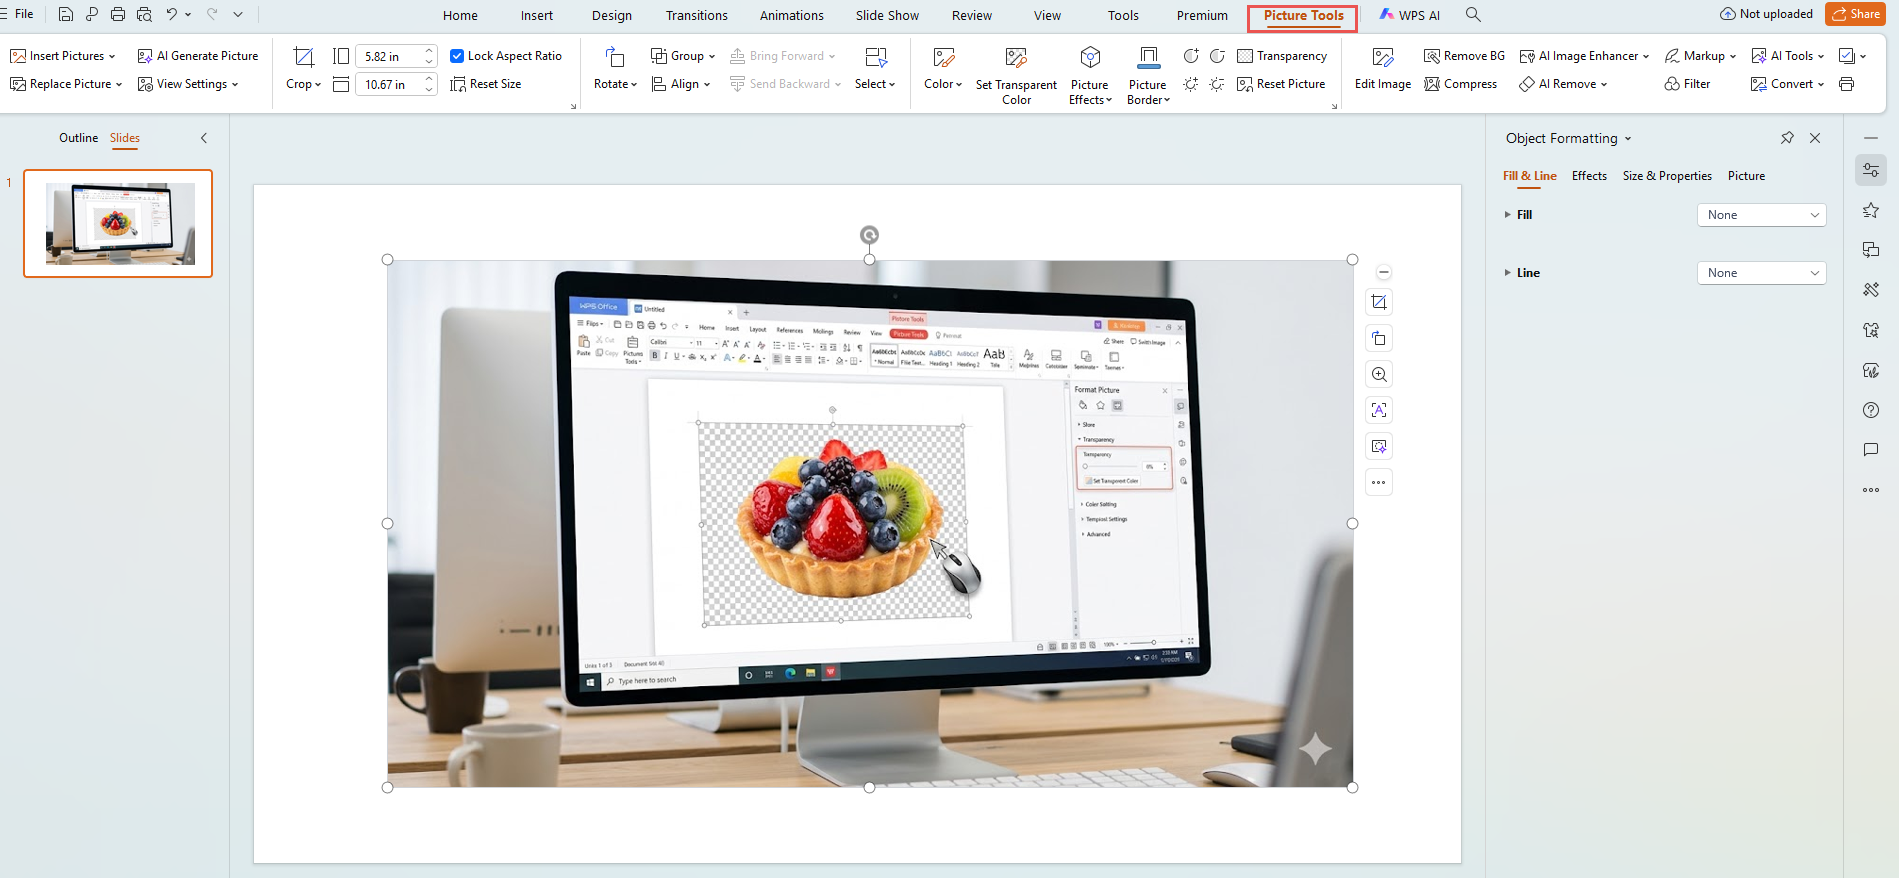
Open Picture Format
Click the image once so PowerPoint reveals the Picture Format tab and its editing controls.
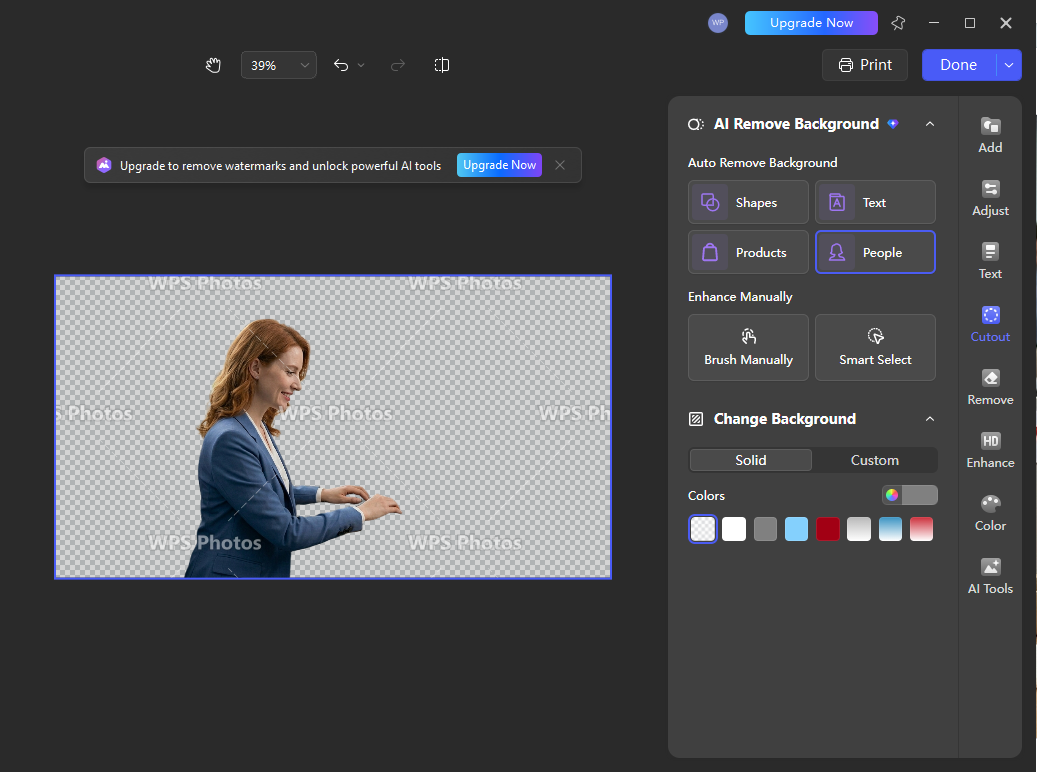
Choose Remove Background
Under Picture Format, select Remove Background from the far-left side to start the cutout process.
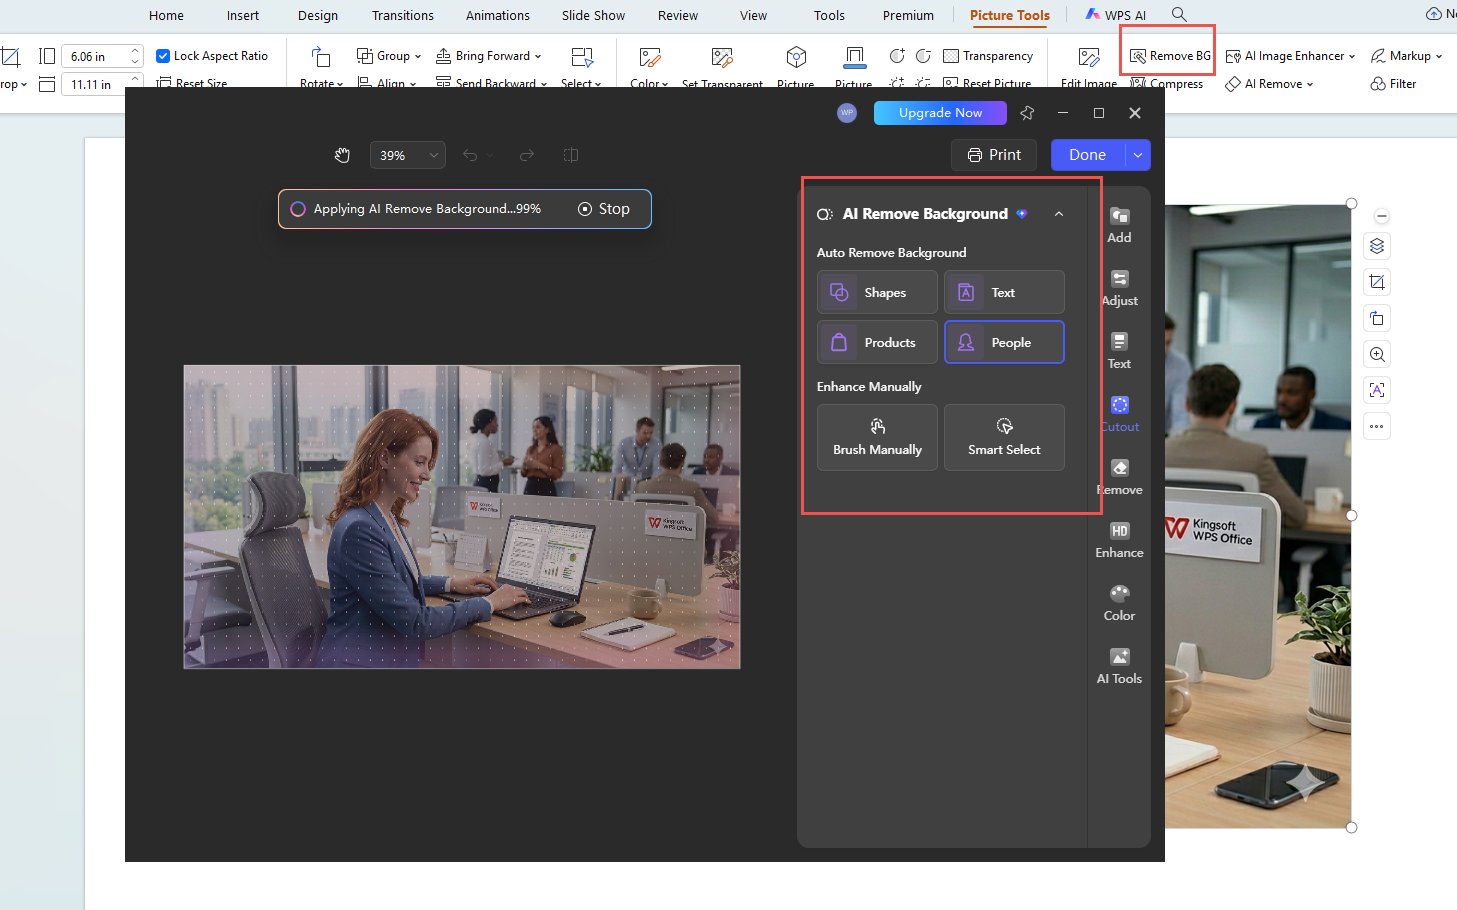
Refine what stays and what goes
Use Mark Areas to Keep or Mark Areas to Remove to fine-tune the result, especially around detailed edges.
Method 2: Use Set Transparent Color
This is the faster option when the background is a single solid color like plain white.
Insert the image first
Go to Insert, choose Picture, and place the image on your slide before editing it.
Select the image to reveal Picture Format
Click the image once so the Picture Format tab appears with the color adjustment tools.
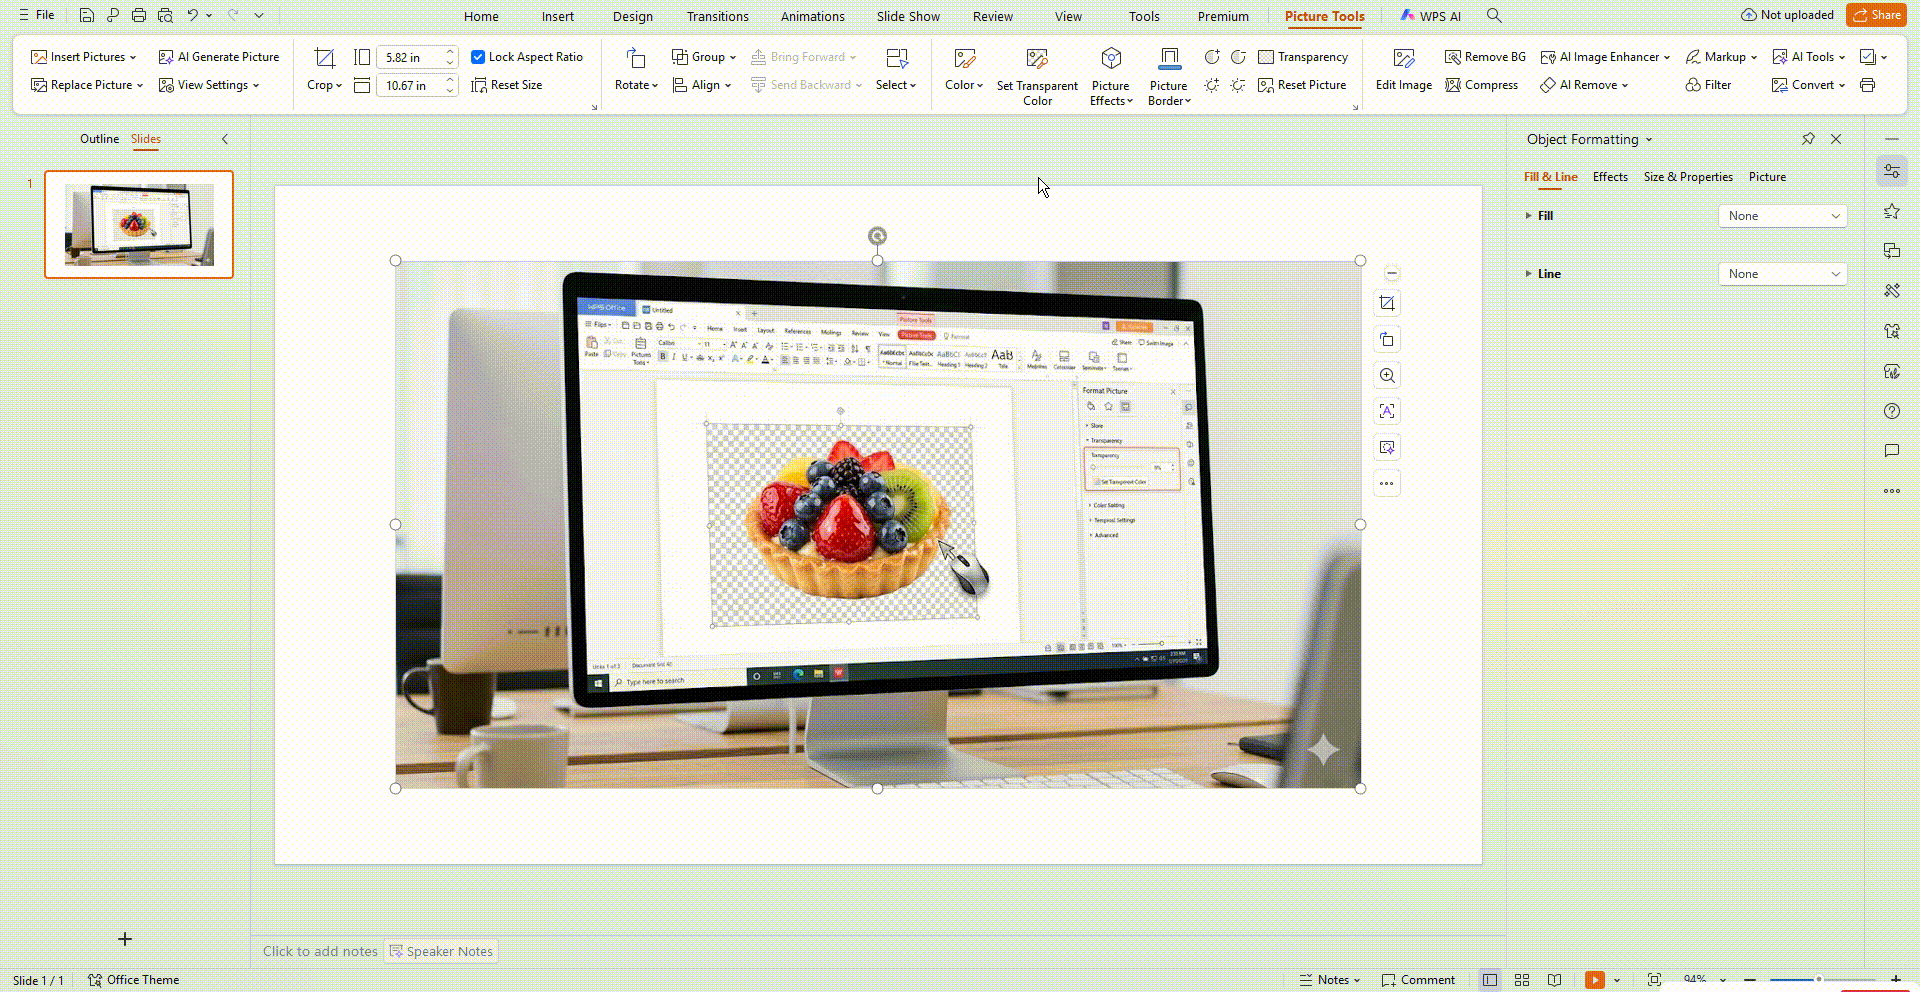
Open Color and choose Set Transparent Color
In the Adjust group, click Color, then select Set Transparent Color from the menu.
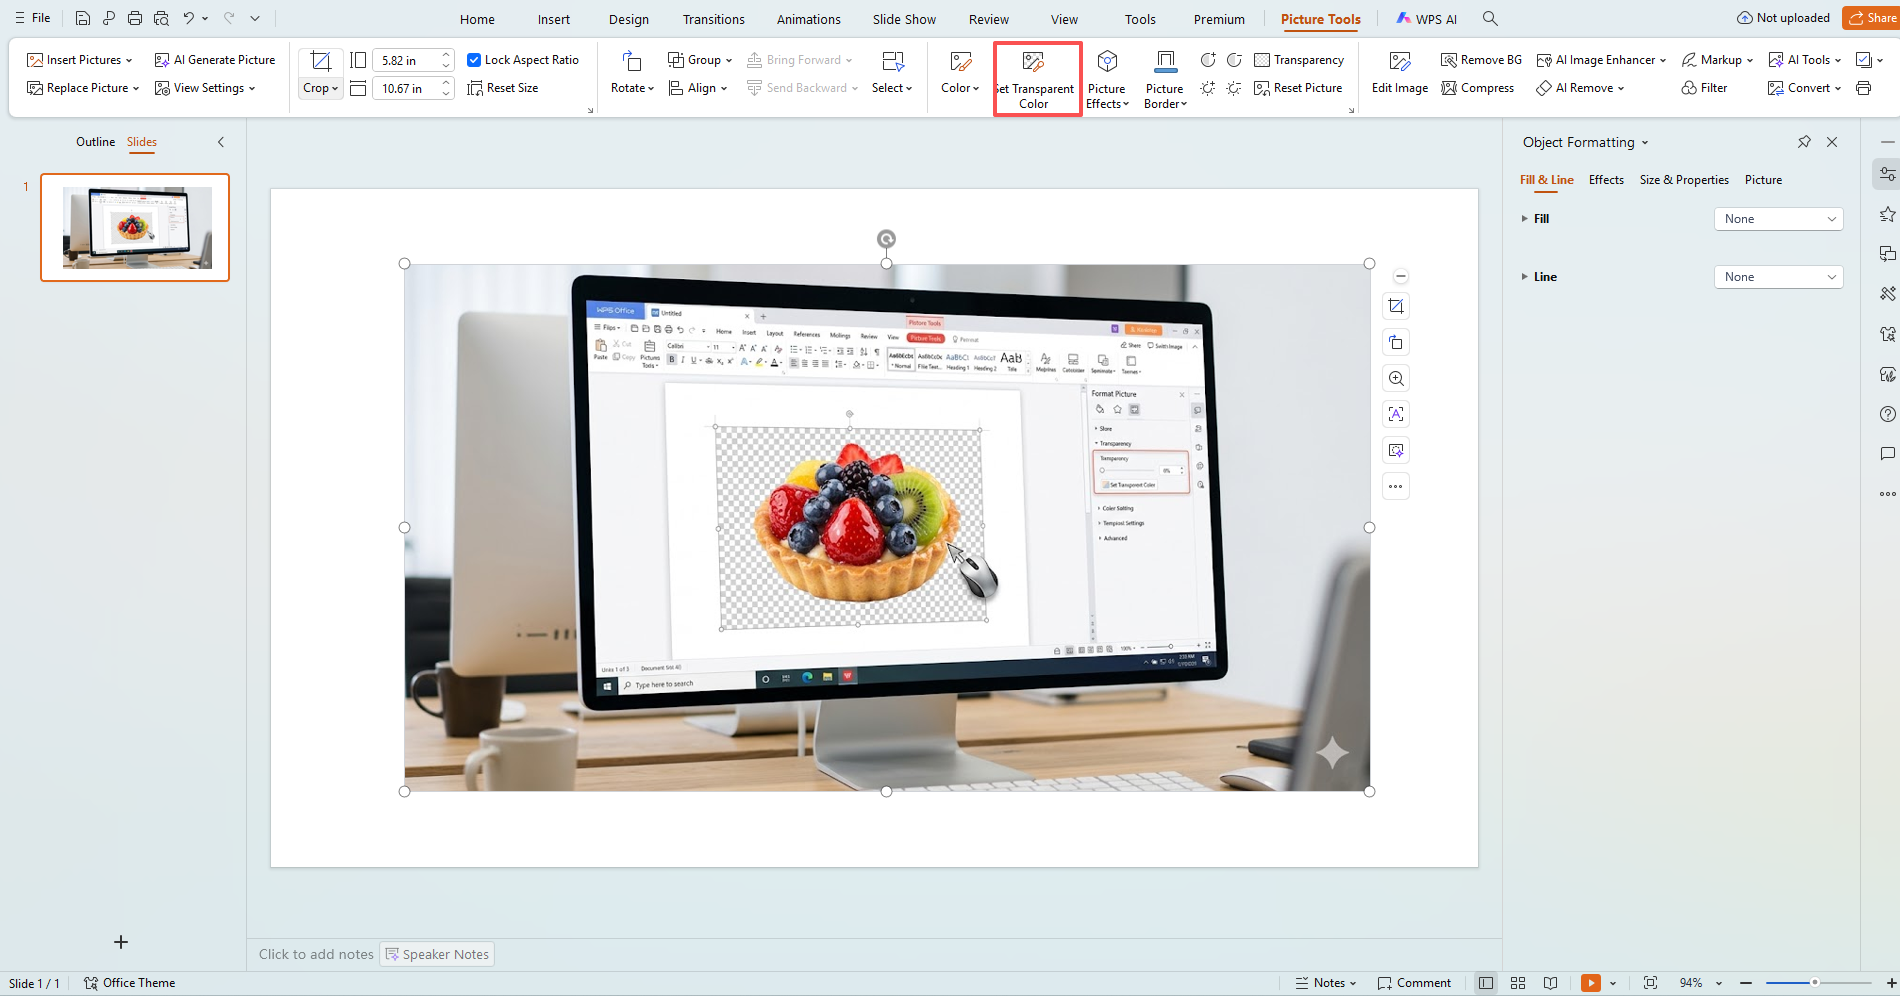
Click the background color
Your cursor changes shape. Click the background area once, and PowerPoint makes that color transparent.
Pro tips: less rework
Match tool to background
Remove Background for hair, curves, and busy scenes. Set Transparent Color when the backdrop is one flat color.
Export as PNG
PNG keeps transparency; JPEG will not and can halo edges.
Start from a clean source
Even lighting and a simple backdrop improve edge detection and cut touch-up time.
Quick reference (swipe)
Pick the right option at a glance—no need to reread the full guide.
Remove Background for hair, curves, and mixed surroundings.
Set Transparent Color on plain white or any single solid backdrop.
Toolsmart Background Remover for shadows, gradients, and fine detail.
Right-click the image in PowerPoint → Save as Picture → PNG.
When Toolsmart saves time
PowerPoint covers many cases; for cluttered scenes, soft shadows, or heavy retouching, Toolsmart’s AI isolates the subject in one pass with less manual cleanup.
What you get
- One-click AI cutout.
- No watermark; clean download.
- No login; fast upload and export.
- PNG/JPEG in; transparent or solid-color out.
- Browser-based on desktop or mobile.
Versus PowerPoint alone
- Stronger on busy backgrounds PowerPoint splits poorly.
- Faster path to a usable transparent asset.
- Fewer keep/remove marks and do-overs.
- Always available in browser: Toolsmart Background Remover.
A simpler workflow when time is tight
This workflow is designed to be easy for beginners. Upload the image, let the AI remove the background, then place the finished result back into PowerPoint.
Open the official Toolsmart page
Go to the official website of Toolsmart’s Background Remover in your browser and get ready to upload your image.
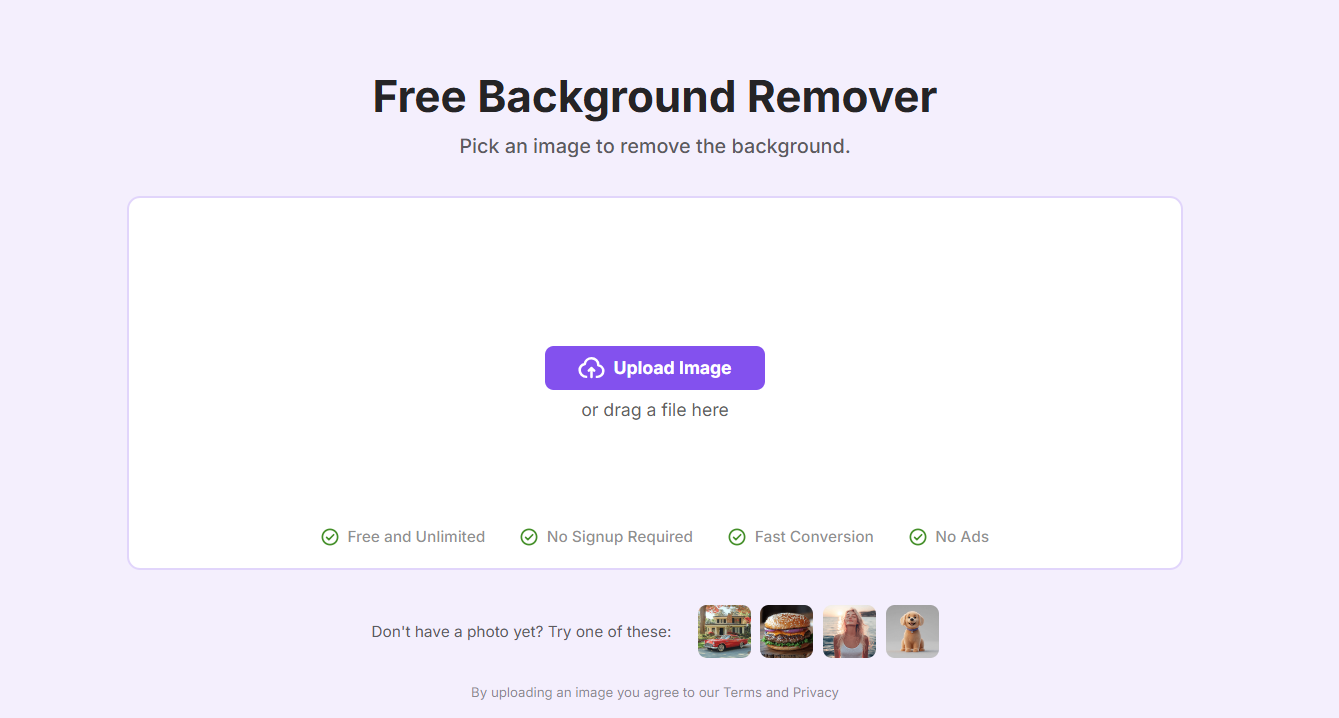
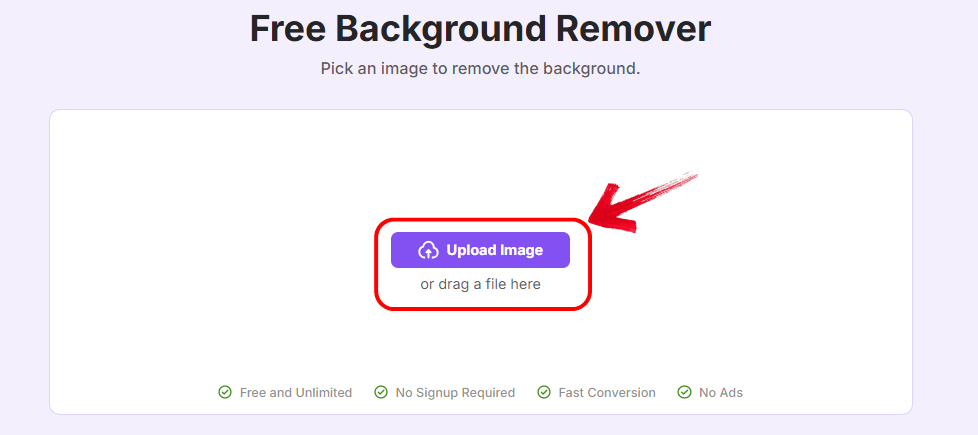
Upload your image
Click Upload Image and choose the file from your device. The interface is simple and made to be user-friendly.
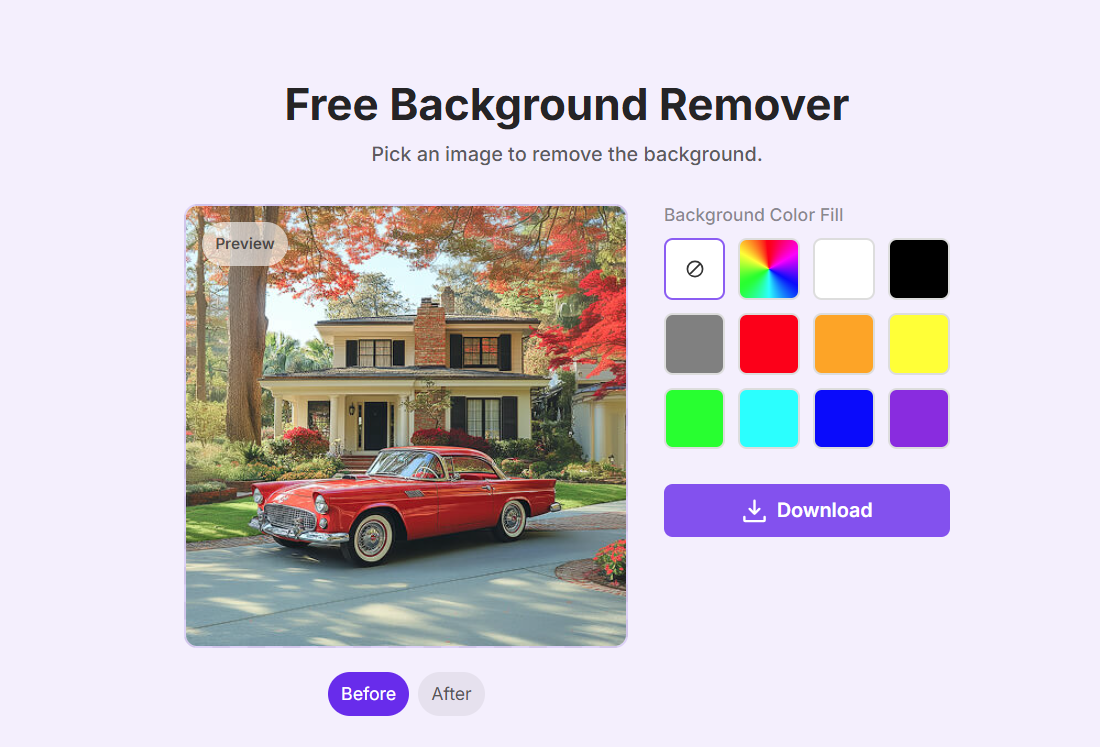
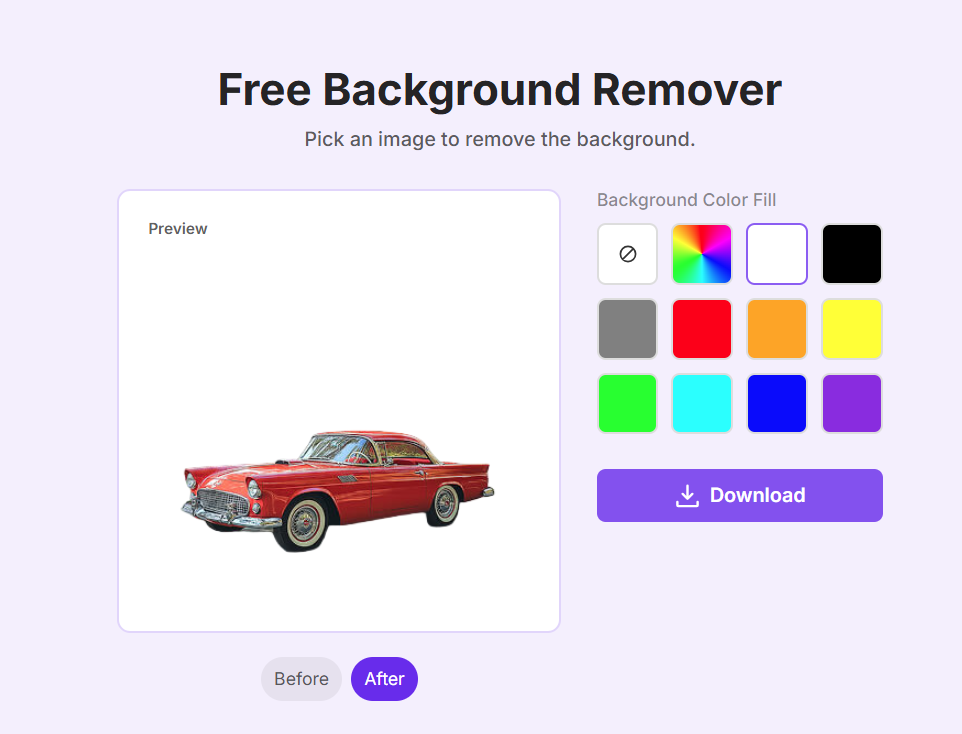
Let the AI remove the background
The tool automatically detects the subject and removes the background. If the preview looks good, click Download to save it.
Insert the cleaned image into PowerPoint
Use the downloaded cutout in your slide just like any normal image, now with a cleaner transparent background.
WPS in this workflow
Keep building the deck
After your cutout, finish slides and visuals in WPS Presentation without changing tools.
FAQs
PowerPoint cutouts, Toolsmart exports, and saving transparent PNGs—short answers below.
PowerPoint for quick jobs; Toolsmart for tough cutouts
Simple backdrops: stay in PowerPoint. Busy edges, shadows, or a tight deadline: run Toolsmart, download a PNG, drop it back into your deck.
A leaner slide workflow
Built-in PowerPoint tools cover most basics; Toolsmart handles harder assets; WPS ties editing and presentation together.

More ways to clean up and refine your images
If you work with signatures, Photoshop, GIMP, or transparent image assets, these related tutorials can help you move faster.
Remove Background from Signature Quickly and Easily
A practical guide for turning signatures into clean transparent assets for forms and documents.
How to Delete Background in GIMP: A Practical Guide
Learn another background removal workflow if you prefer a dedicated image editor.
How to Change the Background in Photo: A Step-by-Step Guide
Go beyond removal and learn how to replace a background for a more polished final image.
How to Remove Watermarks in Photoshop: A Comprehensive Guide
Explore another cleanup tutorial focused on removing unwanted marks from images.
How to Remove Background in Photoshop: Step-by-Step Tutorial
Compare PowerPoint’s built-in tools with a more advanced Photoshop approach.
How to Remove White Background from Image: A Step by Step Guide
A focused tutorial for one of the most common background cleanup tasks.